Beat the Last Judge in Hollow Knight: Silksong — Runback Secrets, Fire-Phase Tricks, and a Sinner’s Road Shortcut

The Last Judge is the Act 1 boss at the eastern end of the Blasted Steps in Hollow Knight: Silksong. This guide lays out where to find the fight, how the Judge attacks in both phases, practical prep tips, a way to bypass the encounter, and what you get for beating them.
- Location and runback route
- Full moveset (phase one and two)
- Best prep: crests, tools and masks
- How to take the alternate Sinner’s Road route
- Rewards for defeating the Last Judge
- Last Judge location in Hollow Knight: Silksong
- Last Judge’s moveset
- How to prep for Last Judge
- How to skip the Last Judge
- Last Judge rewards
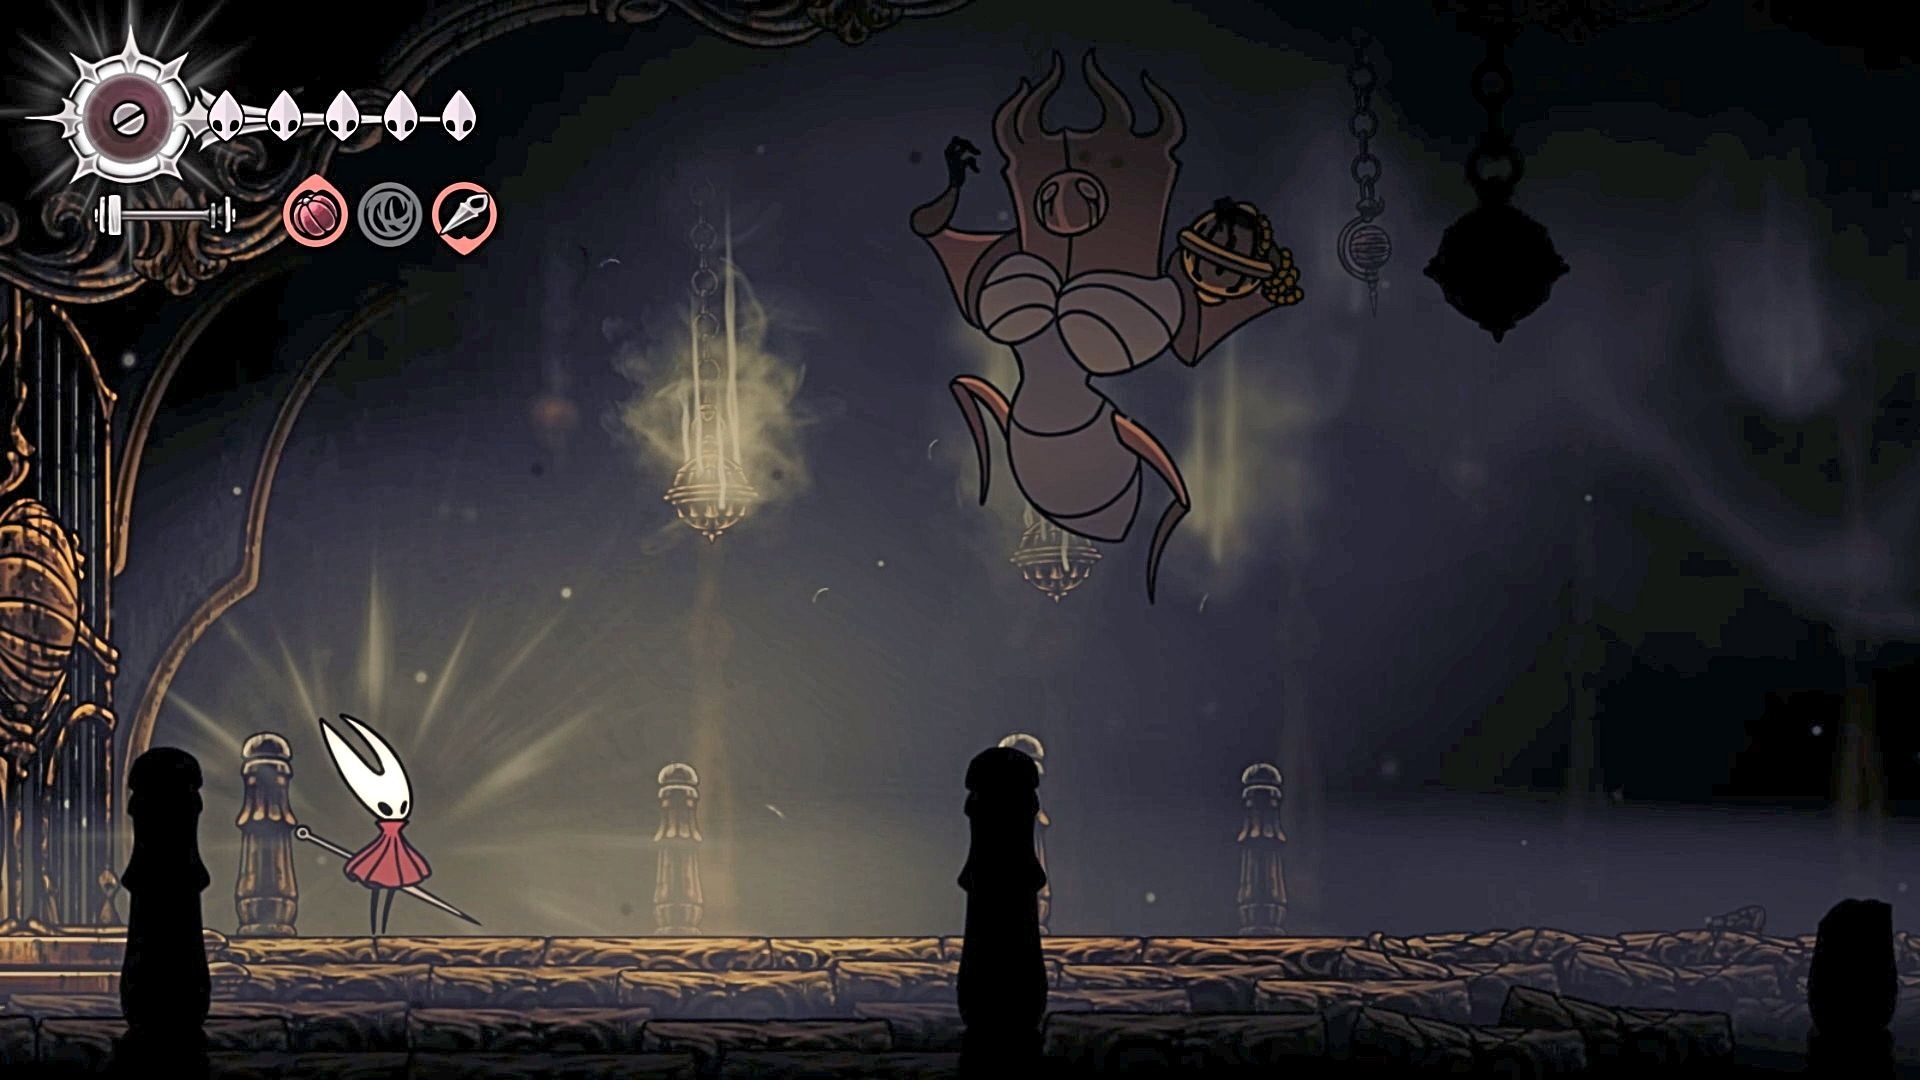
Last Judge location in Hollow Knight: Silksong
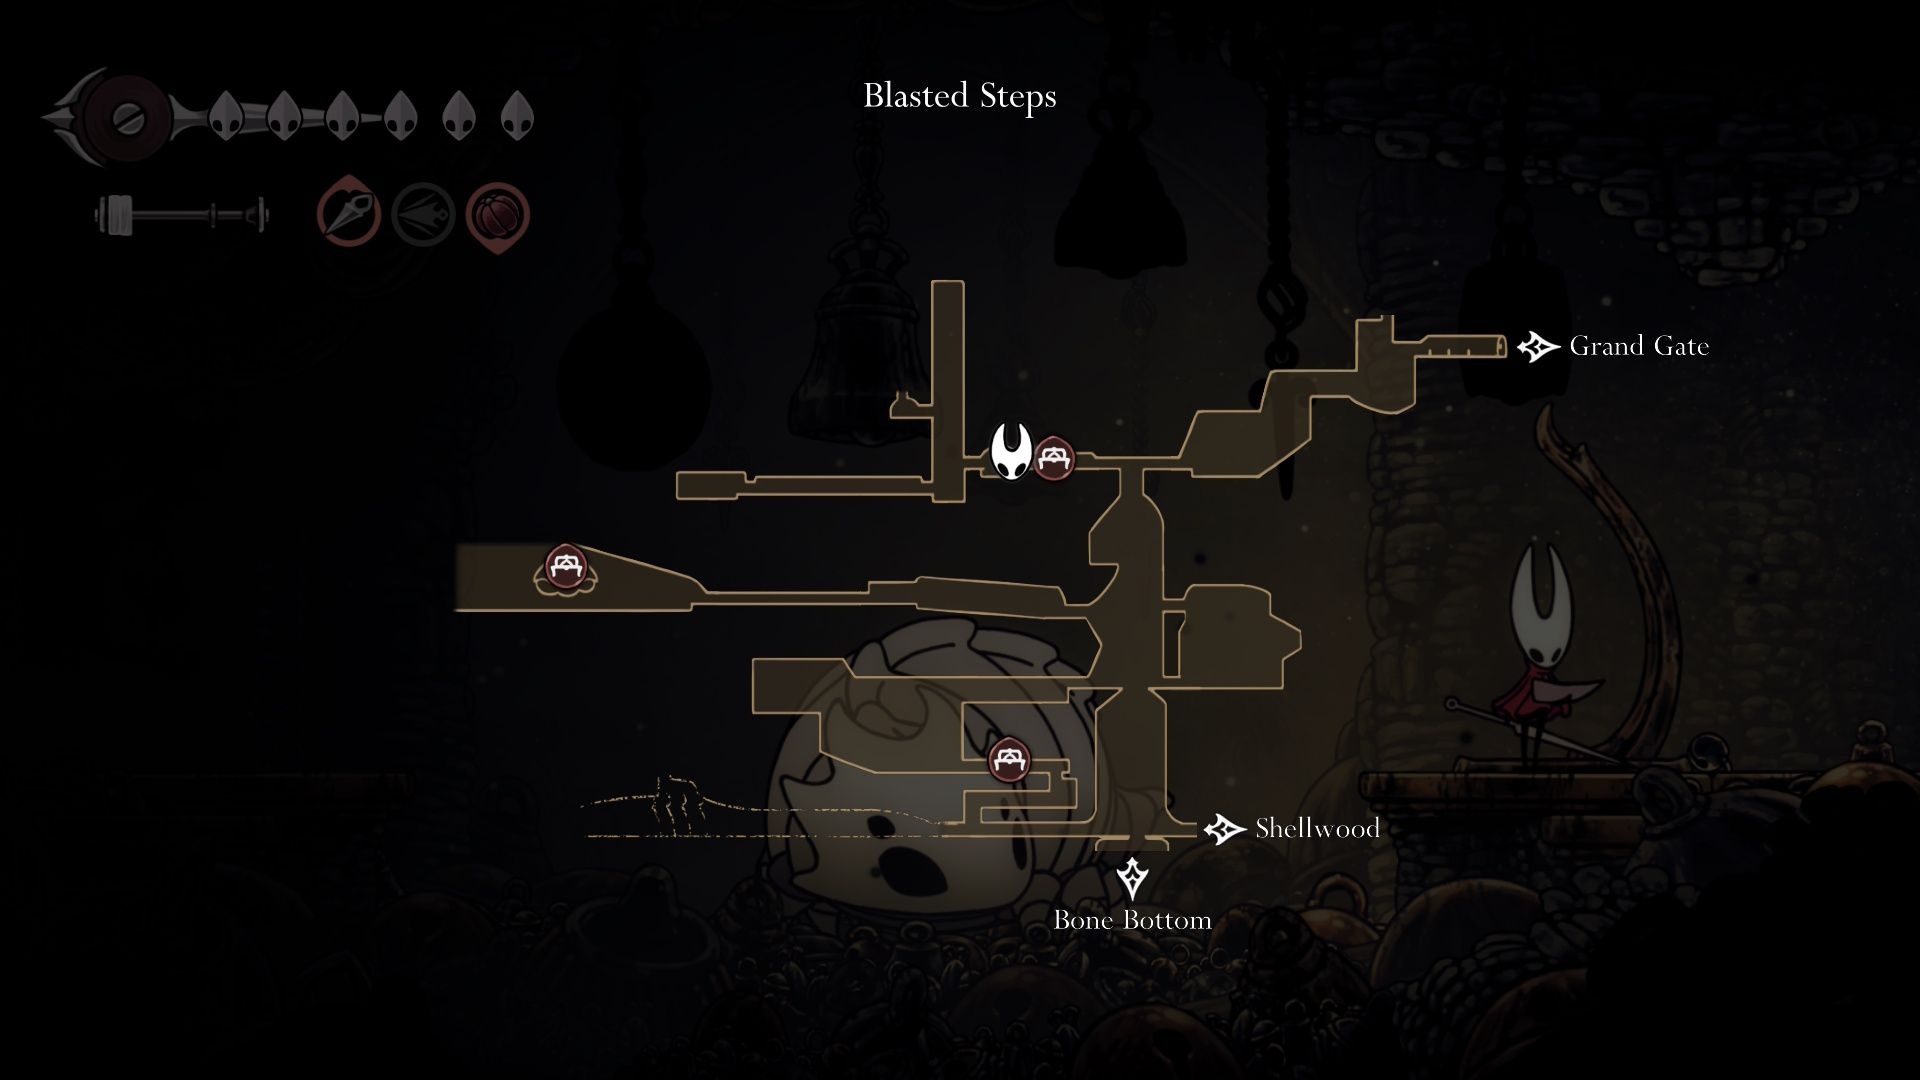
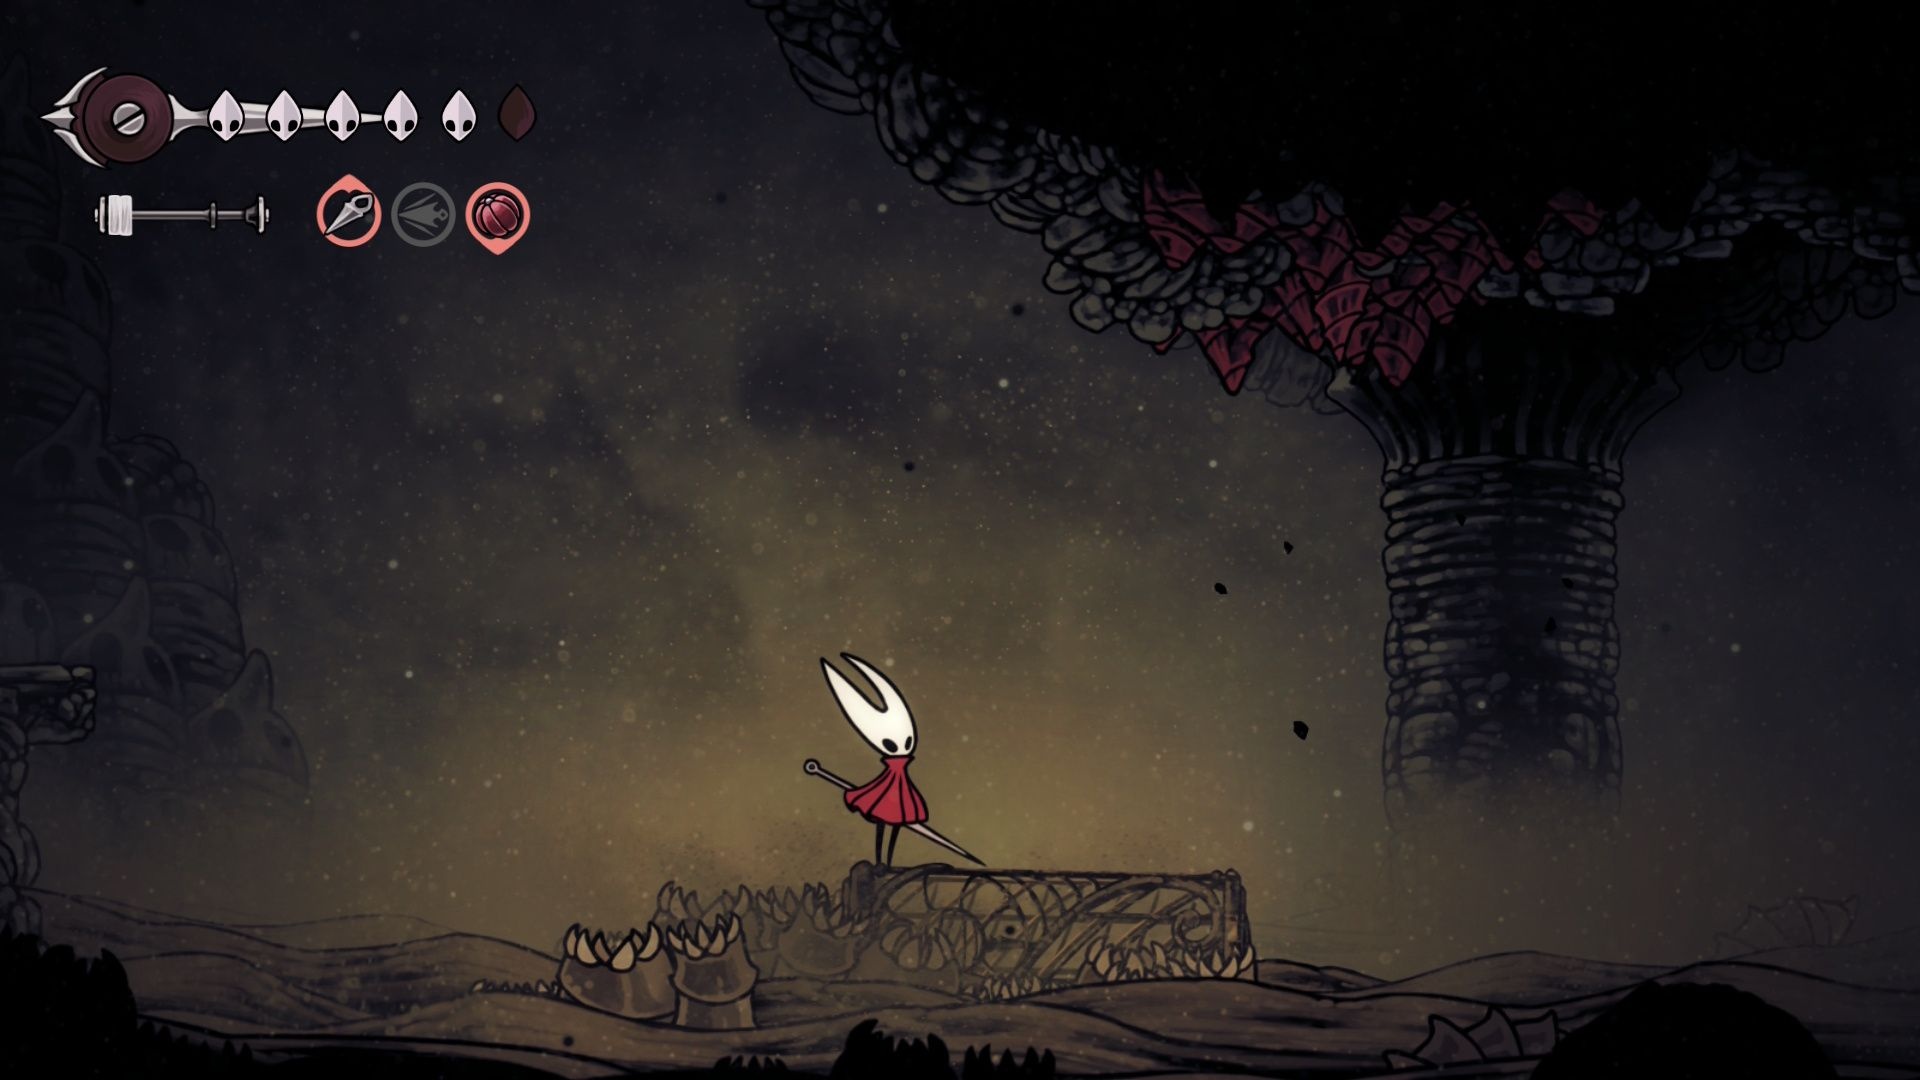
The Last Judge sits at the Blasted Steps’ eastern end, just outside the Grand Gate. On the in-game map, their spot is marked with a main quest objective icon, so you won’t miss it. To reach them the standard way, ascend the Blasted Steps and activate the Bellway and the bench in the room near the top — that bench becomes your runback point.
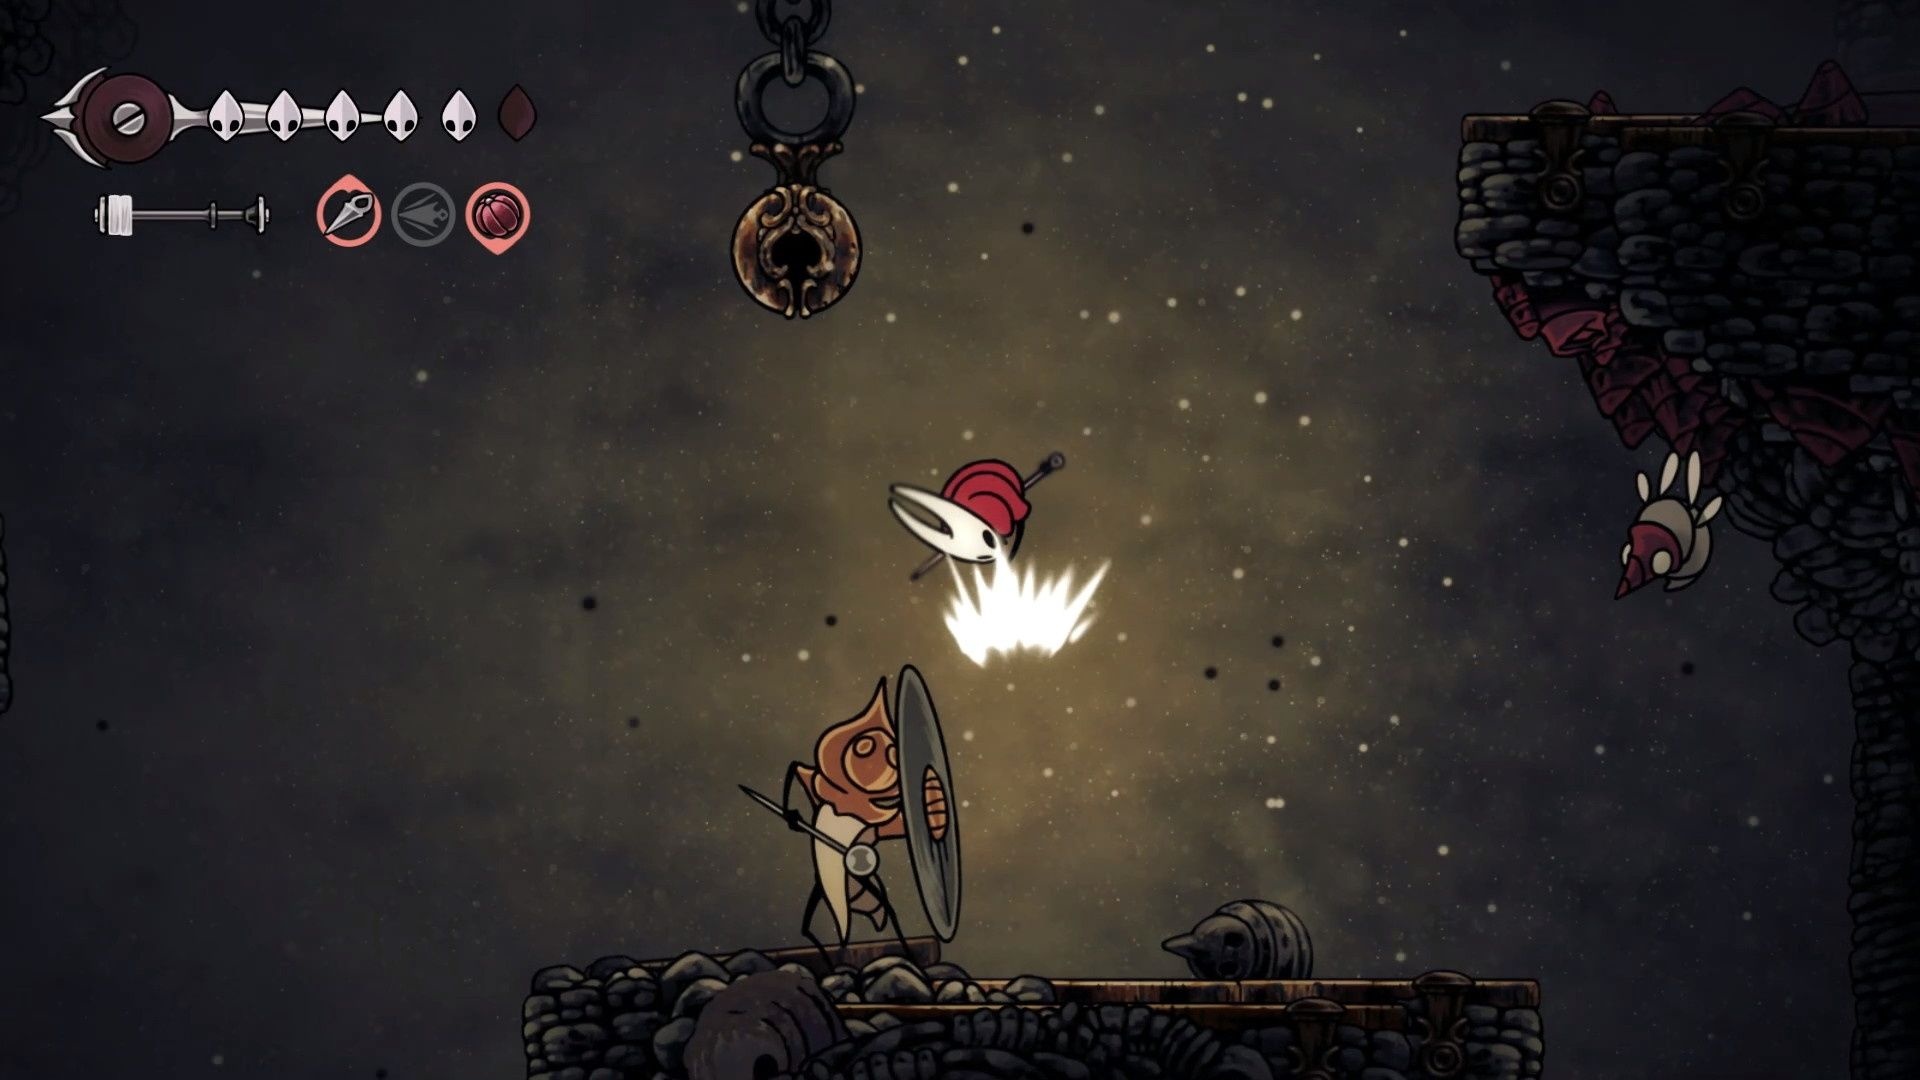
The runback itself is notable. It runs through sand-filled stretches with sandcarvers, tight corridors with conchflies that bounce projectiles off the floor and ceiling, and open areas with roaming judges that try to bash you. Therefore, instead of rushing, it’s *useful* to practice the runback several times. Learning the jumps, bell bounces and cling points makes repeated trips to the boss much faster.

Last Judge’s moveset
The Last Judge fight has two phases. The animations before each attack are clear, so watching for hand and censer movement pays off. Below are the concrete attacks and the straightforward counters that work each time.
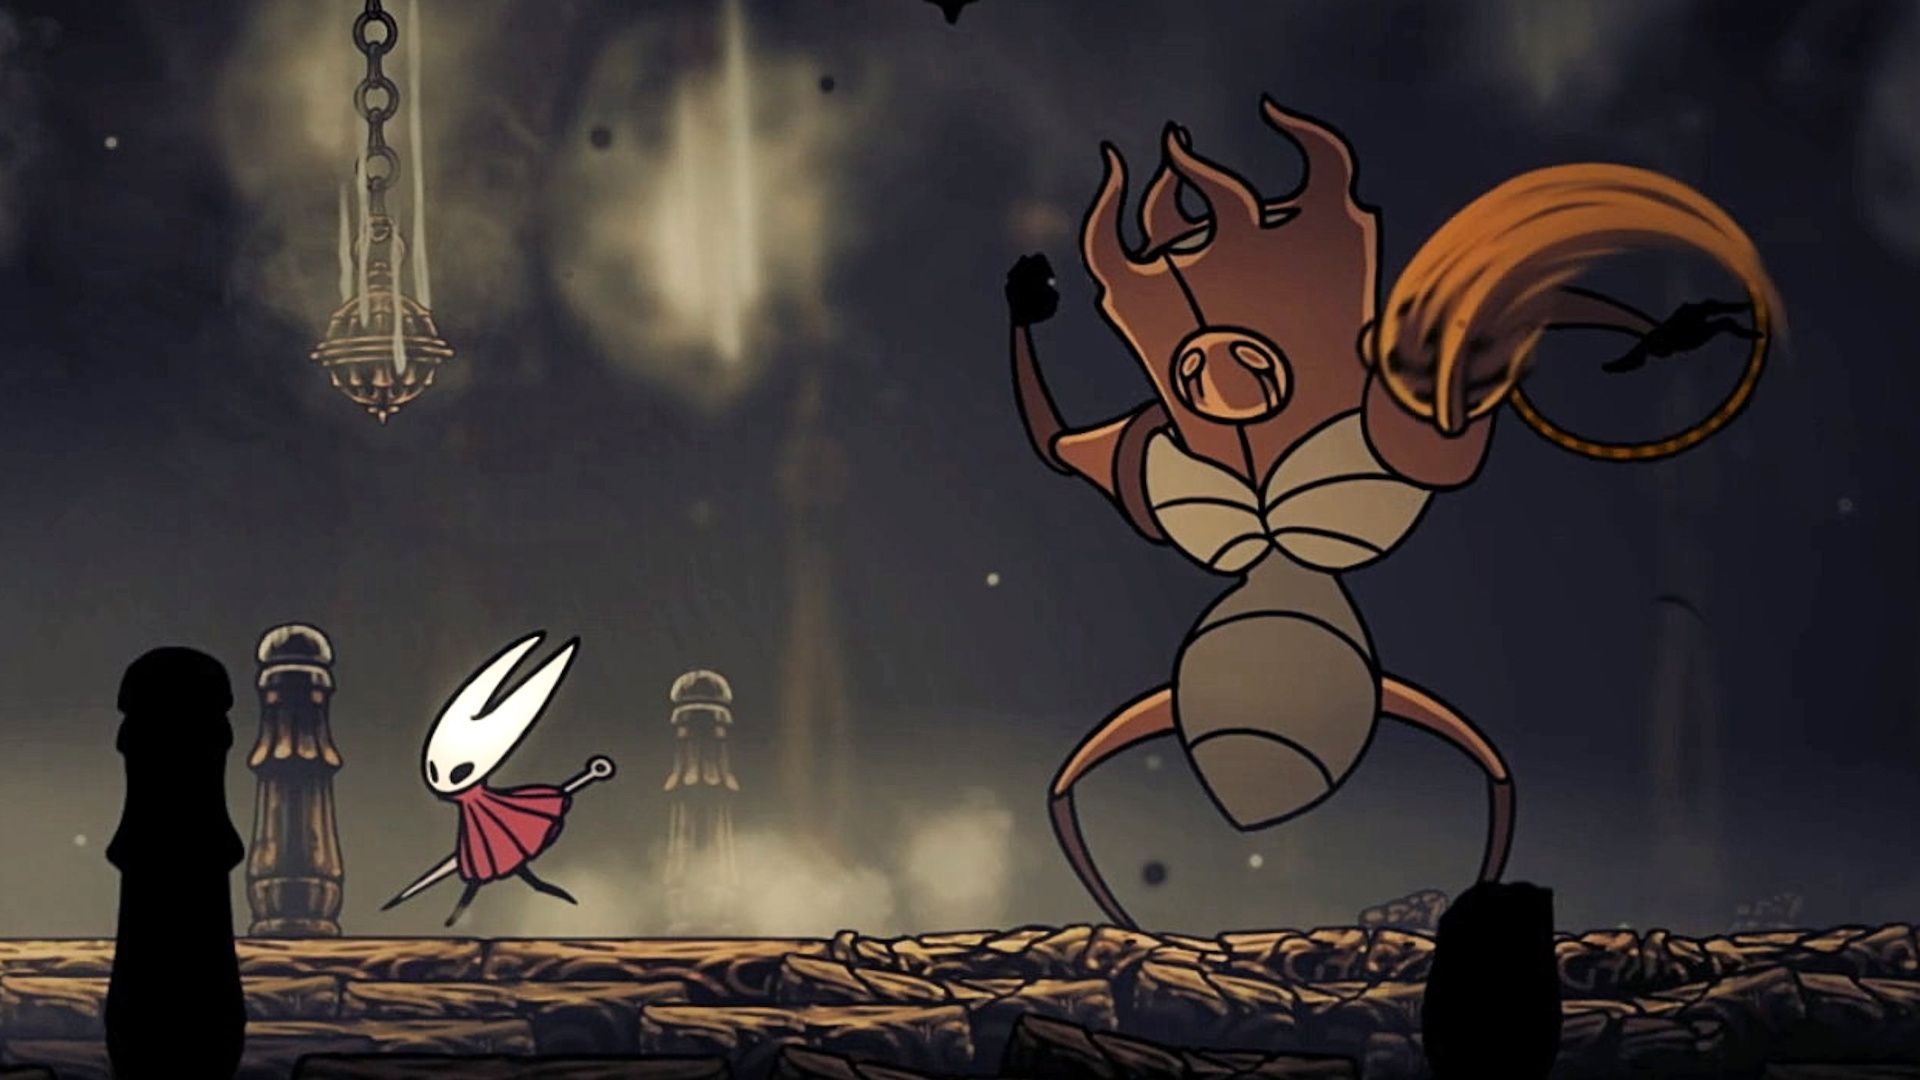
First phase
Last Judge uses three primary attacks in phase one.
Leaping smash: the Judge jumps and slams the censer into the ground. Counter: dash under them to the opposite side and strike for one or two hits during the short recovery window.
Censer swing: they lift the censer and spin it in a wide arc. The tell is the other hand pointing upward. Counter: back away or dash out of range; avoid standing near walls where escape is limited.
Censer throw: the Judge pulls the censer back and tosses it. The tell is the other hand facing inward. Counter: dash past the censer’s path or cling to the wall to get out of range; move several steps away from the impact point because the censer can hit you on the return.
Second phase
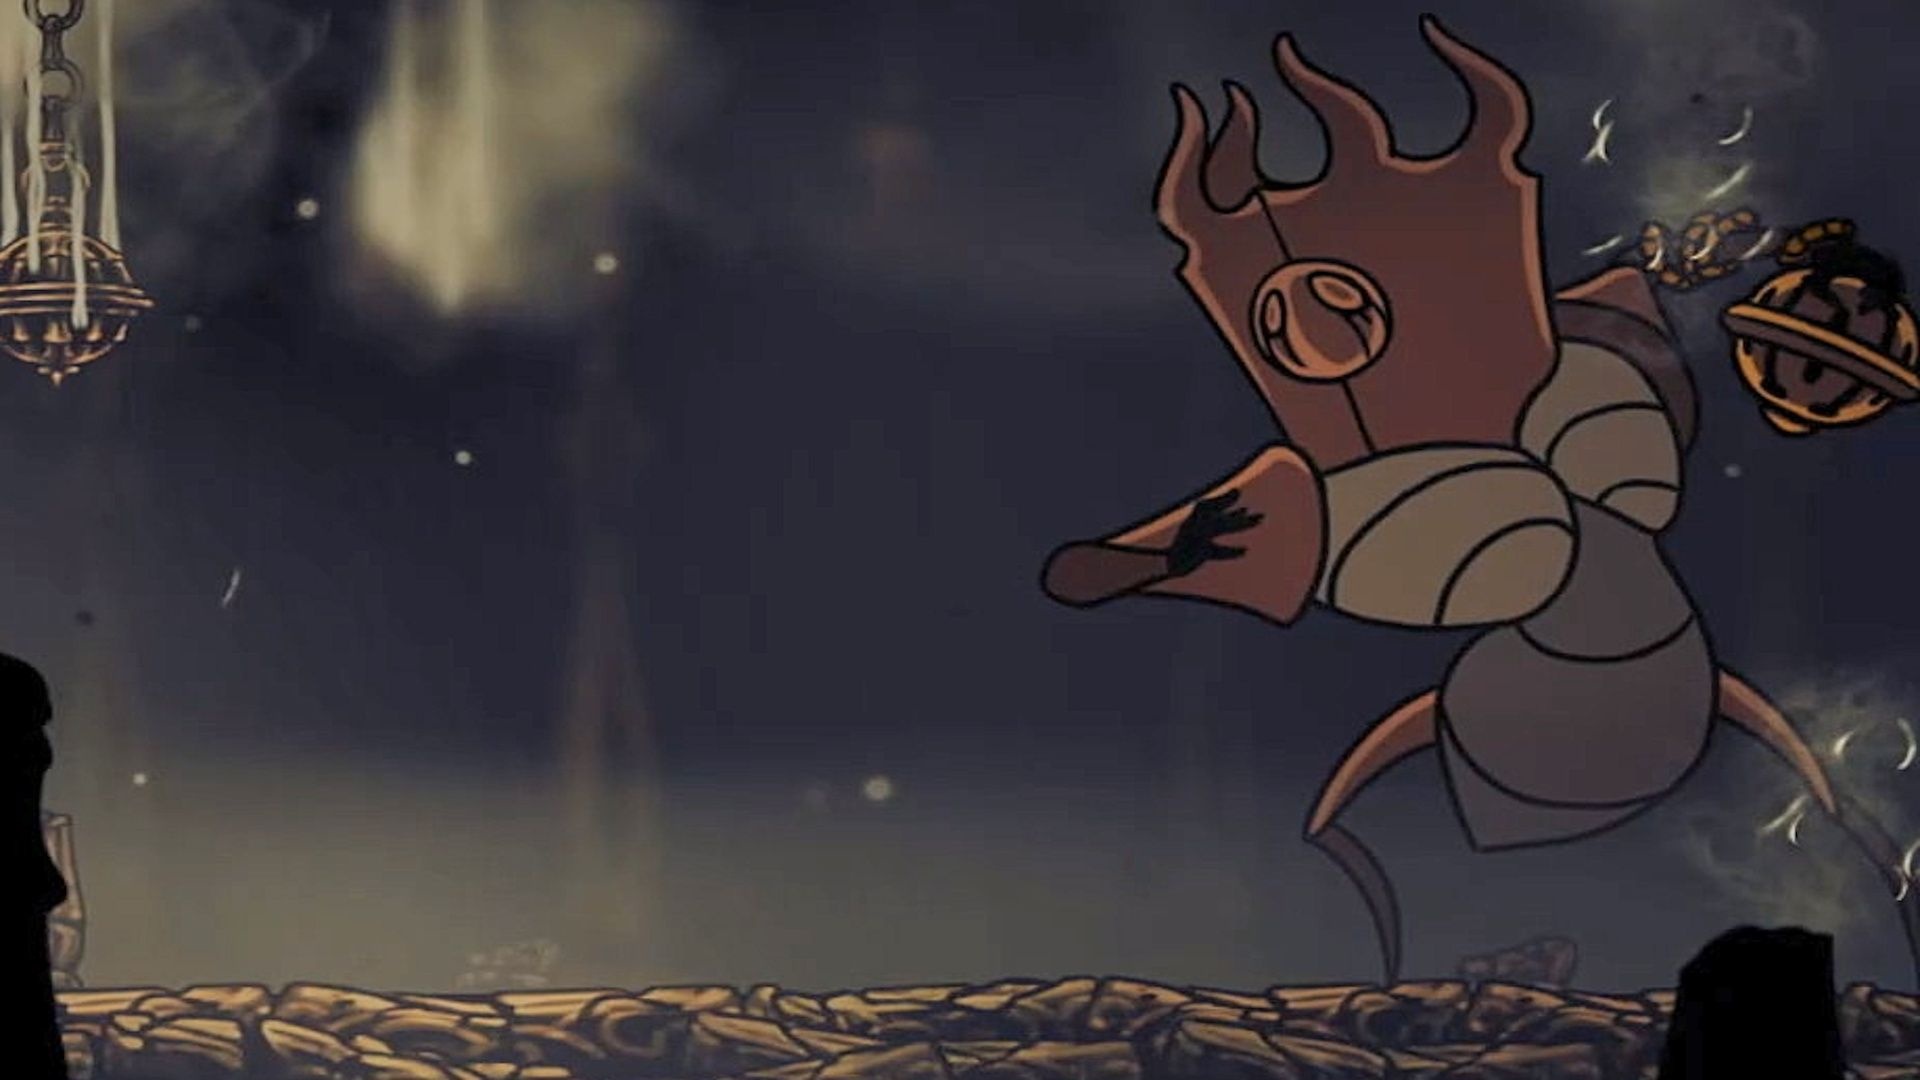
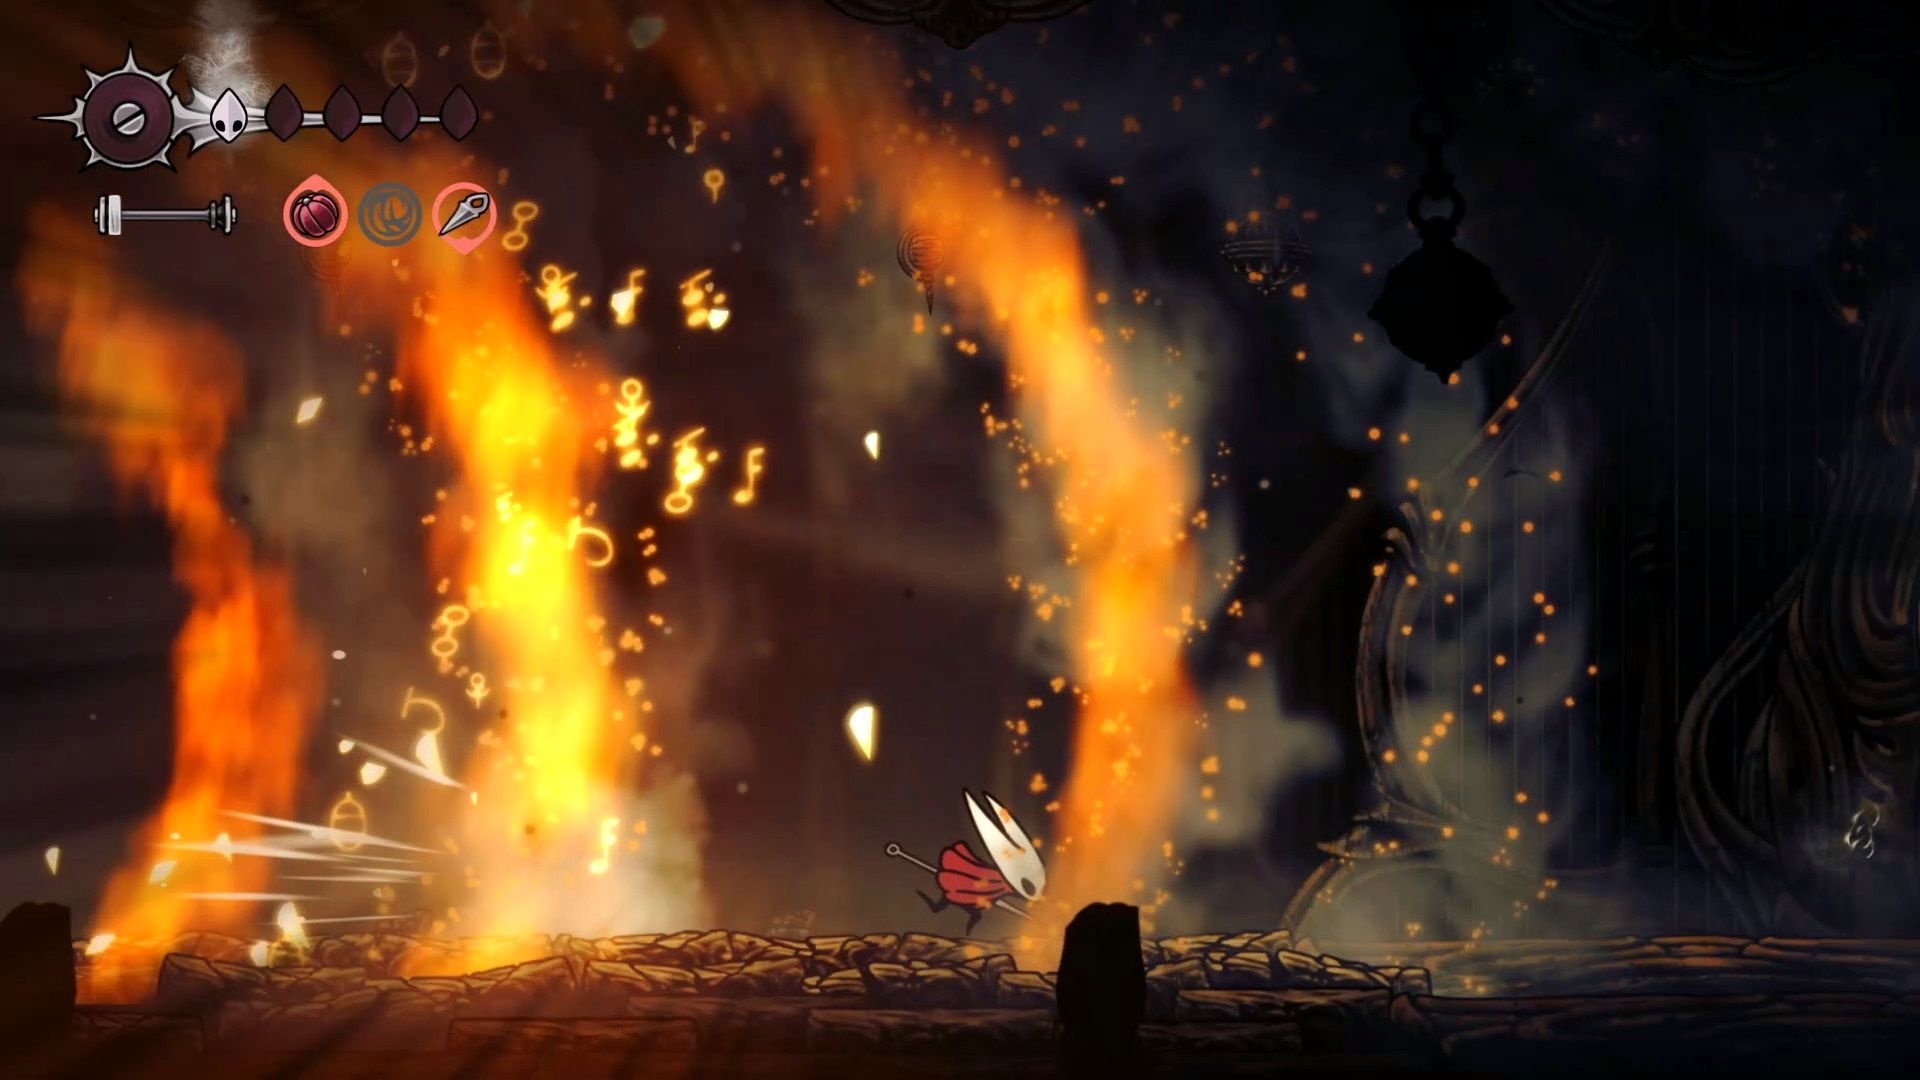
After enough damage, Last Judge enrages and adds fire to their kit. They keep some first-phase moves, but the attacks create persistent fire hazards that you must track.
Holy smokes (flaming censer swing): the spinning censer now spawns rings of fire. Smoke lines appear first to mark where flames will ignite. Counter: move to the safe zone marked by no smoke and follow the safe pocket as the flames expand.
Flame charge: the Judge crouches, charges across the arena and leaves pillars of fire behind. Smoke again signals pillar locations. Counter: jump the charge and try to land between pillars; alternatively, land on the far side of the Judge to avoid pillars entirely and gain a brief window to attack.
Flaming smash: a leaping smash that also emits a ground wave of fire. Counter: dodge the smash as before, then use the Drifter’s Cloak hover to avoid the ground fire and attack after you land.
Flaming censer throw: the censer is lit and explodes a moment after landing. Counter: remain several steps away so the explosion doesn’t catch you on impact or return.
Finally, when the Judge takes the last hit they begin to shake and emit smoke; move away, because the Judge explodes violently after a few seconds.
How to prep for Last Judge

Choose crests and tools that match the fight. Two crests stand out: the enhanced Hunter’s Crest and the Reaper’s Crest. The enhanced Hunter’s Crest gives extra damage after hitting a foe several times; the Reaper’s Crest produces additional silk orbs on heal and helps with pogoing in sand sections.
To get the enhanced Hunter’s Crest, use the Needolin in Moss Grotto to access the Weaver door and reach Weavenest Alta. For the Reaper’s Crest, clear the Reaper’s Chapel in Greymoor.
Tools matter too. For blue tools, the Magma Bell (bought from the Forge Daughter in Deep Docks) reduces incoming fire damage. For offensive tools, prioritize ones that hit from range and have multiple uses — the Straight Pin and Longpin are safe, short-range picks. If you completed “The Alchemist’s Wish” in Wormways, you may have the Plasmium Phial: using one injection at full health to briefly raise your mask count to seven can make a difference, since many Judge attacks deal two masks of damage.
Also, aim to have at least six masks before the fight if possible. Finally, if you can, record runs so you can review animations and learn timing without replaying the entire runback each time.
How to skip the Last Judge
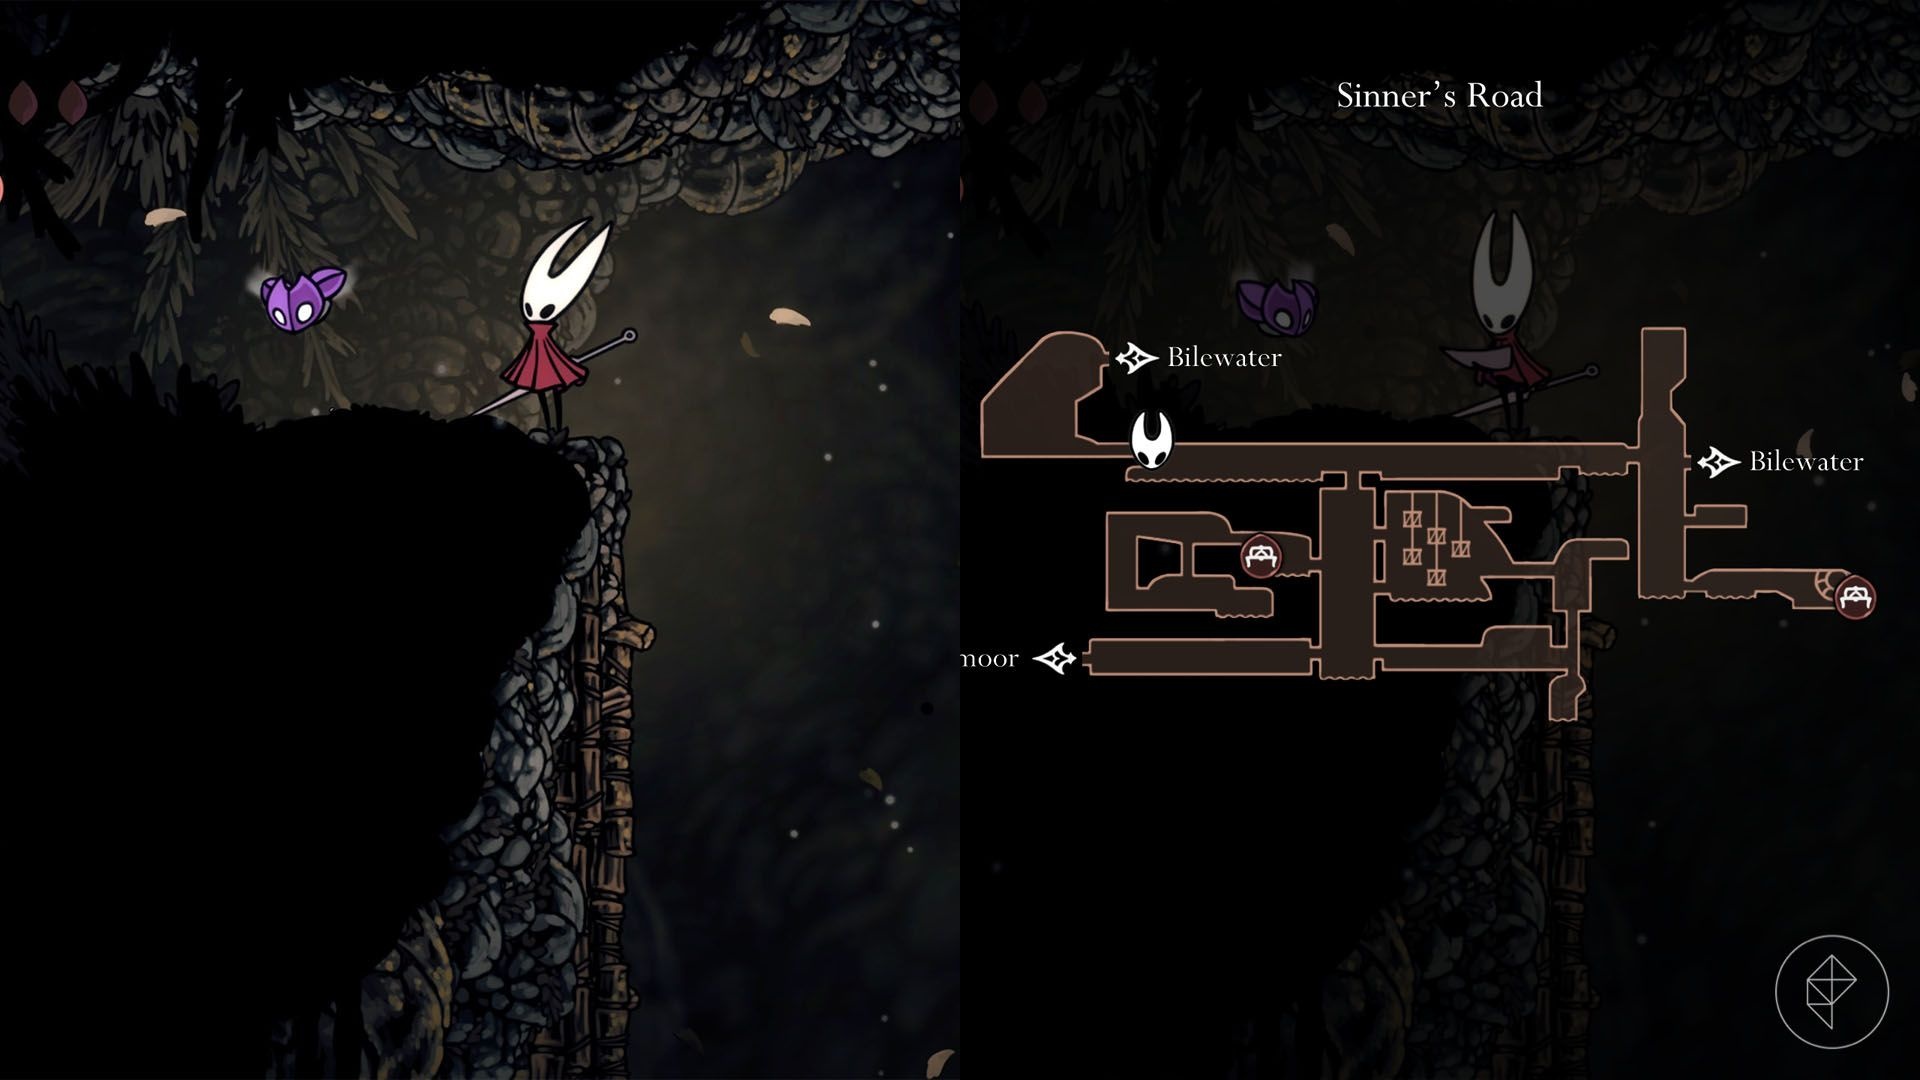

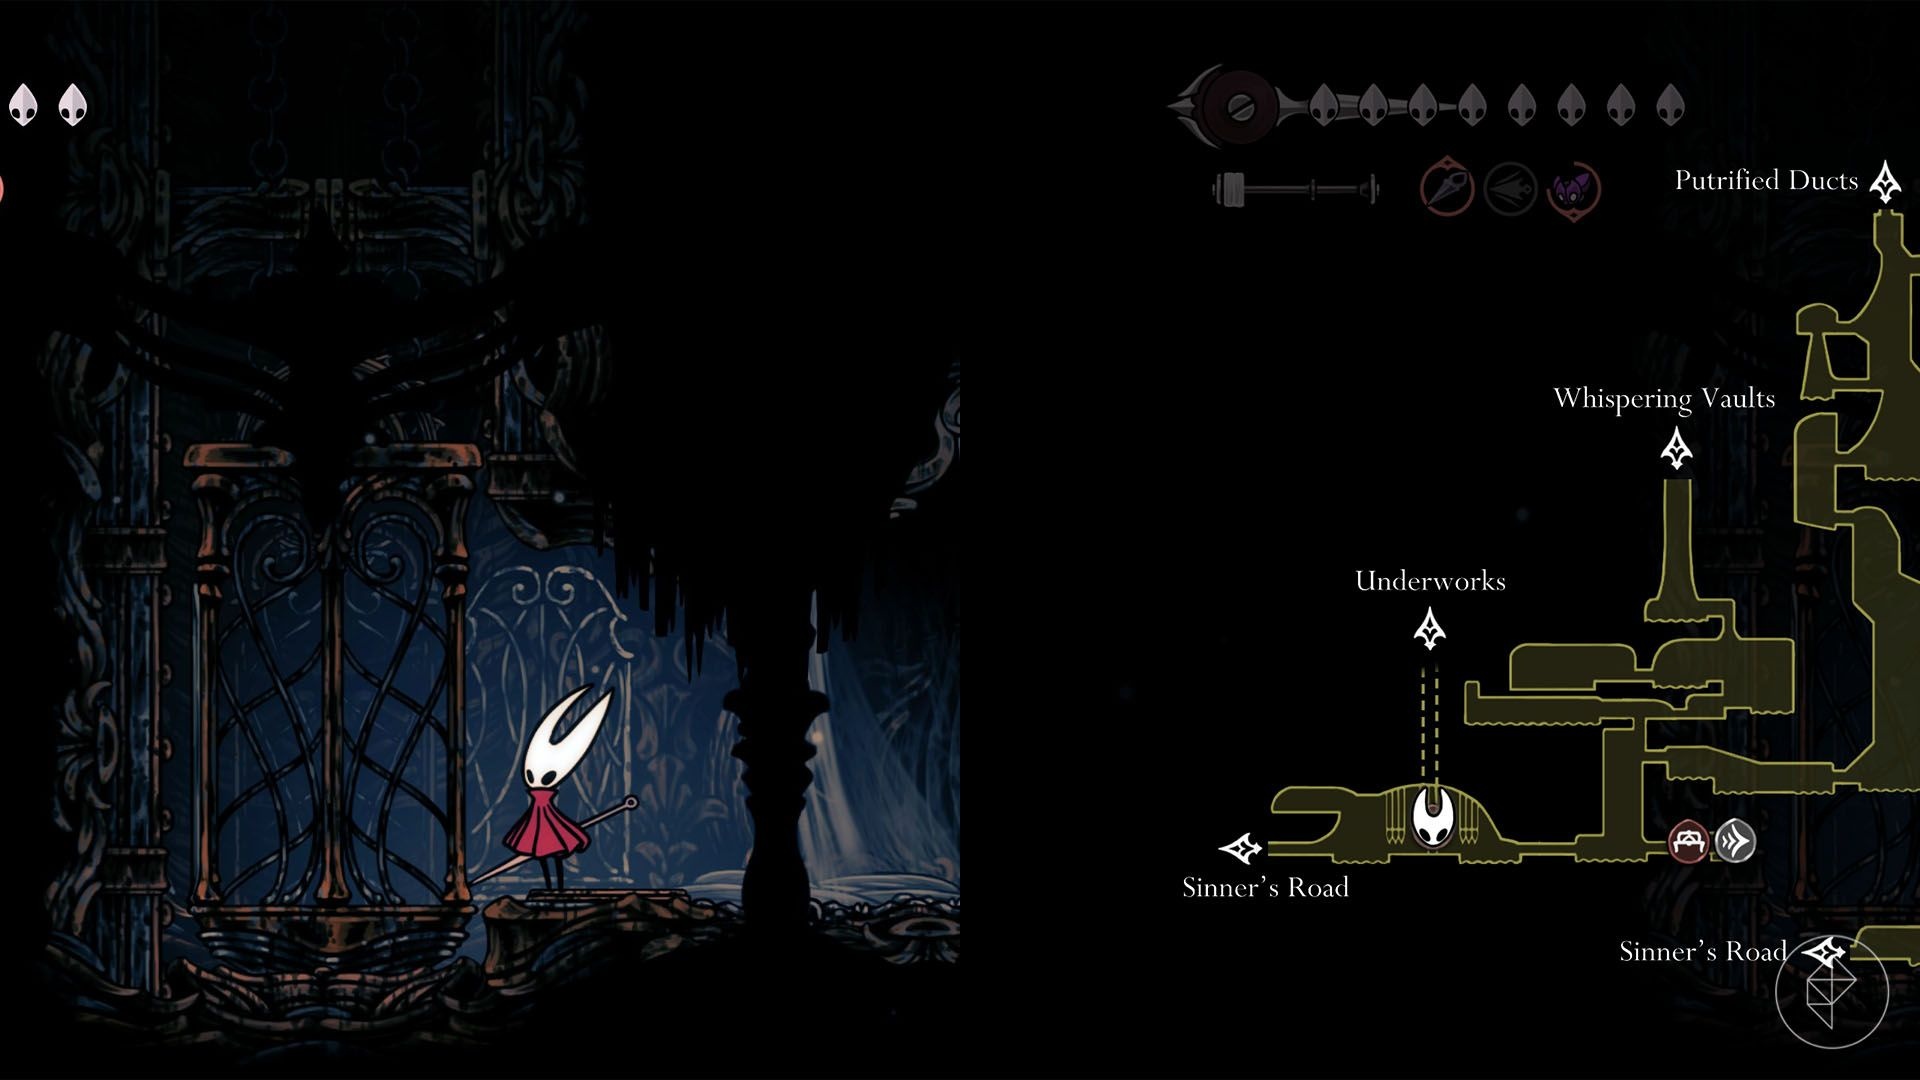
If the Last Judge fight isn’t for you right away, there is an alternate route into the Citadel. Take the Sinner’s Road path through The Mist and the Exhaust Organ. This route requires traversing fog that needs the Needolin and defeating the boss Phantom along the way. After Phantom, take the elevator into the Underworks, then continue into the Grand Bellway Station in the Choral Chamber. The route is long and has its own challenges, but Phantom is generally considered easier than the Last Judge.
Note that even if you take this route, the Last Judge remains available at the Blasted Steps later if you want the encounter or its achievement.
Last Judge rewards
Beating the Last Judge unlocks the entrance to the Citadel and grants the game achievement titled Judge. There are no unique items dropped beyond that access; the primary reward is progression and the satisfaction of clearing a challenging gatekeeper encounter.