Find Two Hidden Charms in Ghost of Yōtei — Quick Guide to The Face of a Master and The Face of a Demon

If you’re exploring the northern side of Ezo in Ghost of Yōtei, you can pick up two connected side quests — “The Face of a Master” and “The Face of a Demon” — that explain what happened at Ikidomari Grove and reward you with two minor utility charms. Below are clear, step-by-step directions to start and finish both quests and how to collect the Charm of Unhealthy Resolve and Charm of Risk and Reward.
Quick navigation:
‘The Face of a Master’ quest walkthrough in Ghost of Yōtei
‘The Face of a Demon’ quest walkthrough in Ghost of Yōtei
‘The Face of a Master’ quest walkthrough in Ghost of Yōtei
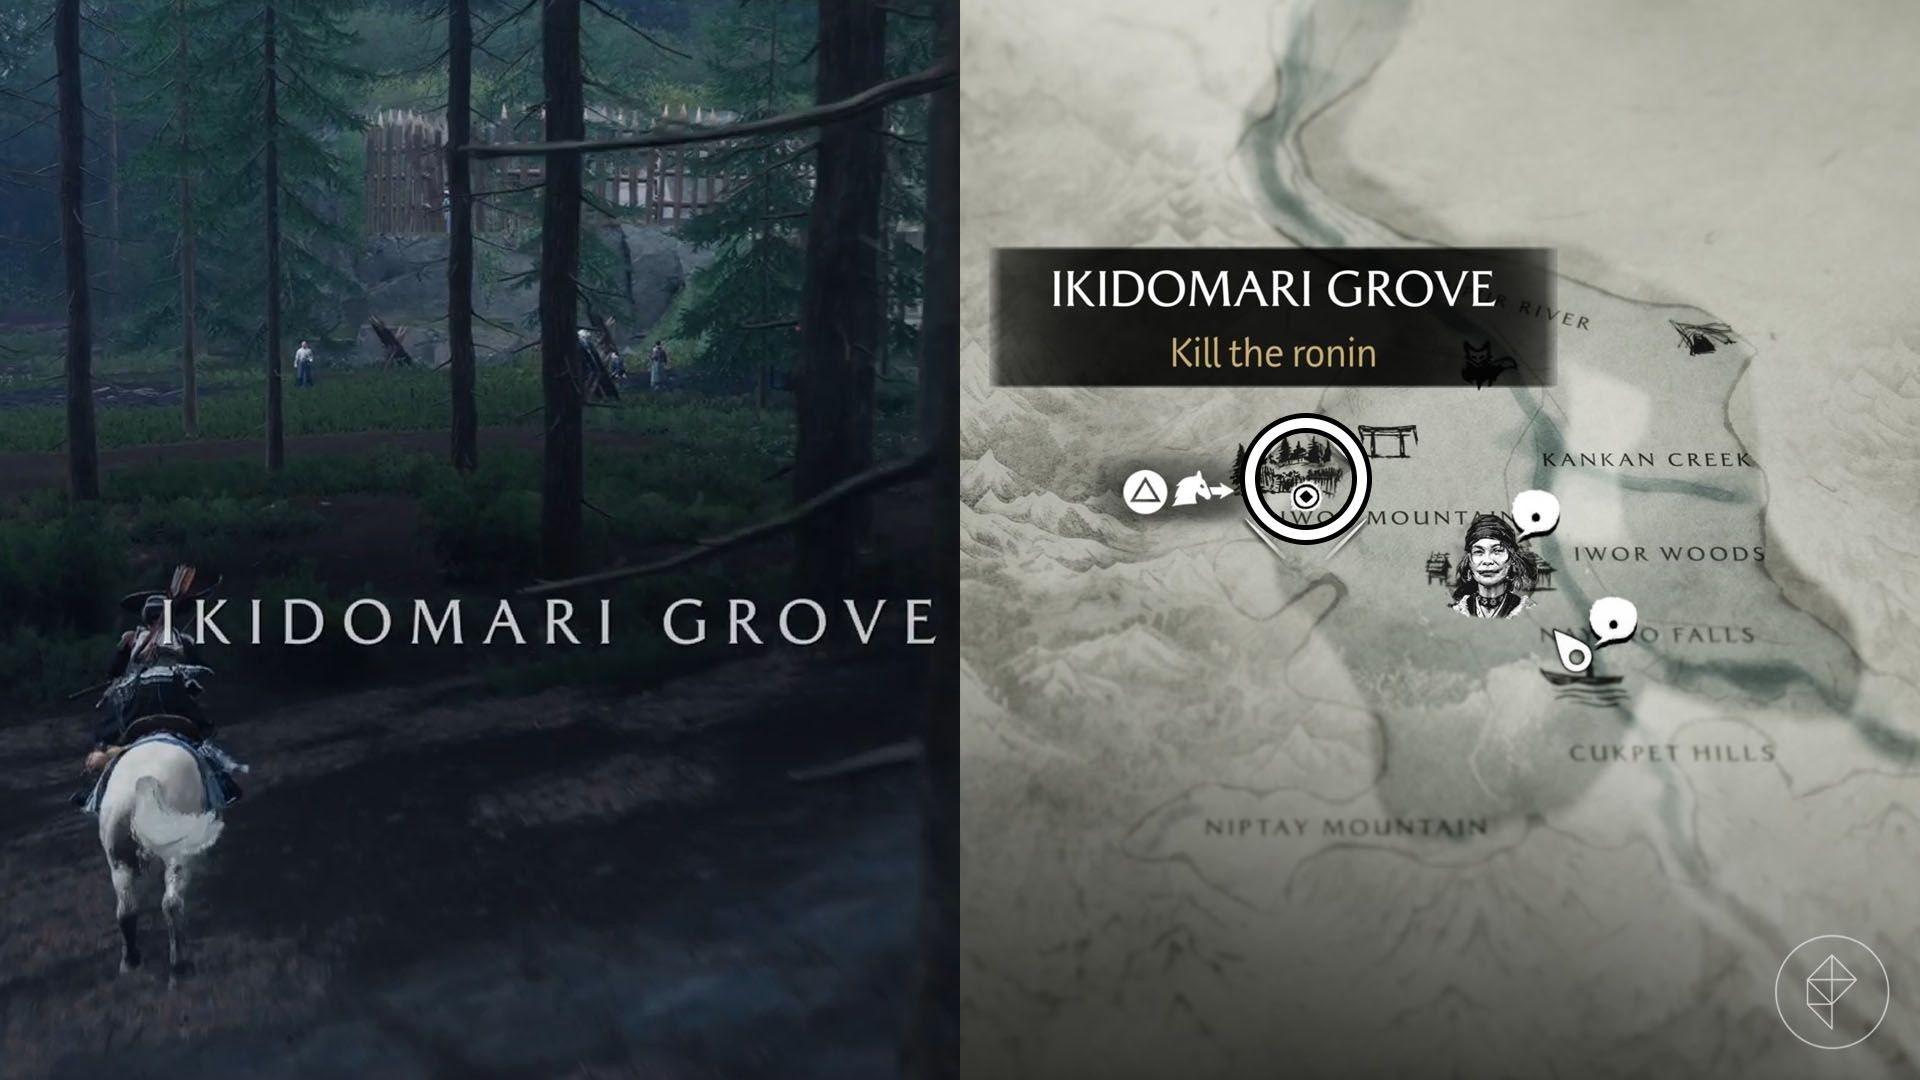
First, travel to the Nayoro Wilds, which is north of the Tokachi Range. You can reach this area while following the Kitsune quest. Head to the Ikidomari Grove camp, located north of Iwori Mountain. As you approach, the “The Face of a Master” quest will be added to your log. Nearby you’ll find a few ronin standing in front of a wooden gate; defeat them to continue.
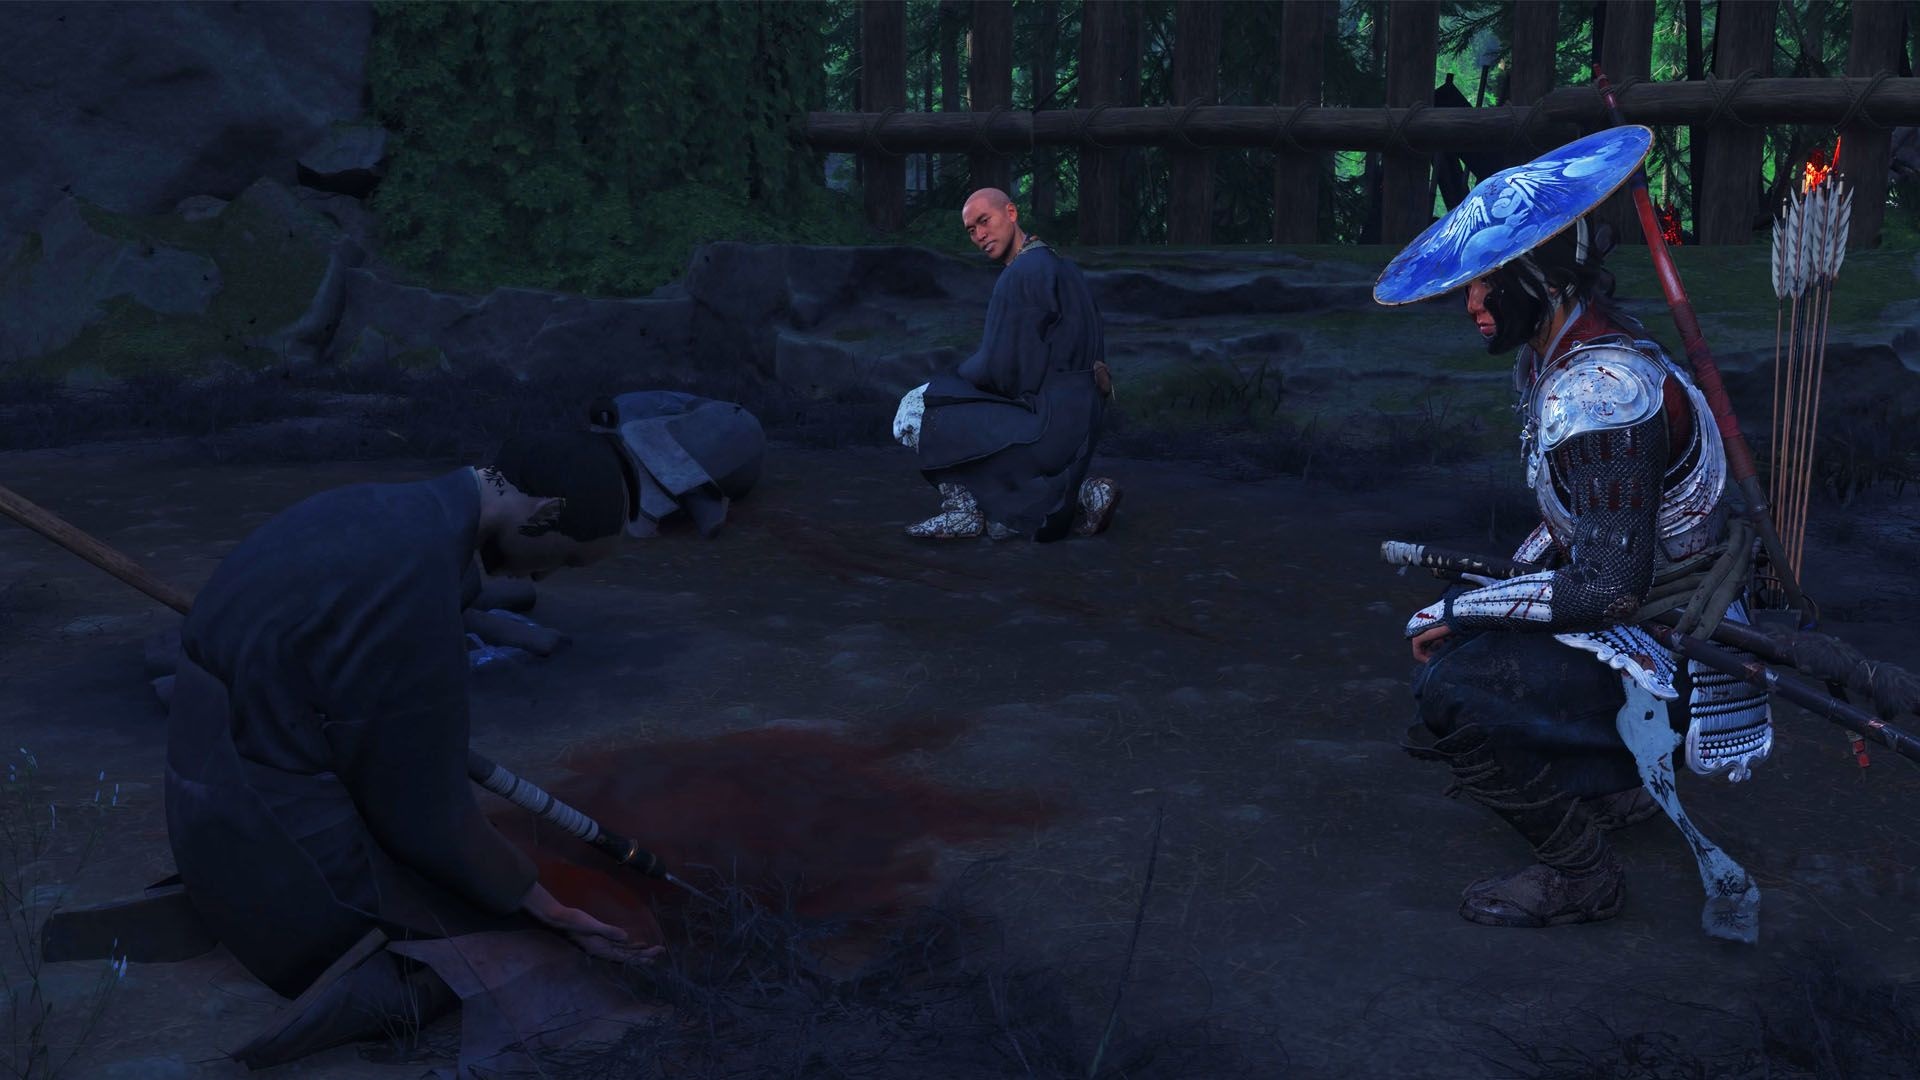
After the ronin are down, untie the healer who was being held captive. Then, move into the camp and investigate the scene. Use your hook to open the entrance if needed. Inside, examine three things: a body with a spear through it, a bucket containing bandages, and a nearby chest. Those investigations will reveal a scroll that mentions “The Curse of Kanemori.”
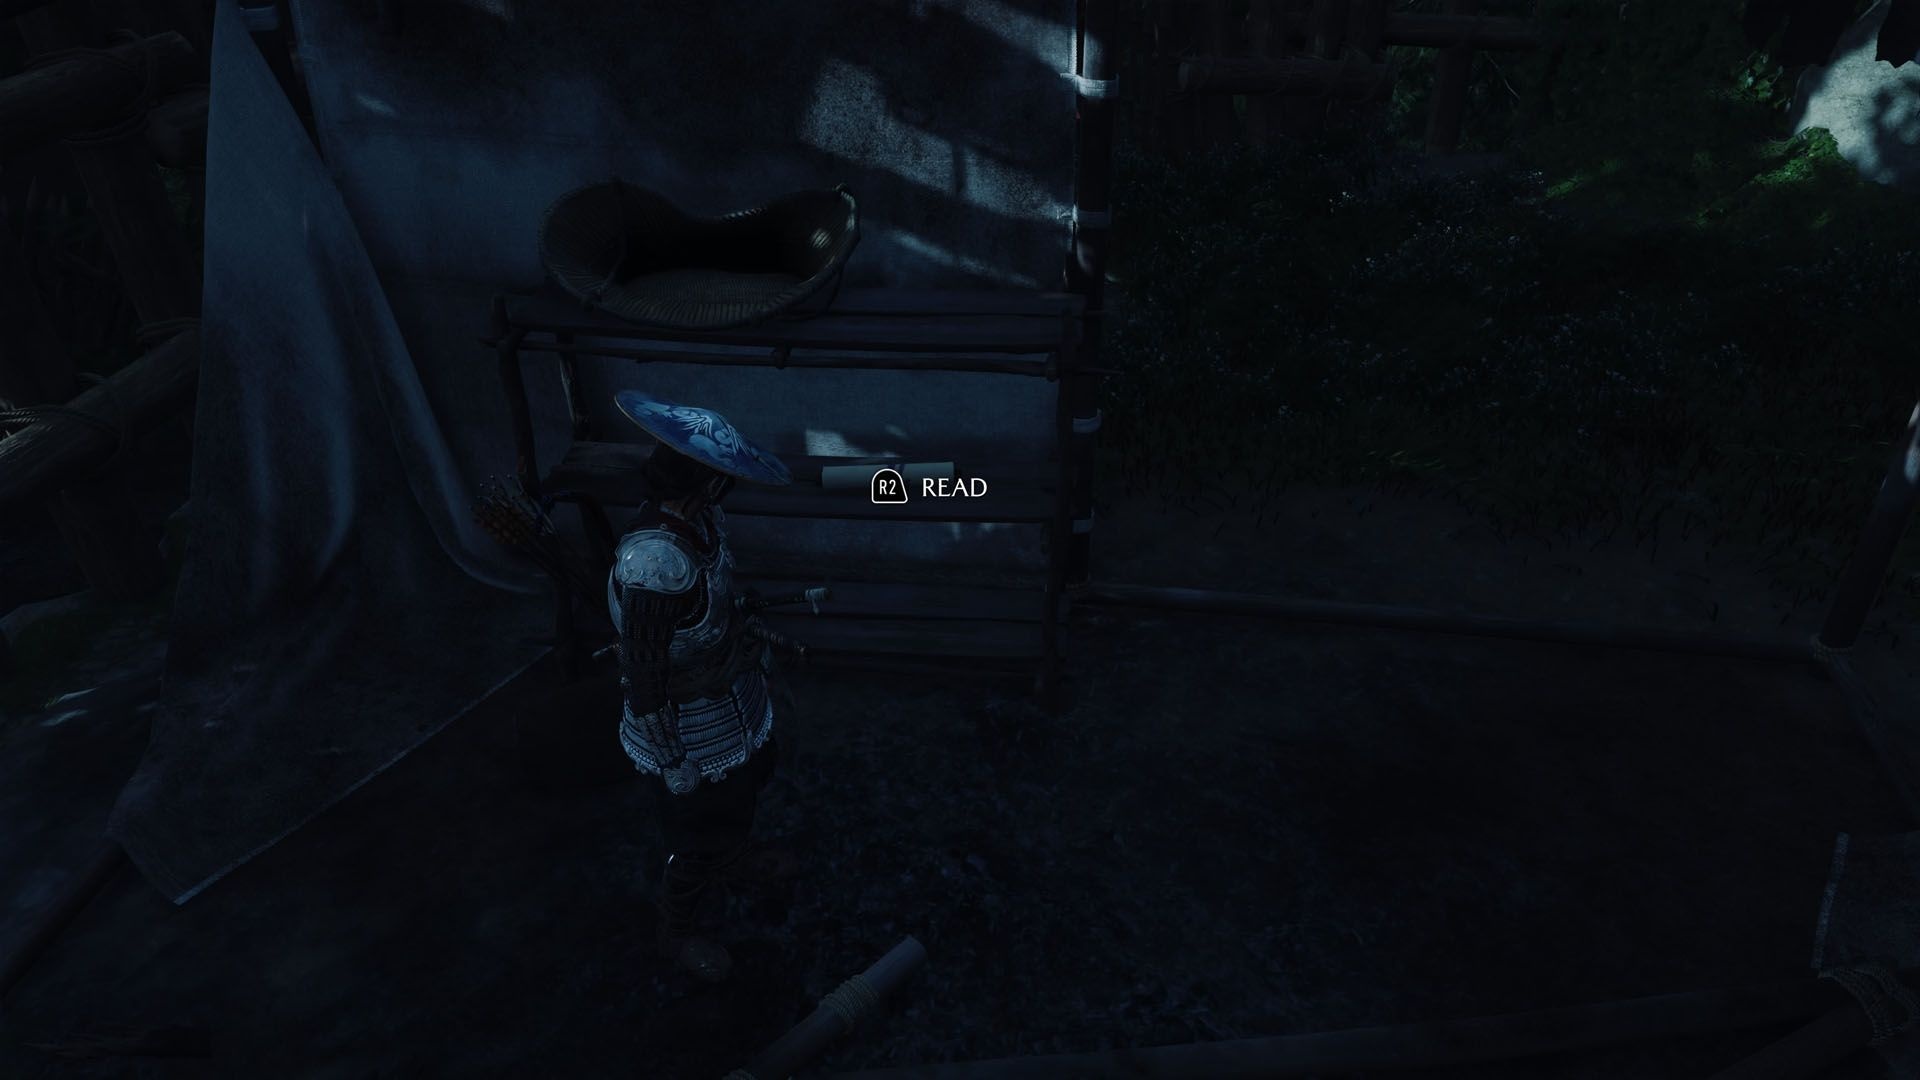
Next, talk to the healer. They will lead you to a blocked passage; you must explode the rock to open it. Afterwards, read the inscription on the wall, help the healer jump over the adjacent wall, and then investigate a destroyed house in the next area. There you will find another scroll that indicates some men went to caves at the edge of Nayoro Wilds. Interact with the healer once more to complete the quest and unlock the follow-up, “The Face of a Demon.”

How to get the Charm of Unhealthy Resolve
Before leaving the camp, open the chest beside the healer. Inside is the Charm of Unhealthy Resolve. Its effect is a minor utility bonus: it restores a small amount of spirit when you kill enemies, but it reduces part of your maximum health in exchange. In short, you get spirit back for kills, at the cost of max HP.
‘The Face of a Demon’ quest walkthrough in Ghost of Yōtei
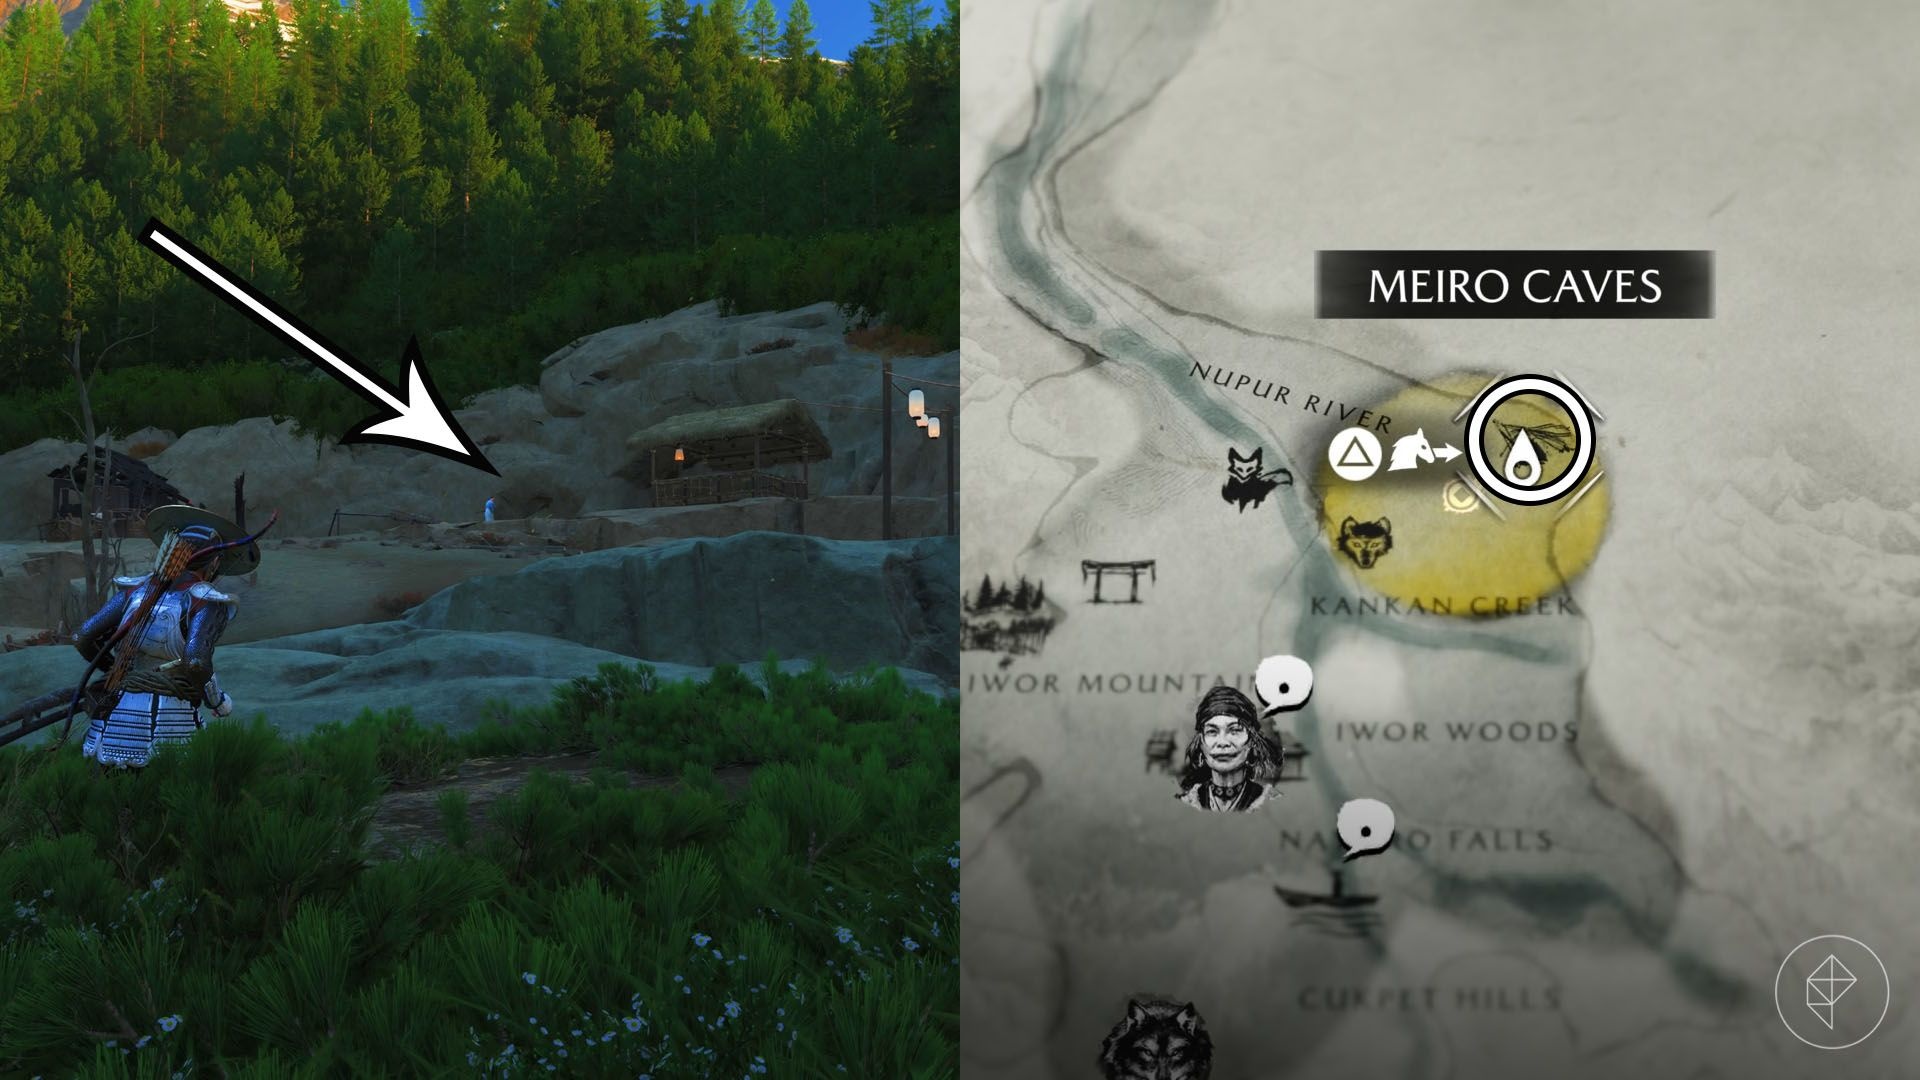
To continue, travel northeast of Kankan Creek to the Meiro Caves. Outside the cave entrance you’ll find another group of ronin; defeat them to gain entry. Then follow the cave path until you reach a larger room with additional ronin.
Those ronin only initiate combat once you get close, so you can pull a few with your bow from range and thin their numbers. Clear the room, then interact with an armor on the ground to finish the quest. This reveals Kanemori’s body and grants you the next charm as your reward.
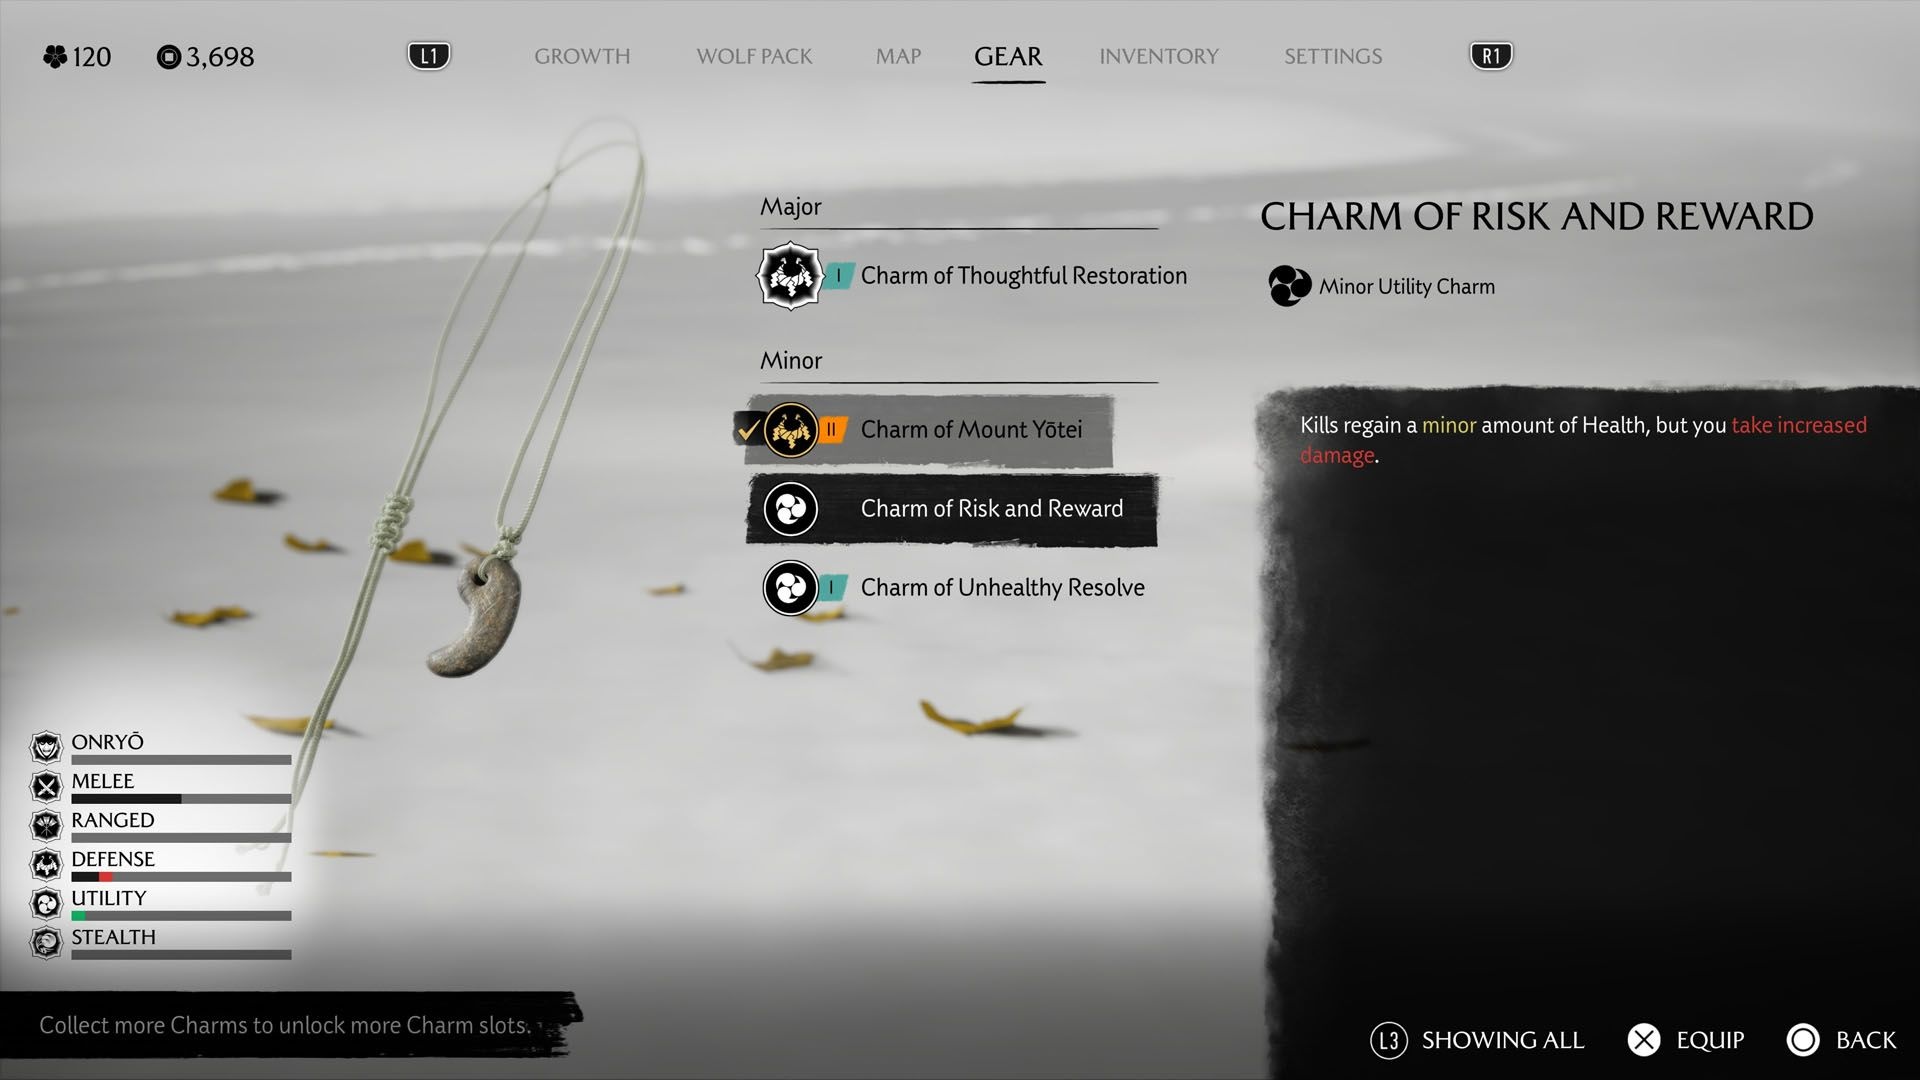
How to get the Charm of Risk and Reward
After you find Kanemori’s body in the Meiro Caves, you receive the Charm of Risk and Reward. This charm is also a minor utility charm: it gives a small health recovery on enemy kills, but it increases the damage you take. In other words, you heal a bit per kill while becoming more vulnerable to incoming damage.
That covers the concrete steps: location, key interactions, and where to pick up both charms. Good luck out there — and watch your health if you equip those charms.


