Forsaken Fortress Made Easy: Step-by-Step Guide to Beating Zelda: The Wind Waker’s Tricky Stealth Section
Ready to face the infamous Forsaken Fortress in Zelda: The Wind Waker? Don’t worry, you’re not alone—this part of the game haunts many players, but with a bit of guidance and a chill approach, you’ll sneak through in no time. Here’s a friendly, step-by-step walkthrough on how to turn off all three spotlights and climb the fortress to find your sister. Whether you’re playing on Nintendo GameCube or revisiting the adventure on Nintendo Switch 2 (with that Online + Expansion Pack), here’s everything you need to know. Let’s get sneaky!
- How to turn off the three Forsaken Fortress spotlights
- Quick tips for stealth and fighting Bokoblins
- How to escape jail and find cool secrets
- Climbing the fortress to reach your sister
Forsaken Fortress: Your First Challenge
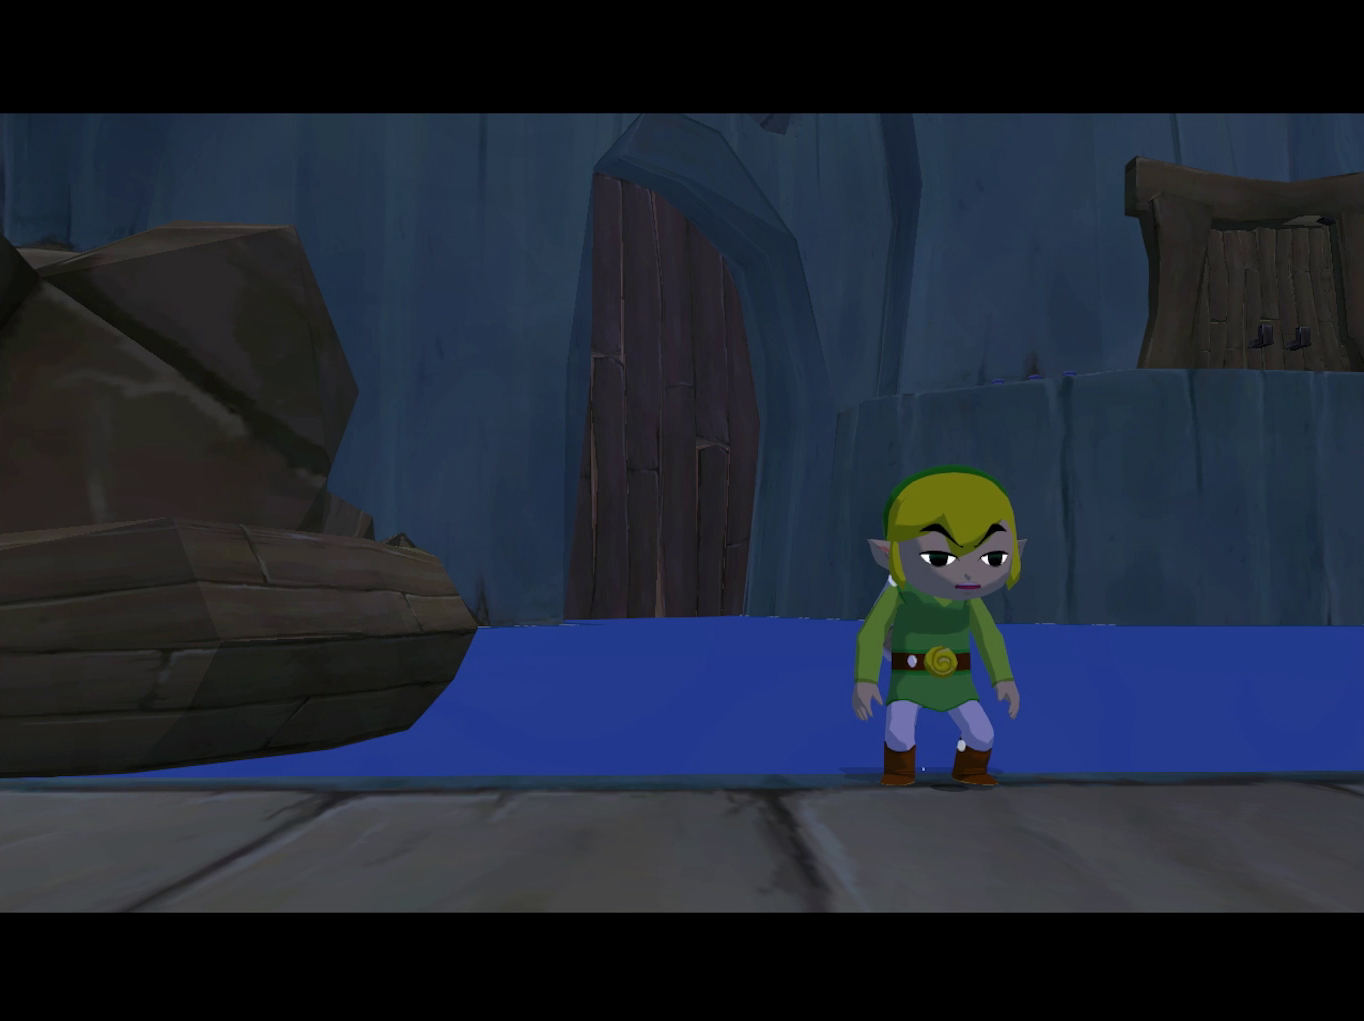
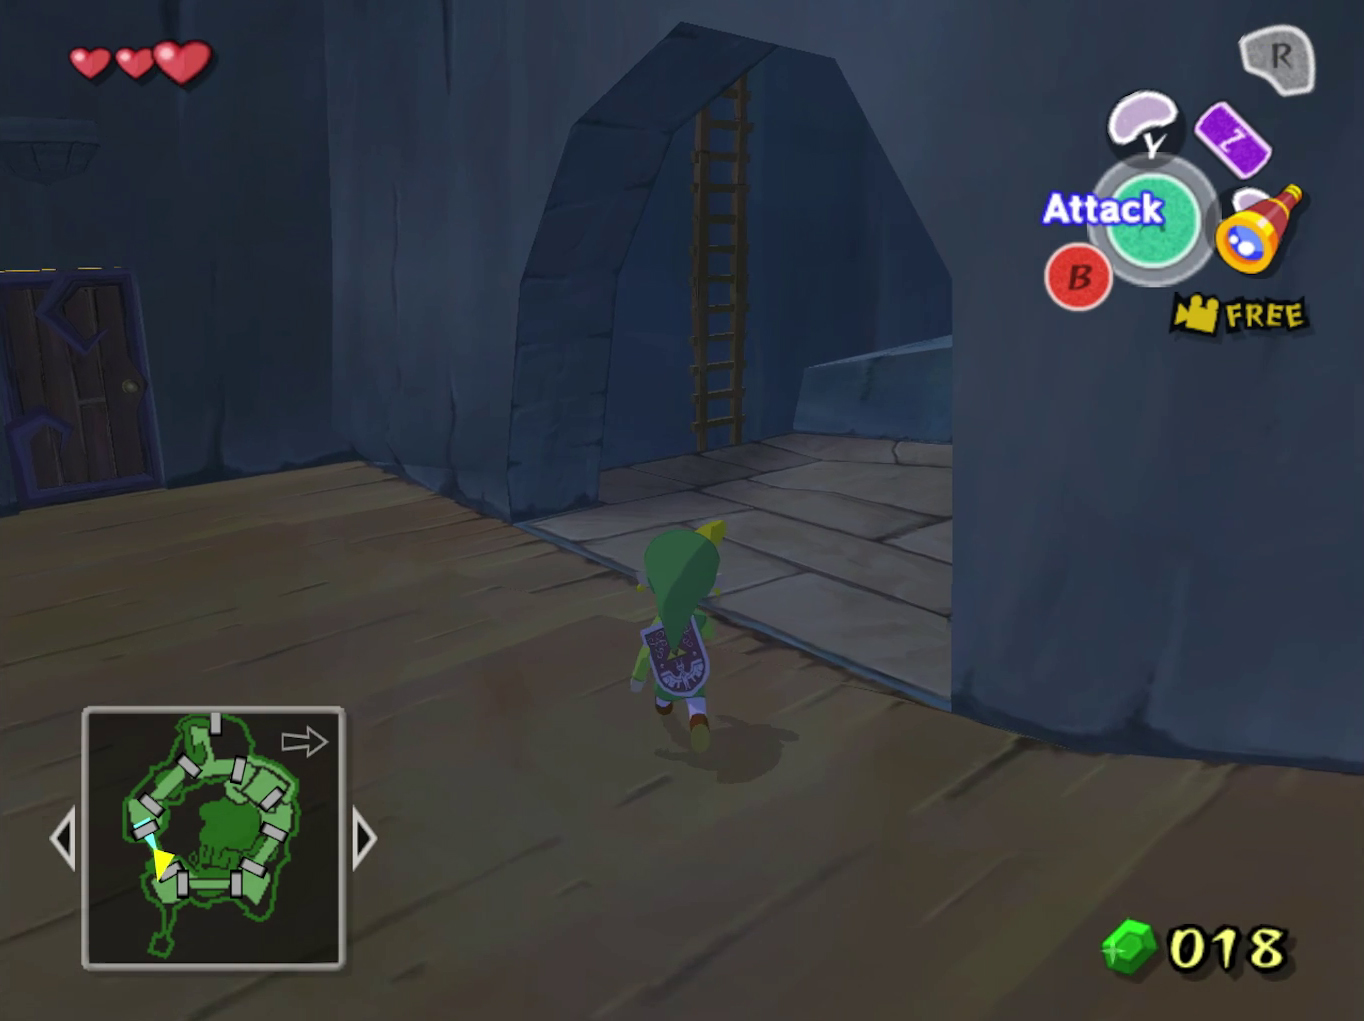
The adventure kicks off with Link being catapulted to the creepy Forsaken Fortress, swordless and surrounded by enemies. Here, stealth is your best friend—no running in with your sword. Your main goal? Disable three spotlights and scale the fortress. You can tackle the spotlights in any order, but here’s a smooth path to follow.
Spotlight #1: Straight From the Start
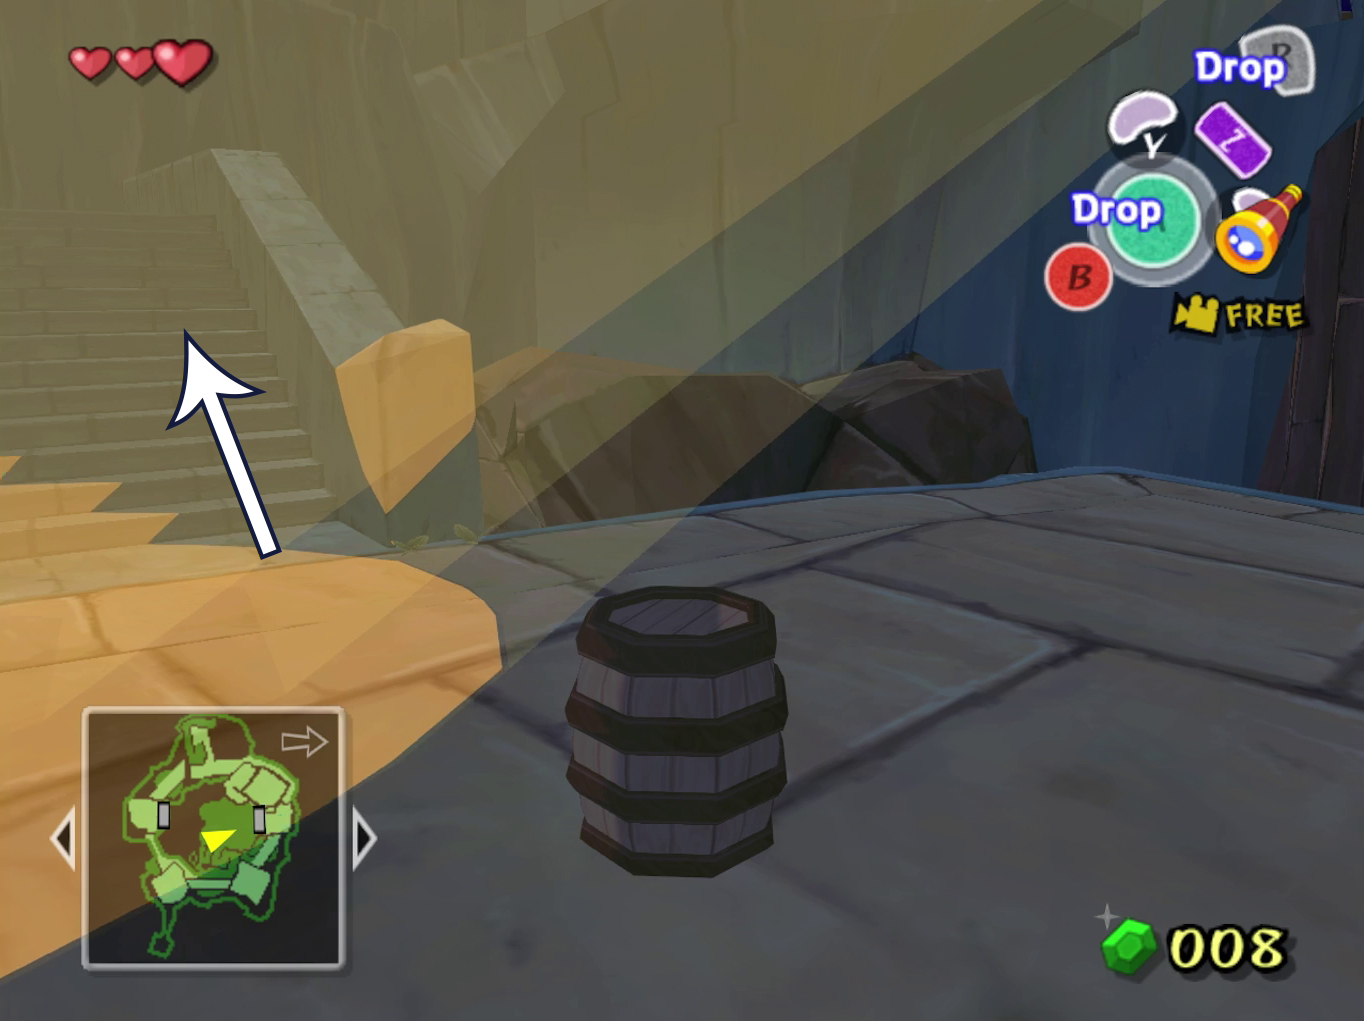
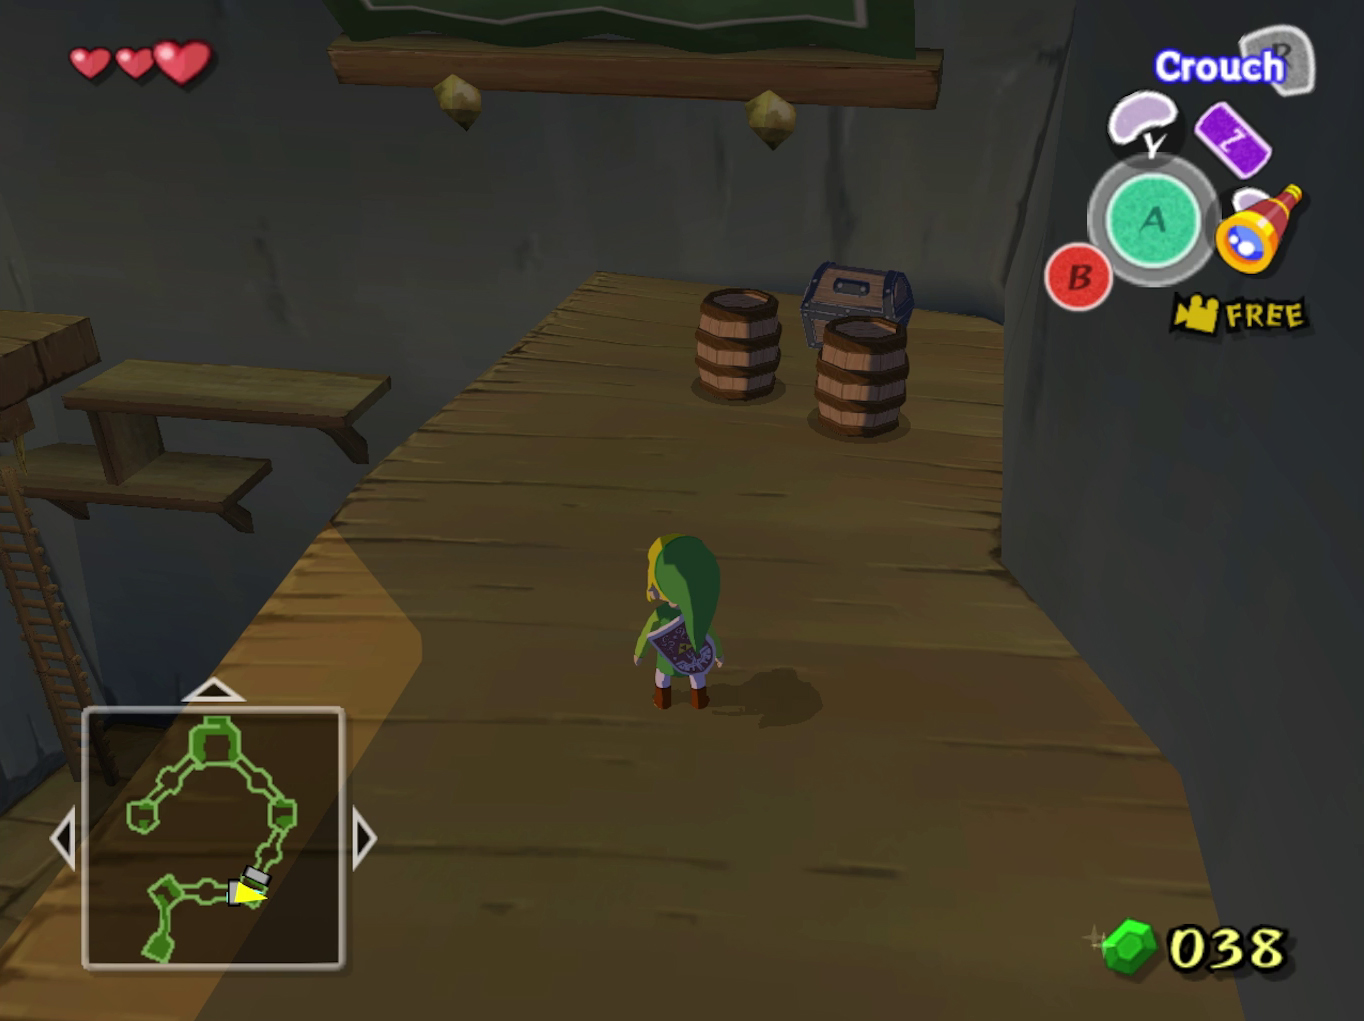
Step off the boat and head up the main path. You’ll spot a flat area with red rupees and those pesky spotlights. If you’re collecting rupees, use barrels for cover, but you can come back later. Either way, grab a barrel and sneak up the stairs, ignoring the big doors for now.
Keep climbing past the indoor hallway entrance until you see a ladder. Head up to meet your first Bokoblin. Pro tip: Use your shield to make it drop its weapon, then finish the job with a stick from the nearby vase. That’s one spotlight down!
Spotlight #2: Drop Down and Sneak Indoors
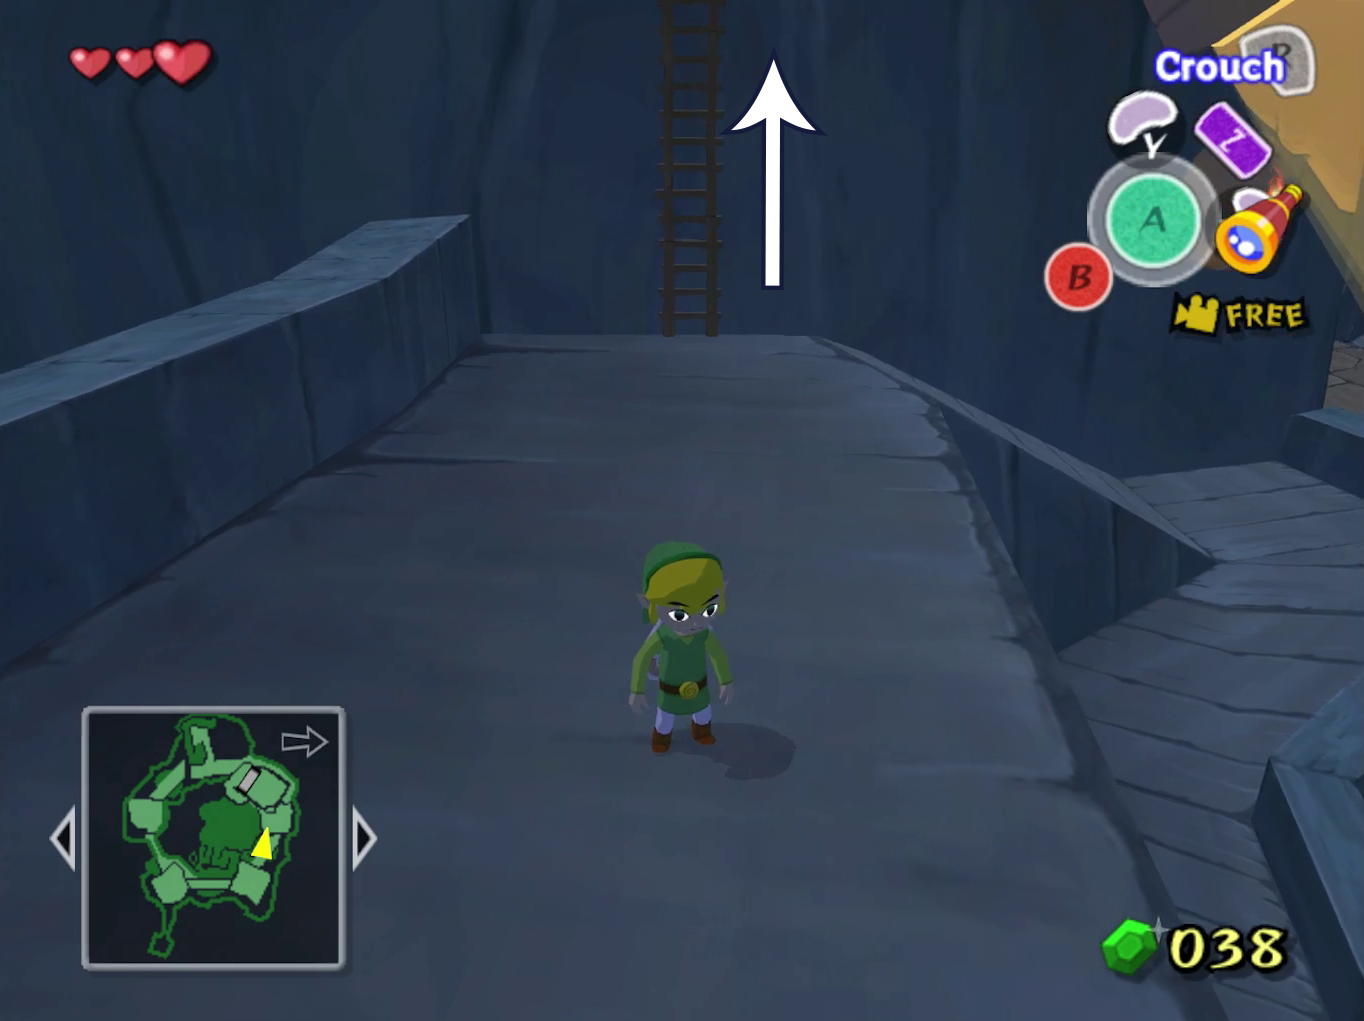
From the first spotlight, drop down to the big doors and head inside. You’ll have to dodge lasers and can snag a yellow rupee from a chest. Climb the beds on your left, then go through the right door to get back outside. Find another ladder—climb up for the second spotlight and repeat the Bokoblin beatdown.
After this, it’s actually fastest to let yourself get caught and thrown into jail. Get seen by a spotlight or just run into a Moblin inside the main doors.
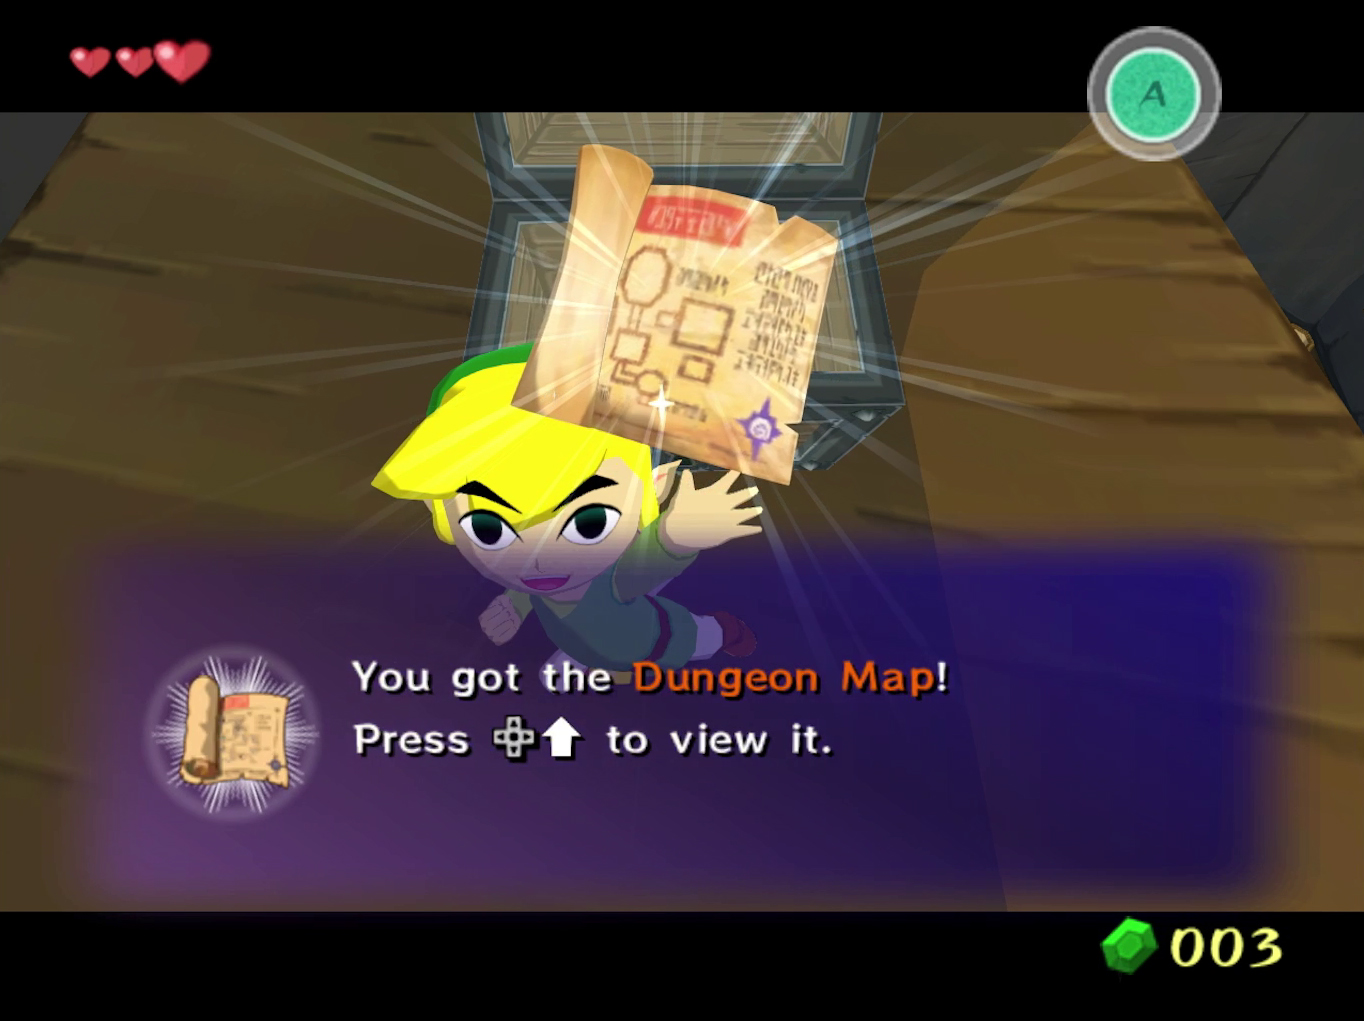
Spotlight #3: Jailbreak and Final Spotlight
In jail? No worries! Jump onto the table and bookshelf, break the vase, and crawl through the hole. Down the path, you’ll grab the dungeon map.
Optional: Grab a Piece of Heart
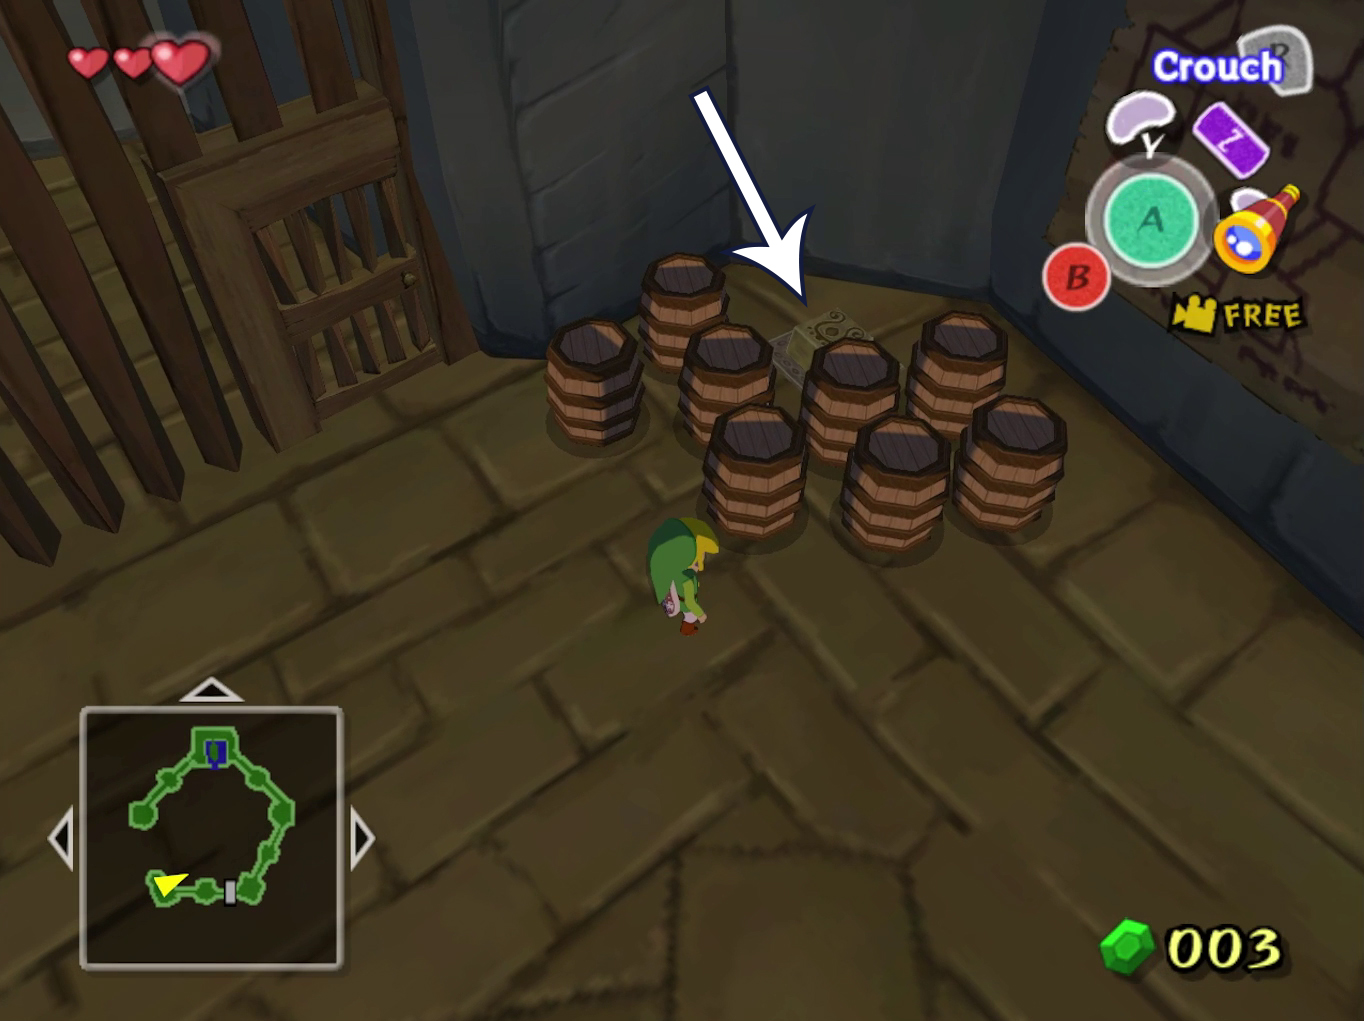
Feeling adventurous? Jump down near the jail cell and look for a hidden switch behind barrels. Trigger it for your first Piece of Heart. Once done, just get caught again to reset your position.
Final Stretch: Climbing Up
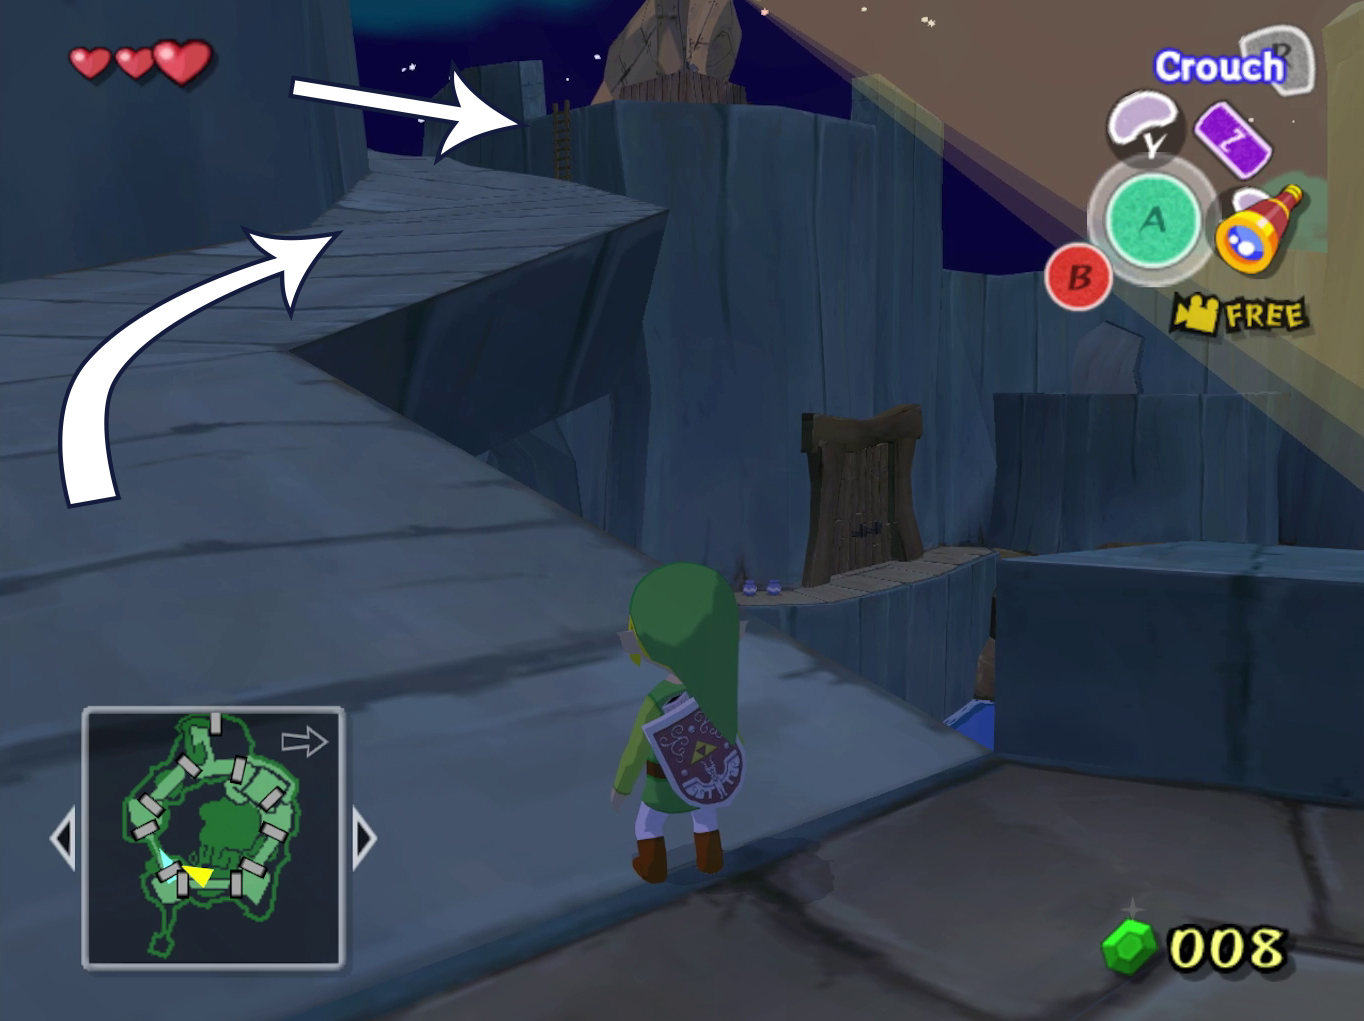
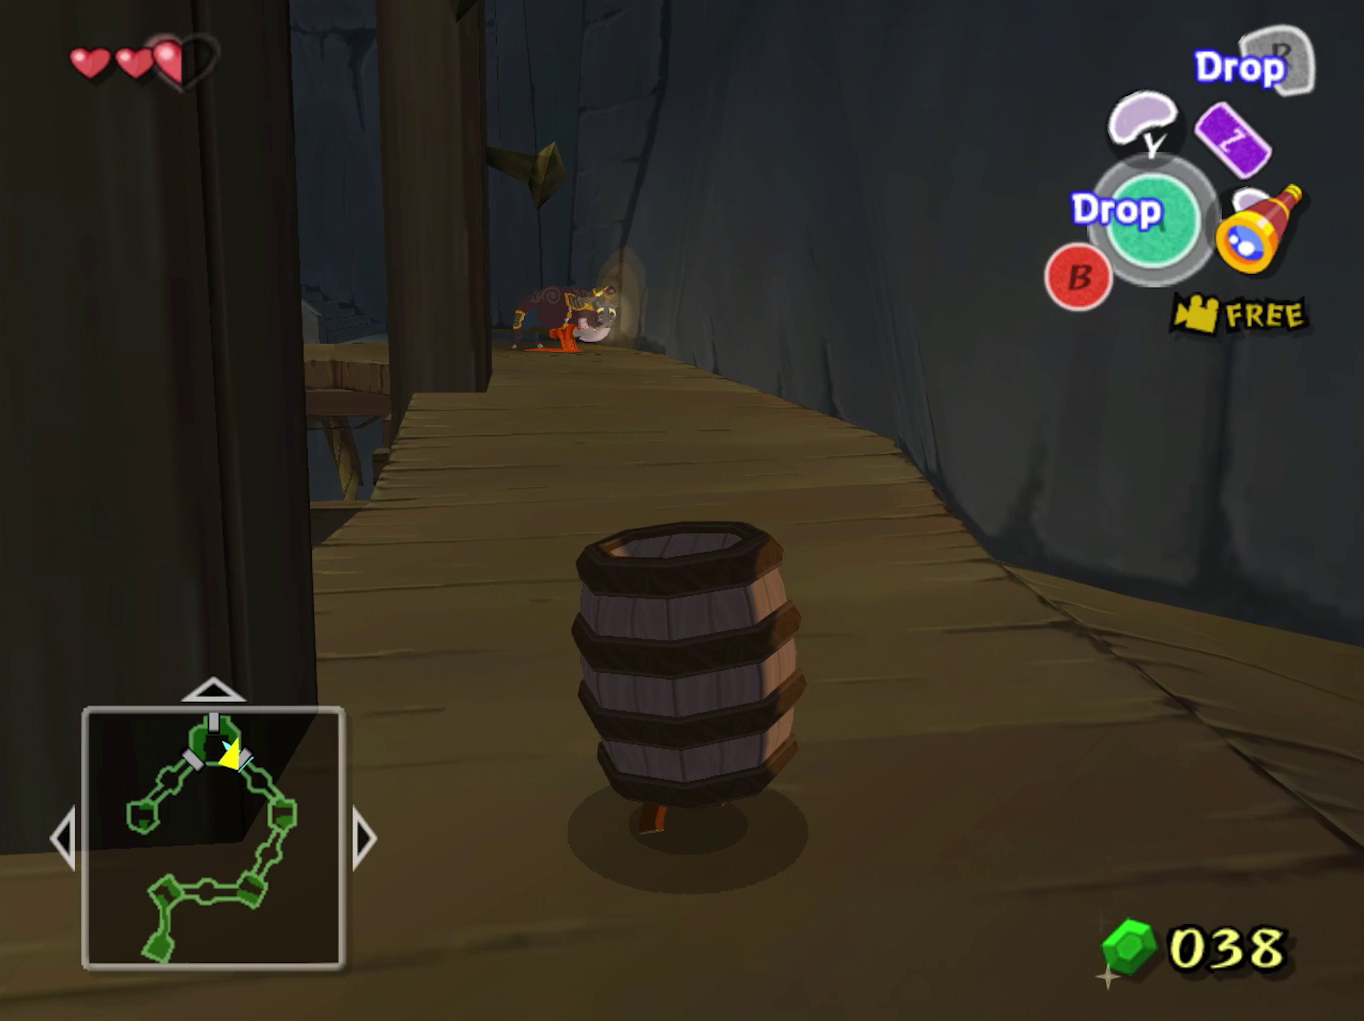
Use hanging lanterns to swing across gaps. In the next room, break barrels for the compass, then keep swinging and moving outside. Head left up the ramp to the third spotlight. Another ladder, another Bokoblin, and you’re done with the spotlights!
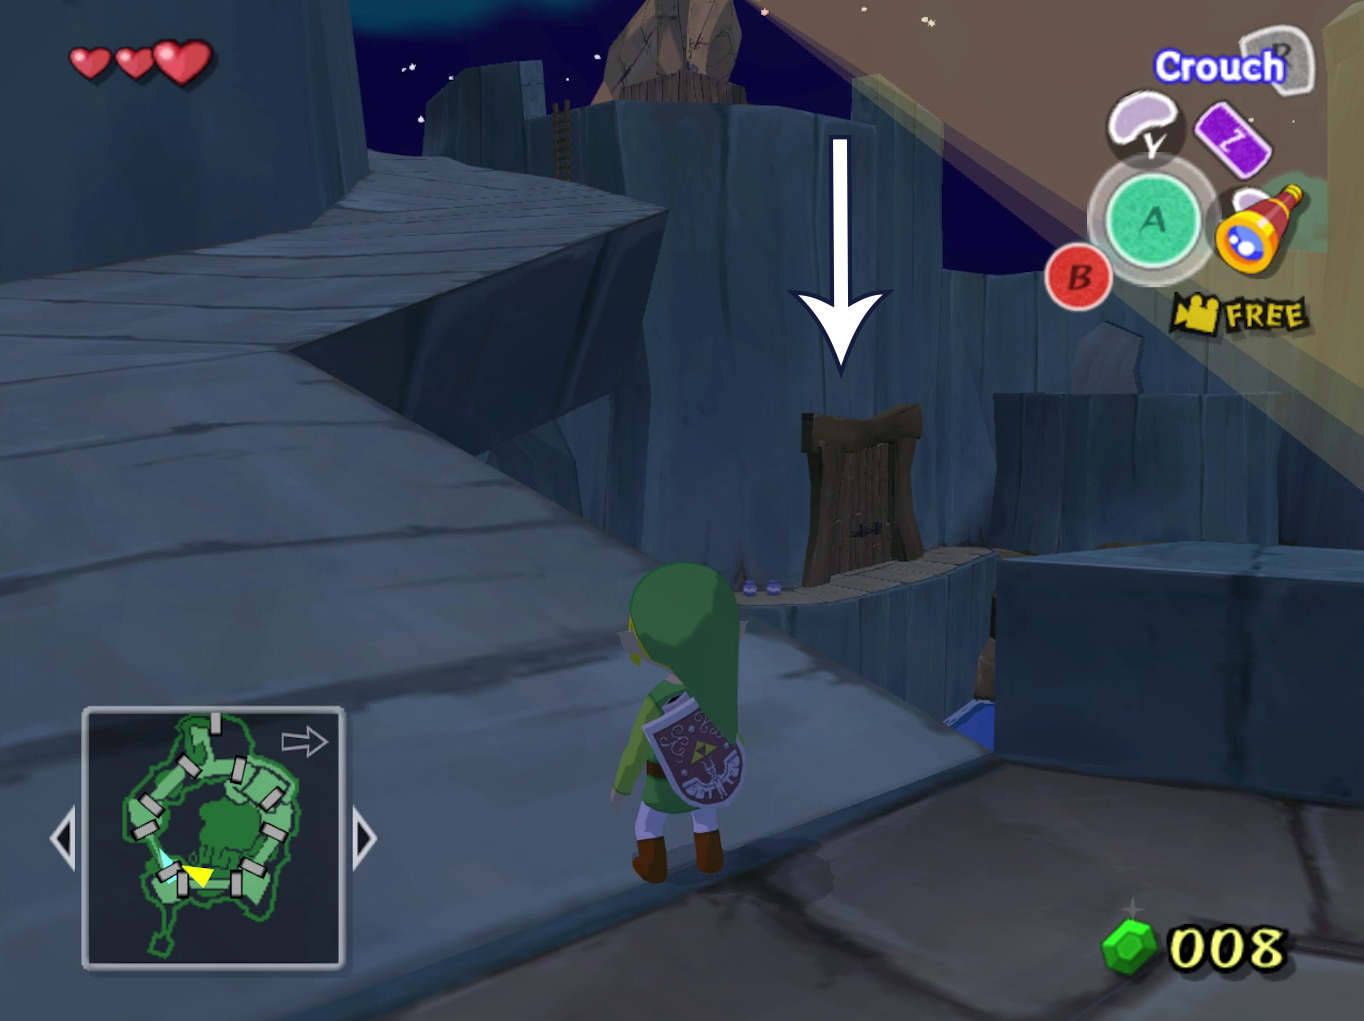
Jump down, push the crate for a shortcut, and keep heading north. You’ll see Moblins patrolling a big door—use a barrel to sneak past. If you get caught, back to jail you go, so time your moves!
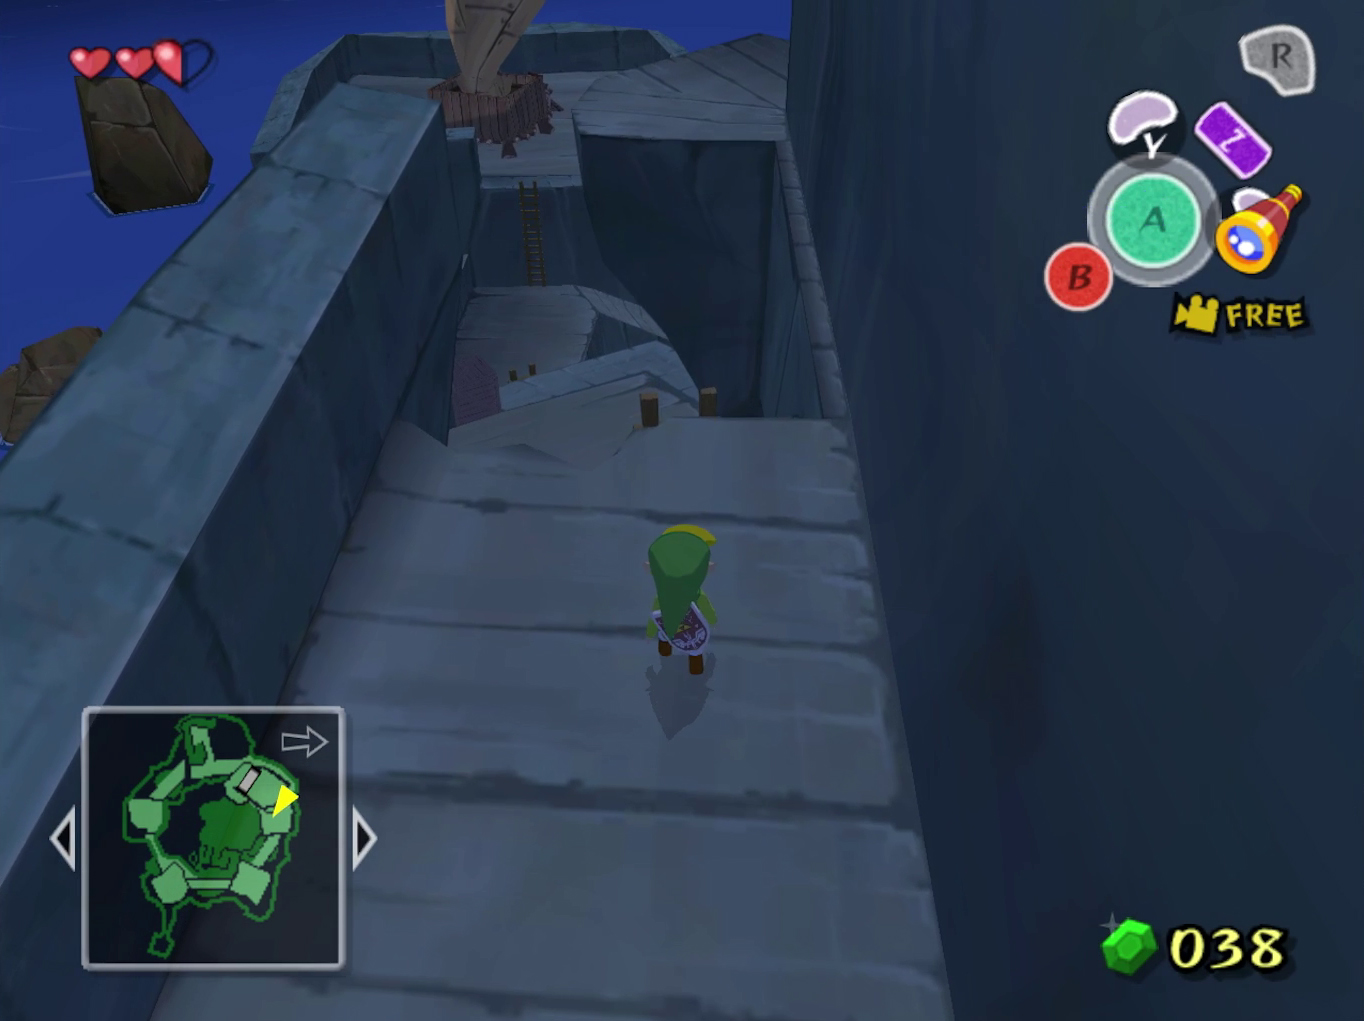
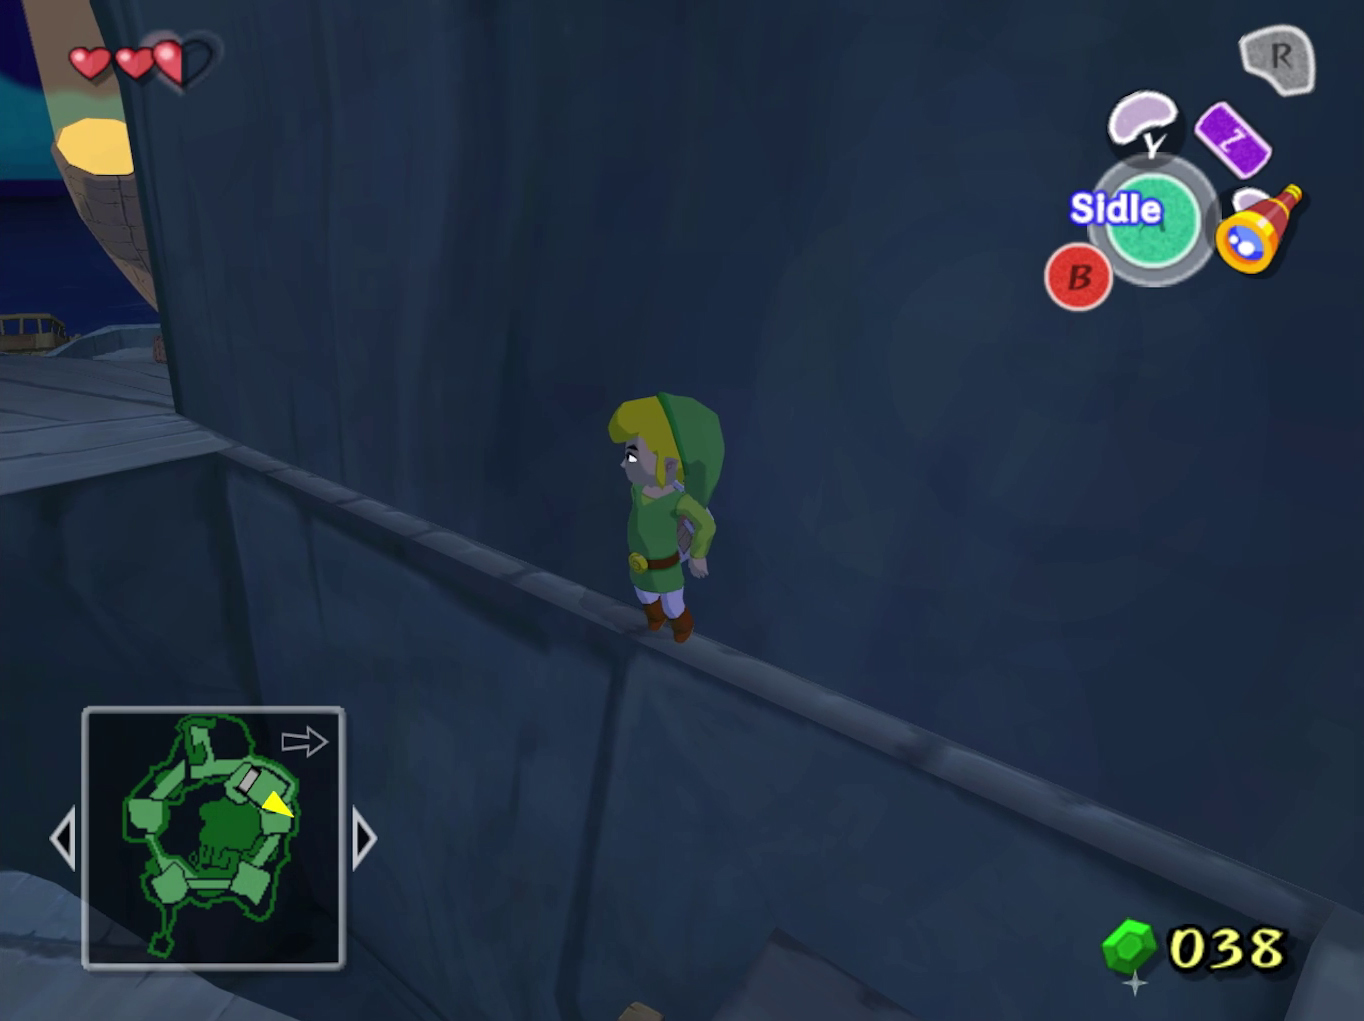
After the door, climb stairs, use another barrel for stealth, and push another crate for a shortcut. Use the ledges to sidle across gaps—hold A to cling to the wall and move carefully.
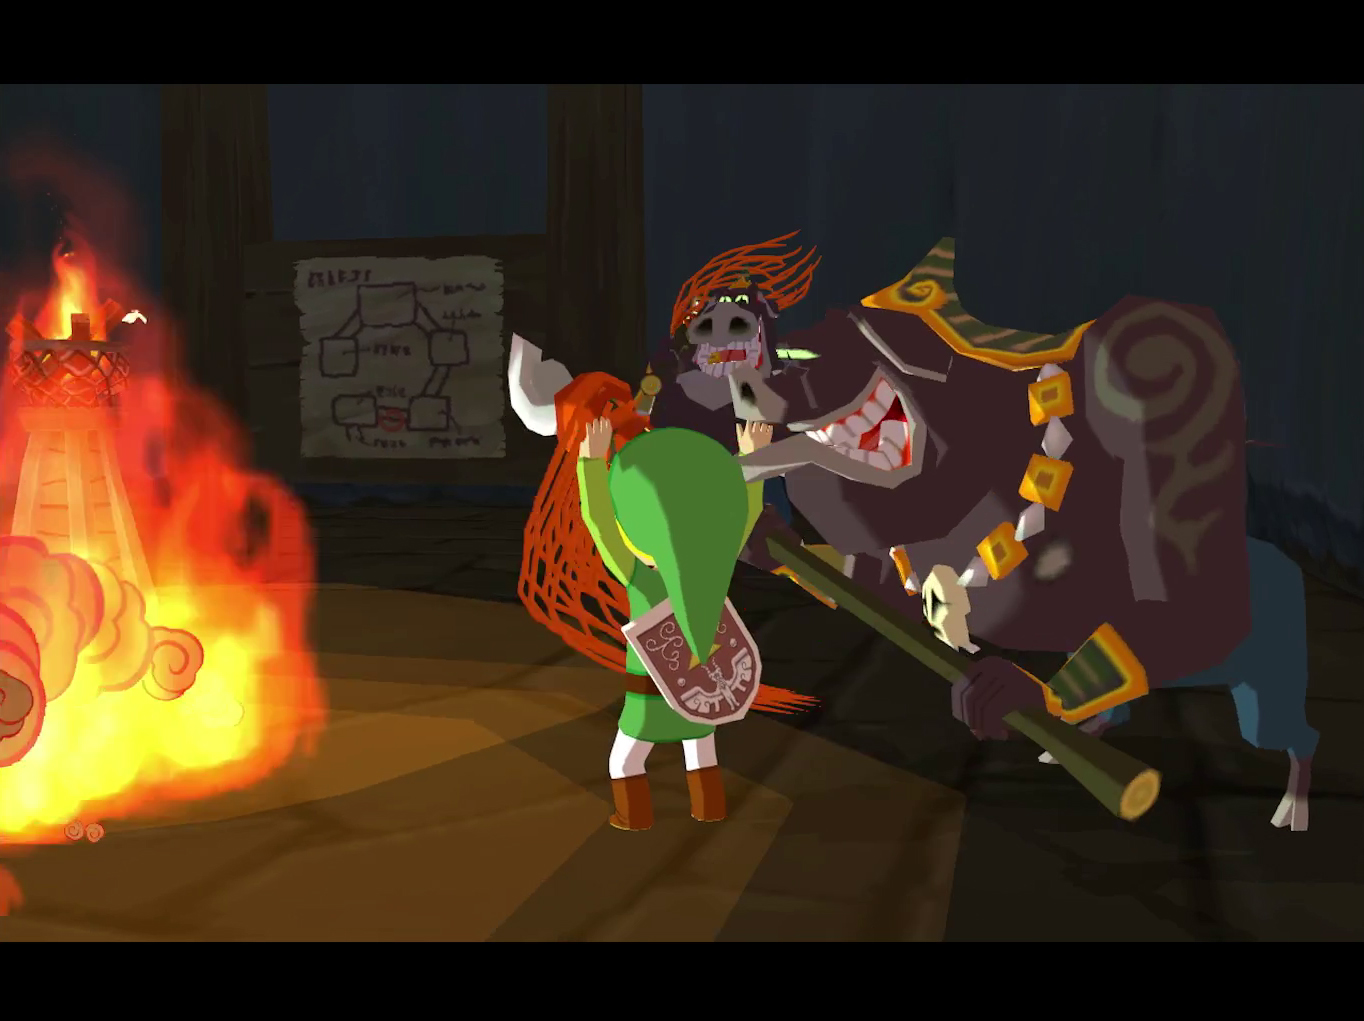
Get Your Sword and Finish the Job
You’ll finally find your sword and face a green Moblin. With your weapon back, this fight’s a breeze. Defeat the Moblin and walk through the big doors to trigger the final cutscene. That’s it—you’ve conquered the Forsaken Fortress! Don’t get too comfortable, you’ll be back here later.
Ready for the first real dungeon? Check out our Dragon Roost Cavern walkthrough next!


