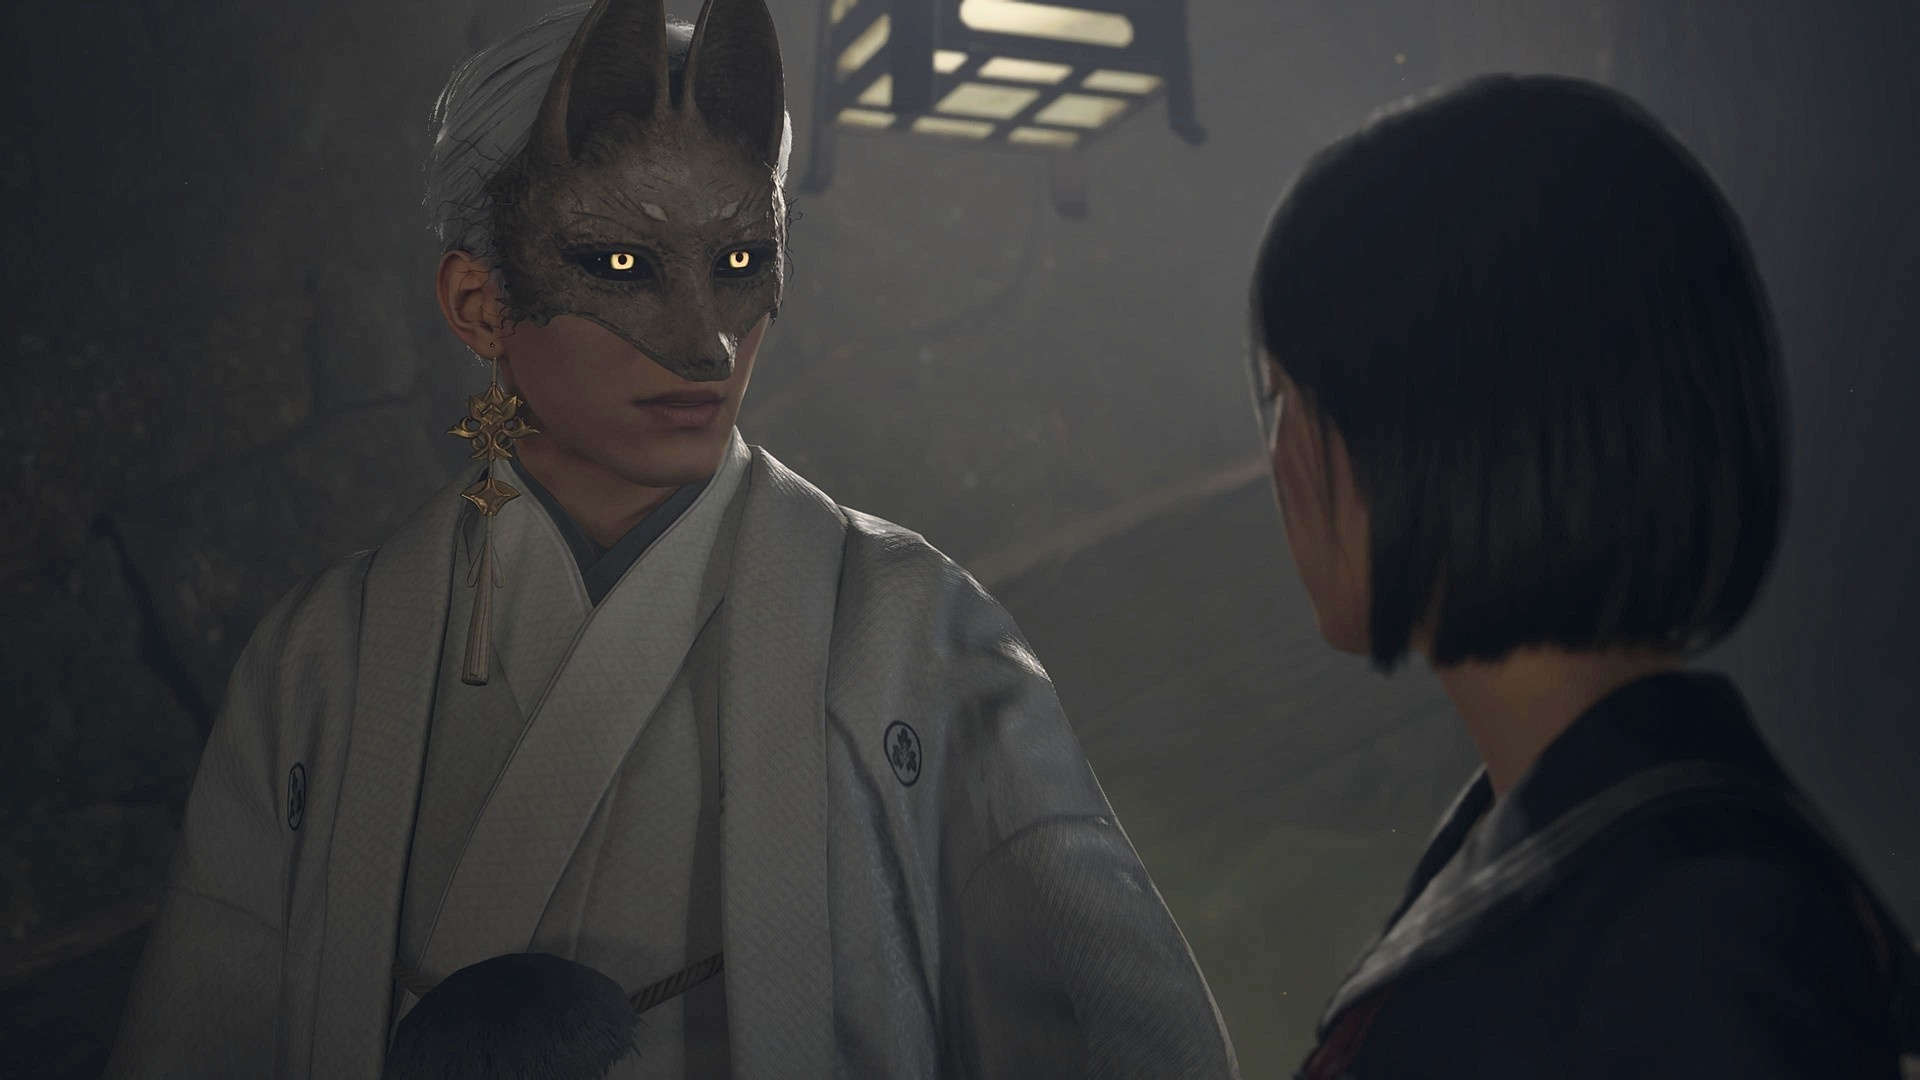
Silent Hill f Dark Shrine Interactive Maps — Find Hidden Items, Shortcuts and Escape Routes

Dark Shrine in Silent Hill f is sneakier than it looks: compact on the map, but packed with enemies, puzzles, and useful items. Below I break down each interactive map area so you can plan routes, gather supplies, and avoid getting lost in the dark.
- Silent Hill f Shrine Path interactive map
- Silent Hill f Corridor interactive map
- Silent Hill f Worship Hall interactive map
- Silent Hill f Main Hall interactive map
Silent Hill f Shrine Path interactive map
The Shrine Path looks simple at first, however it’s a twisty, dark area that quickly becomes tense. After solving the shrine vault puzzle you’ll be pushed into a chase section, so learn the layout fast and keep restorative items handy. Also, items can respawn or appear more often depending on how you play; during testing we saw health items show up more when players frequently took damage.
Use the map to note shortcuts and hokora locations so you can reset fights if needed. In short: memorize turns, collect key items, and expect at least one fast escape sequence.
{silent-hill-f-tag-page-cover-art_20250926_223201.jpg}
{silent_hill_f_hokora_shrine_20250926_223202.png}
{Hollow-Knight-Shortcuts-Hex-Icon_20250926_223202.png}
{silent-hill_f_bandage_icon_20250926_223203.png}
{silent-hill_f_red_capsules_icon_20250926_223203.png}
{silent-hill_f_yokan_icon_20250926_223204.png}
{silent-hill_f_toolkit_icon_20250926_223205.png}
{silent-hill_f_key_item_20250926_223206.png}
{silent-hill_f_red_ramune_icon_20250926_223206.png}
{silent-hill_f_omamori_icon_20250926_223207.png}
{silent-hill_f_divine_water_icon_20250926_223207.png}
{silent-hill_f_first_aid_kit_icon_20250926_223208.png}
{silent-hill_f_weapon_icon_20250926_223208.png}
{silent_hill_f_higashi_icon_20250926_223209.png}
{silent_hill_f_kudzu_tea_icon_20250926_223210.png}
{silent_hill_f_blessed_hand_mirror_icon_20250926_223210.png}
{silent-hill_f_arare_icon_20250926_223211.png}
{silent-hill_f_ena_icon_20250926_223212.png}
{silent-hill_f_chocolate_icon_20250926_223212.png}
{silent_hill_f_document_icon_20250926_223214.png}
{silent_hill_f_treasure_icon_20250926_223214.png}
{silent_hill_f_boss_icon_20250926_223215.png}
{silent_hill_f_upgrade_icon_20250926_223216.png}
Silent Hill f Corridor interactive map
“Corridor” is more than a hallway: it’s a sequence of locked rooms and detours that put you face-to-face with new enemies. Therefore, you should clear nearby hokora shrines after tough fights so you don’t repeat them unnecessarily.
Practical tip
Look around corners. Specifically, this area rewards careful corner checks — enemies often ambush just out of sight. Also, revisit shortcuts once you unlock them to shave time off backtracking.
{silent-hill-f-tag-page-cover-art_20250926_223201.jpg}
{silent_hill_f_hokora_shrine_20250926_223202.png}
{silent-hill_f_bandage_icon_20250926_223203.png}
{silent-hill_f_red_capsules_icon_20250926_223203.png}
{silent_hill_f_yokan_icon_20250926_223204.png}
{silent_hill_f_toolkit_icon_20250926_223205.png}
{silent_hill_f_key_item_20250926_223206.png}
{silent_hill_f_red_ramune_icon_20250926_223206.png}
{silent_hill_f_omamori_icon_20250926_223207.png}
{silent_hill_f_divine_water_icon_20250926_223207.png}
{silent_hill_f_first_aid_kit_icon_20250926_223208.png}
{silent_hill_f_weapon_icon_20250926_223208.png}
{silent_hill_f_higashi_icon_20250926_223209.png}
{silent_hill_f_kudzu_tea_icon_20250926_223210.png}
{silent_hill_f_blessed_hand_mirror_icon_20250926_223210.png}
{silent_hill_f_arare_icon_20250926_223211.png}
{silent_hill_f_ena_icon_20250926_223212.png}
{silent_hill_f_chocolate_icon_20250926_223212.png}
{silent_hill_f_document_icon_20250926_223214.png}
{silent_hill_f_treasure_icon_20250926_223214.png}
{silent_hill_f_boss_icon_20250926_223215.png}
Silent Hill f Worship Hall interactive map
The Worship Hall is a cluster of cramped rooms and narrow halls. Consequently, you’ll face a mix of combat and puzzle doors that force specific routing based on door color. Therefore, plan your path to avoid backtracking through enemy-dense zones.
Notes and scribbles found here are important for understanding Hinako’s memories, so collect them when you can. Also, the area contains numerous collectibles and a few upgrade opportunities if you explore thoroughly.
{silent-hill-f-tag-page-cover-art_20250926_223201.jpg}
{silent_hill_f_hokora_shrine_20250926_223202.png}
{Hollow-Knight-Shortcuts-Hex-Icon_20250926_223202.png}
{silent-hill_f_bandage_icon_20250926_223203.png}
{silent-hill_f_red_capsules_icon_20250926_223203.png}
{silent-hill_f_yokan_icon_20250926_223204.png}
{silent-hill_f_toolkit_icon_20250926_223205.png}
{silent_hill_f_key_item_20250926_223206.png}
{silent_hill_f_red_ramune_icon_20250926_223206.png}
{silent_hill_f_omamori_icon_20250926_223207.png}
{silent_hill_f_divine_water_icon_20250926_223207.png}
{silent_hill_f_first_aid_kit_icon_20250926_223208.png}
{silent_hill_f_weapon_icon_20250926_223208.png}
{silent_hill_f_higashi_icon_20250926_223209.png}
{silent_hill_f_kudzu_tea_icon_20250926_223210.png}
{silent_hill_f_blessed_hand_mirror_icon_20250926_223210.png}
{silent_hill_f_arare_icon_20250926_223211.png}
{silent_hill_f_ena_icon_20250926_223212.png}
{silent_hill_f_chocolate_icon_20250926_223212.png}
{silent_hill_f_document_icon_20250926_223214.png}
{silent_hill_f_treasure_icon_20250926_223214.png}
{silent_hill_f_boss_icon_20250926_223215.png}
{hollow_knight_silksong_bellhome_decorations_20250926_223216.png}
{silent_hill_f_upgrade_icon_20250926_223216.png}
{silent_hill_f_upgrade_icon_20250926_223216.png}
{silent_hill_f_upgrade_icon_20250926_223216.png}
Silent Hill f Main Hall interactive map
The Main Hall ramps up the combat compared with other Dark Shrine areas. So, stock your satchel with restoratives and make sure to enshrine any offerings you find; they matter for progression and some upgrades.
Additionally, this area has several collectibles and at least one larger enemy encounter, so take your time clearing rooms and gathering documents if you want full context on the story beats here.
{silent-hill-f-tag-page-cover-art_20250926_223201.jpg}
{silent_hill_f_hokora_shrine_20250926_223202.png}
{Hollow-Knight-Shortcuts-Hex-Icon_20250926_223202.png}
{silent-hill_f_bandage_icon_20250926_223203.png}
{silent_hill_f_red_capsules_icon_20250926_223203.png}
{silent_hill_f_yokan_icon_20250926_223204.png}
{silent_hill_f_toolkit_icon_20250926_223205.png}
{silent_hill_f_key_item_20250926_223206.png}
{silent_hill_f_red_ramune_icon_20250926_223206.png}
{silent_hill_f_omamori_icon_20250926_223207.png}
{silent_hill_f_divine_water_icon_20250926_223207.png}
{silent_hill_f_first_aid_kit_icon_20250926_223208.png}
{silent_hill_f_weapon_icon_20250926_223208.png}
{silent_hill_f_higashi_icon_20250926_223209.png}
{silent_hill_f_kudzu_tea_icon_20250926_223210.png}
{silent_hill_f_blessed_hand_mirror_icon_20250926_223210.png}
{silent_hill_f_arare_icon_20250926_223211.png}
{silent_hill_f_ena_icon_20250926_223212.png}
{silent_hill_f_chocolate_icon_20250926_223212.png}
{silent_hill_f_inari_sushi_icon_20250926_223213.png}
{silent_hill_f_document_icon_20250926_223214.png}
{silent_hill_f_treasure_icon_20250926_223214.png}
{silent_hill_f_boss_icon_20250926_223215.png}
{hollow_knight_silksong_bellhome_decorations_20250926_223216.png}
{silent_hill_f_upgrade_icon_20250926_223216.png}


