Skip the Gunfight: 4 Clever Ways to Sneak Into the Vox Relay Station in The Outer Worlds 2
If you’re trying to get into the Vox Relay Station in The Outer Worlds 2, there are multiple routes and a few clear requirements. Some options hand you a near-instant way inside, while others need specific skills like Lockpicking or Speech. Below you’ll find every method we tested, the key mechanics involved, and what loot or risks to expect.
- How to infiltrate the Vox Relay Station
- Siding with Milverstreet or Kaur
- The front gate
- The side door (lockpick route)
- The sewer route (best for loot and stealth)
- Armory, requirements, and rewards
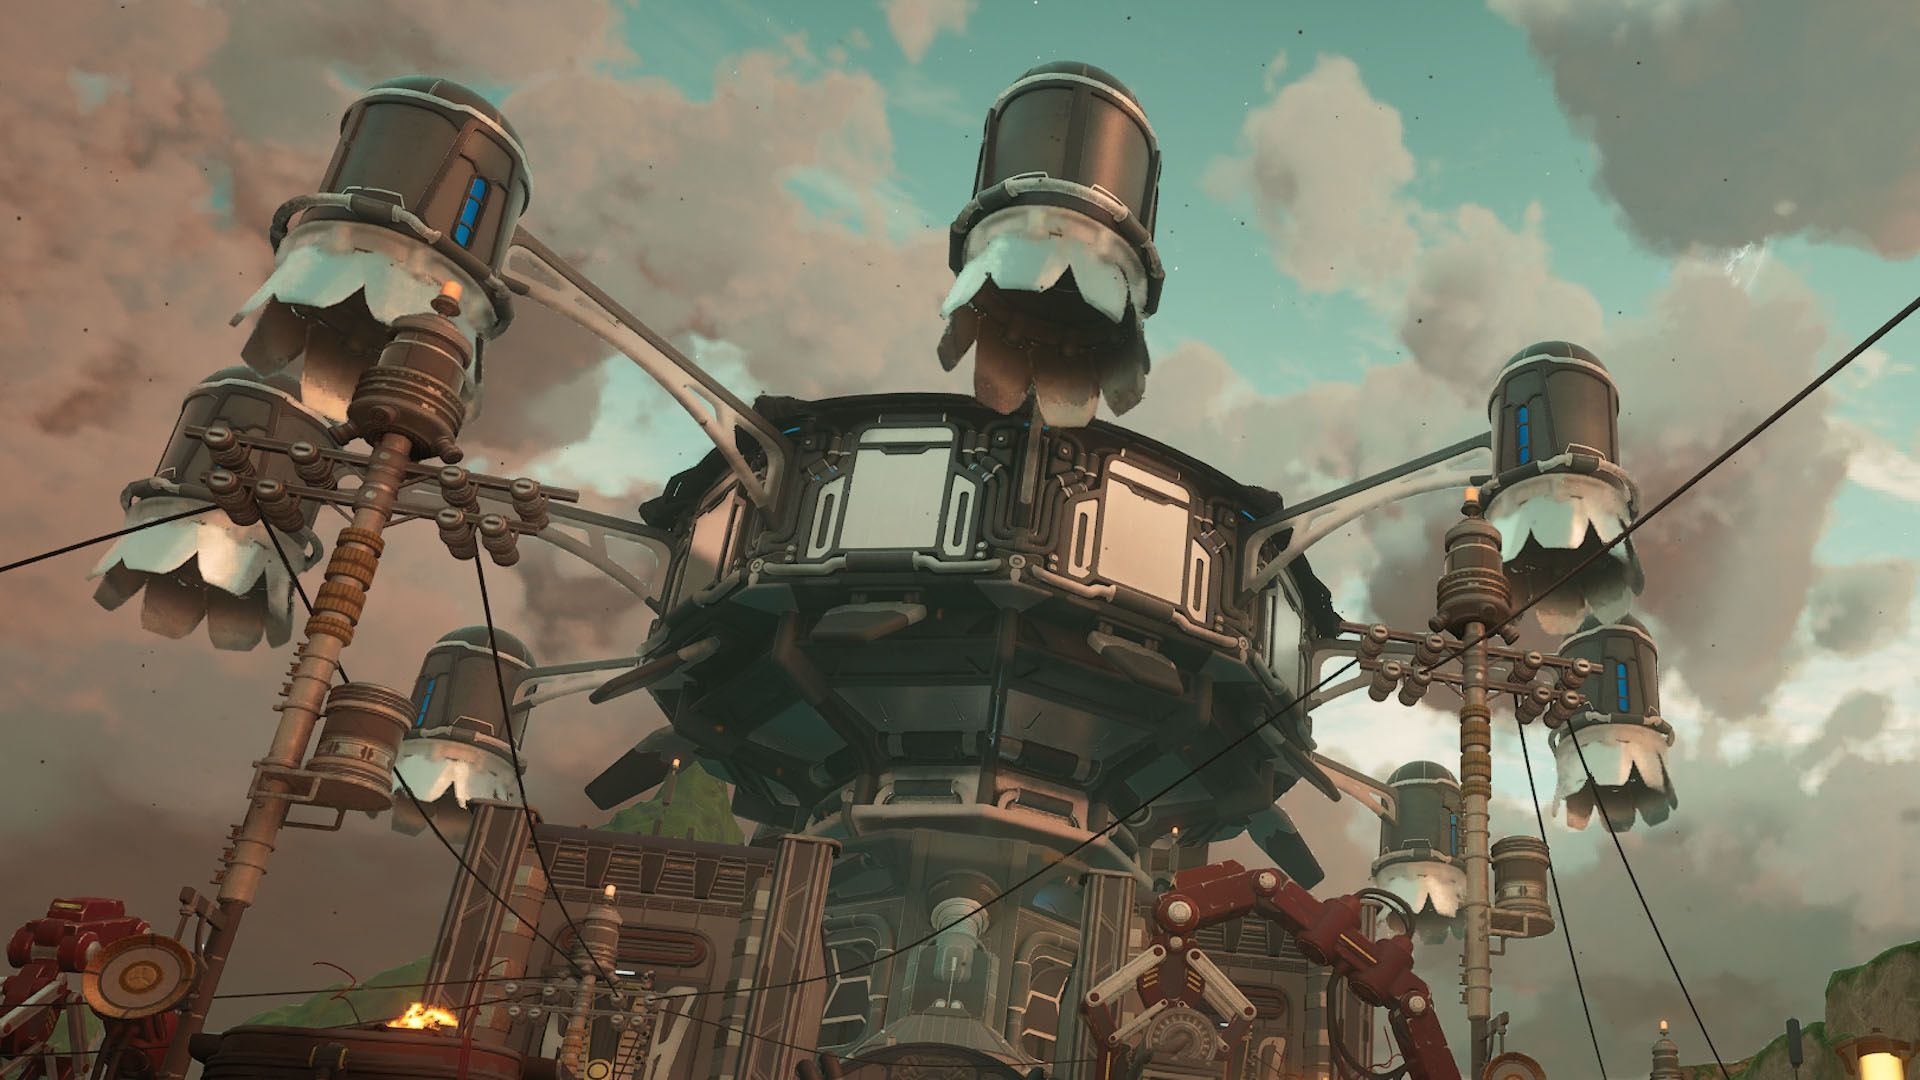
How to infiltrate the Vox Relay Station
There are several legitimate ways to enter the Vox Relay Station, and each one changes how you approach the courtyard and the interior. Some methods bypass the courtyard entirely, while others put you straight into a firefight. Either way, you’ll encounter Protectorate forces inside regardless of prior alliances.
Siding with Milverstreet or Kaur
If you follow the “The Saboteur of Paradise” quest, you’ll be offered a choice to work with Milverstreet or Kaur. After completing the required steps for either ally, the game provides a way to fast-travel into the relay station’s entrance hall. Consequently, you can skip the courtyard and its immediate threats.
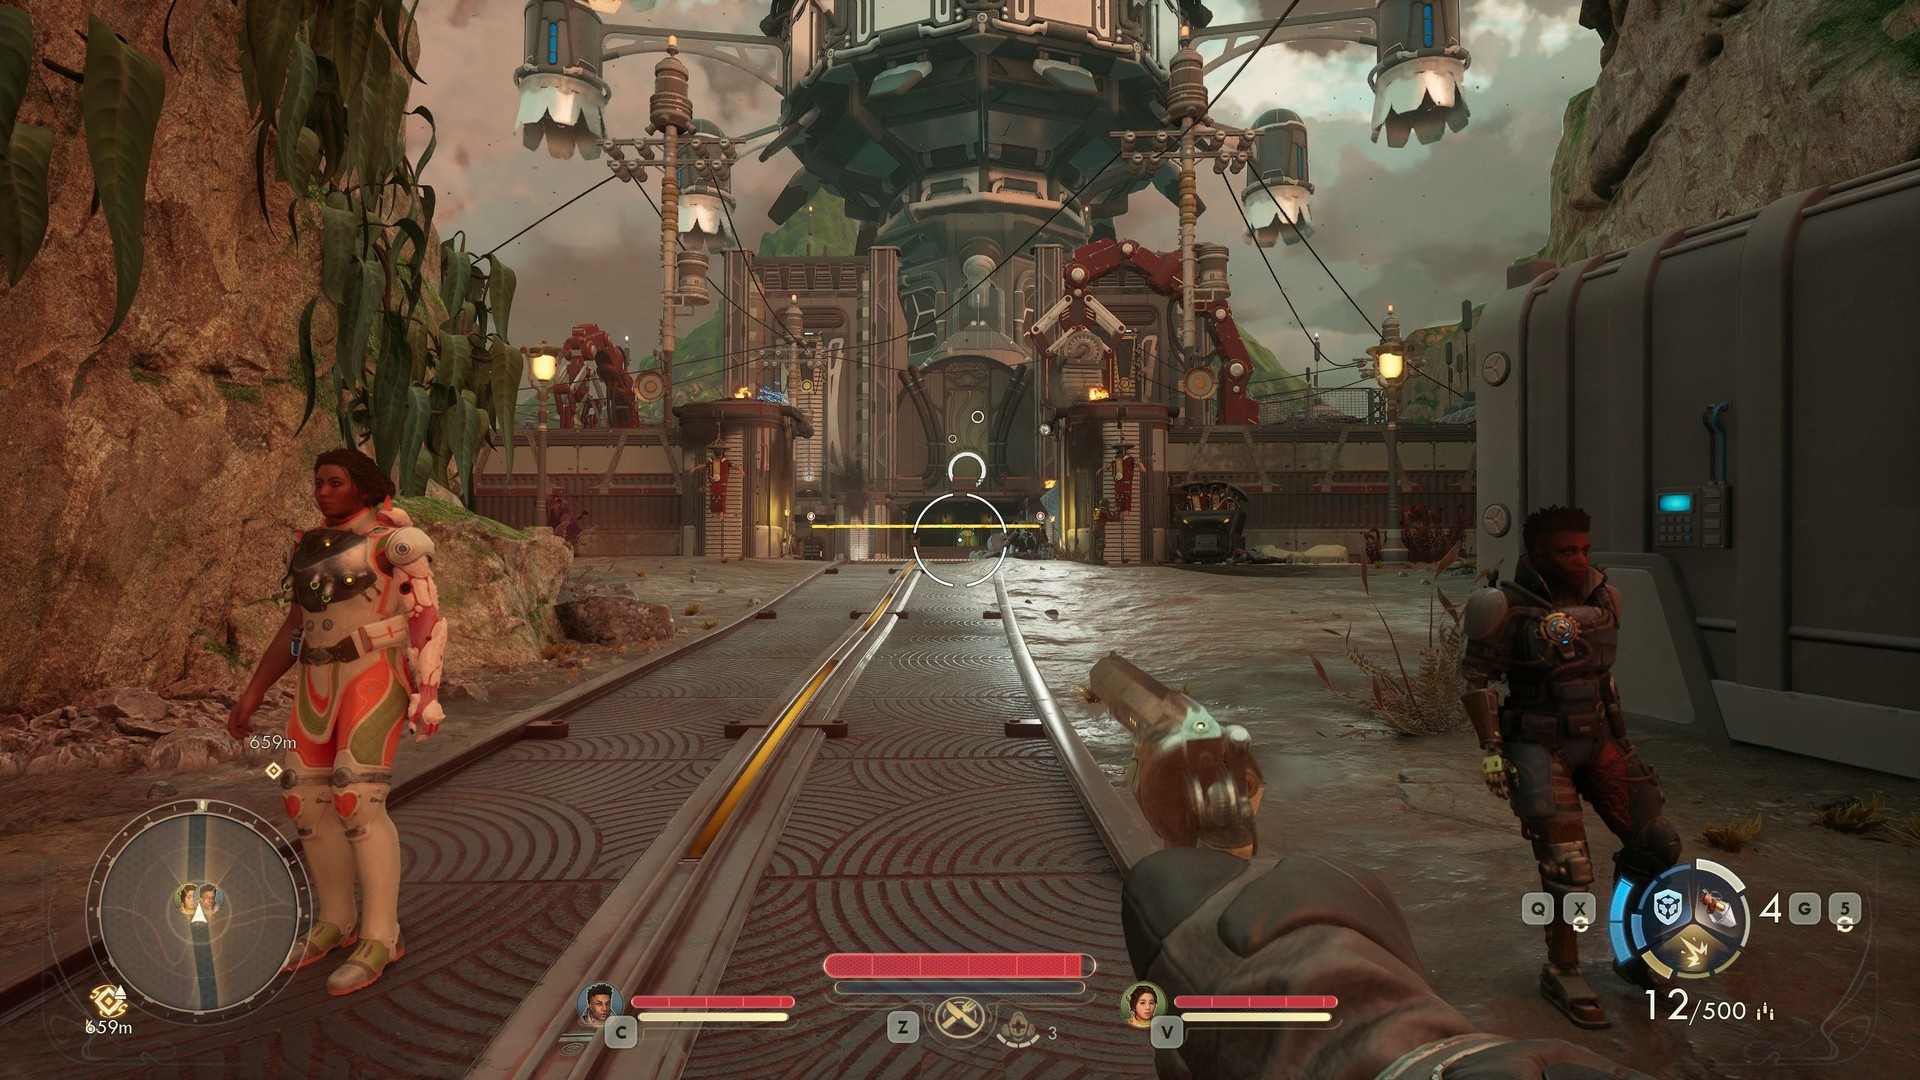
The front gate
Walking through the main gate is the most direct option. However, it immediately marks you as trespassing and triggers enemies to attack on sight. In the area in front of the gate there is an interactable container that can release large automechs.
Those automechs are powered by zyranium and treat any nearby life as hostile; they will march into the courtyard and attack. There are enough local soldiers to bring them down, but this method still creates a noisy and dangerous opening. It can be used as a distraction, yet it’s not a safe or stealthy approach.
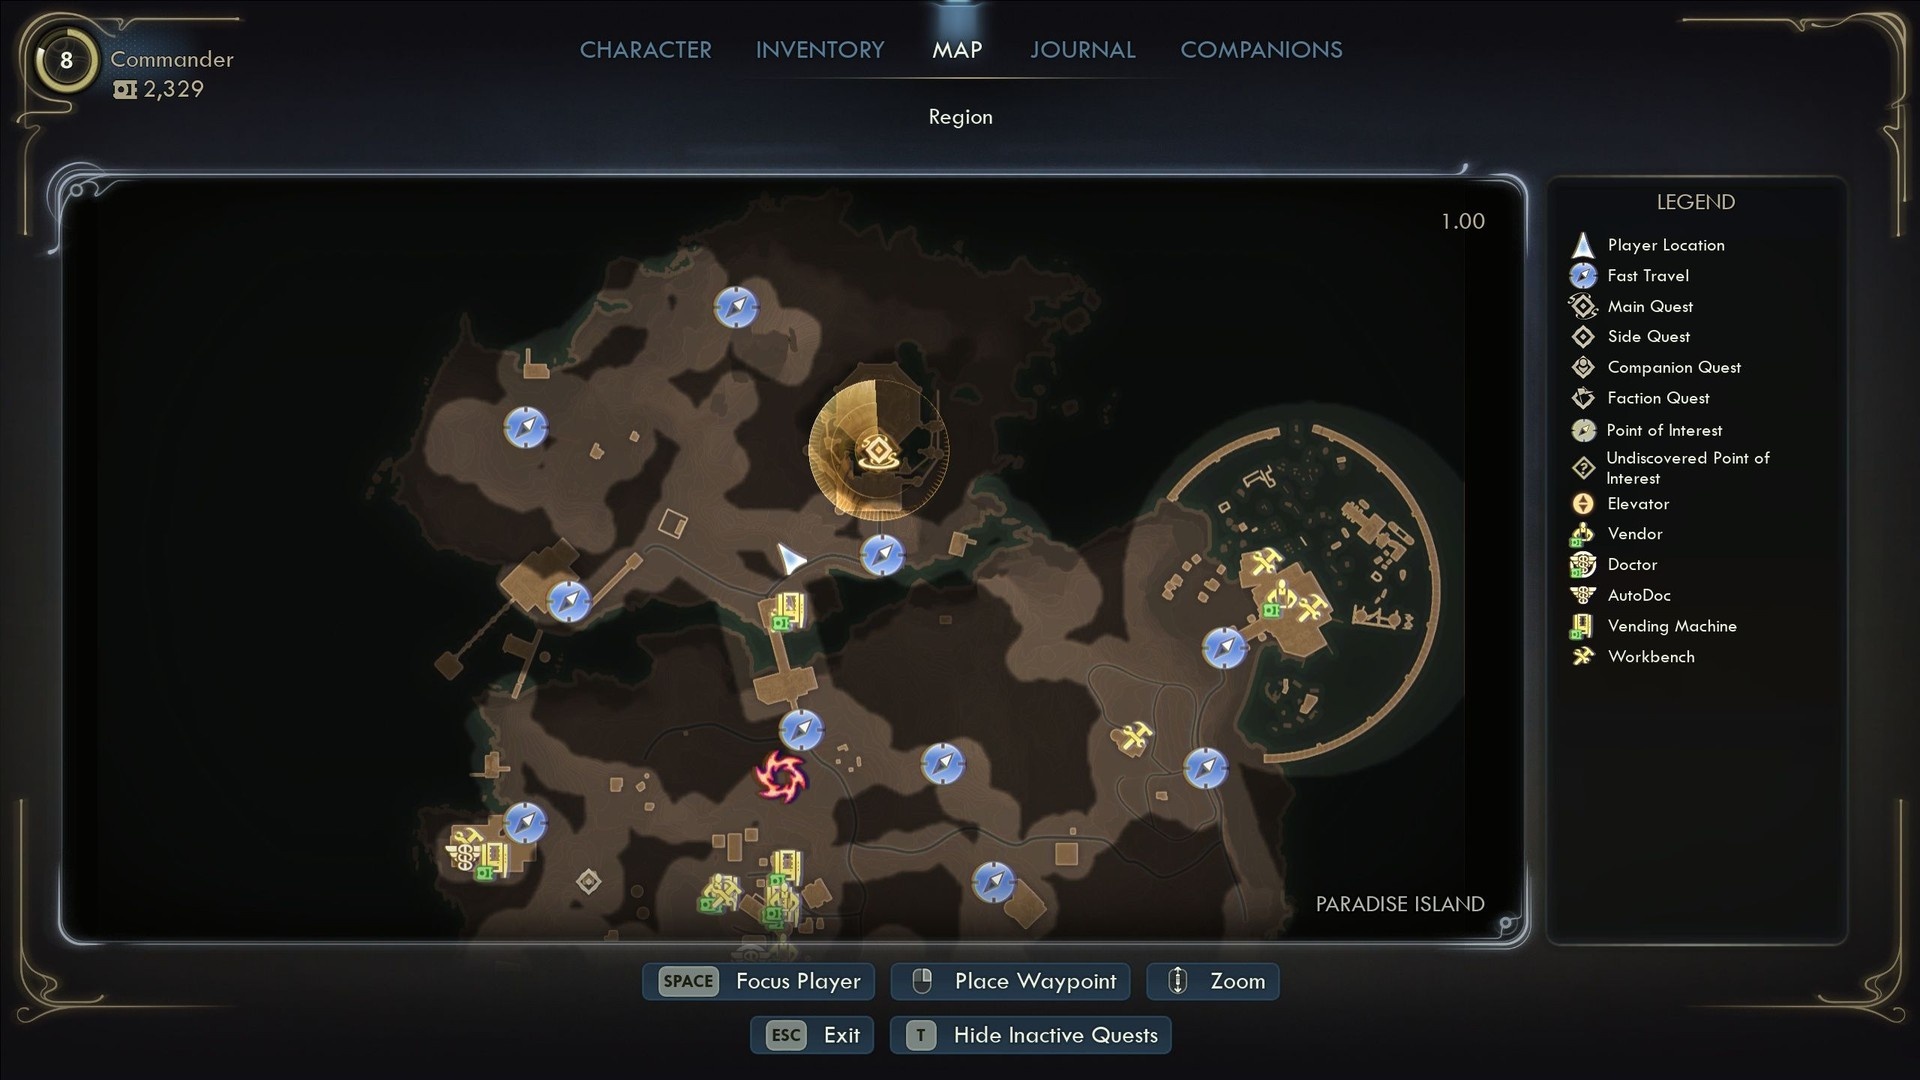
The side door (lockpick route)
There’s a less obvious path to the yard that requires Lockpicking. North of the bridge you’ll find a Protectorate deserter facing execution. After that encounter, head further north and look for a power cord in the grass. Follow it right and you’ll reach a ledge above the station entrance.
Drop down into the building below and move into the courtyard from that side. From here you can either pick the engineering room lock or attempt to push through toward the main hall. Note that you need 3 points in Lockpicking to open the engineering room door without forcing it.

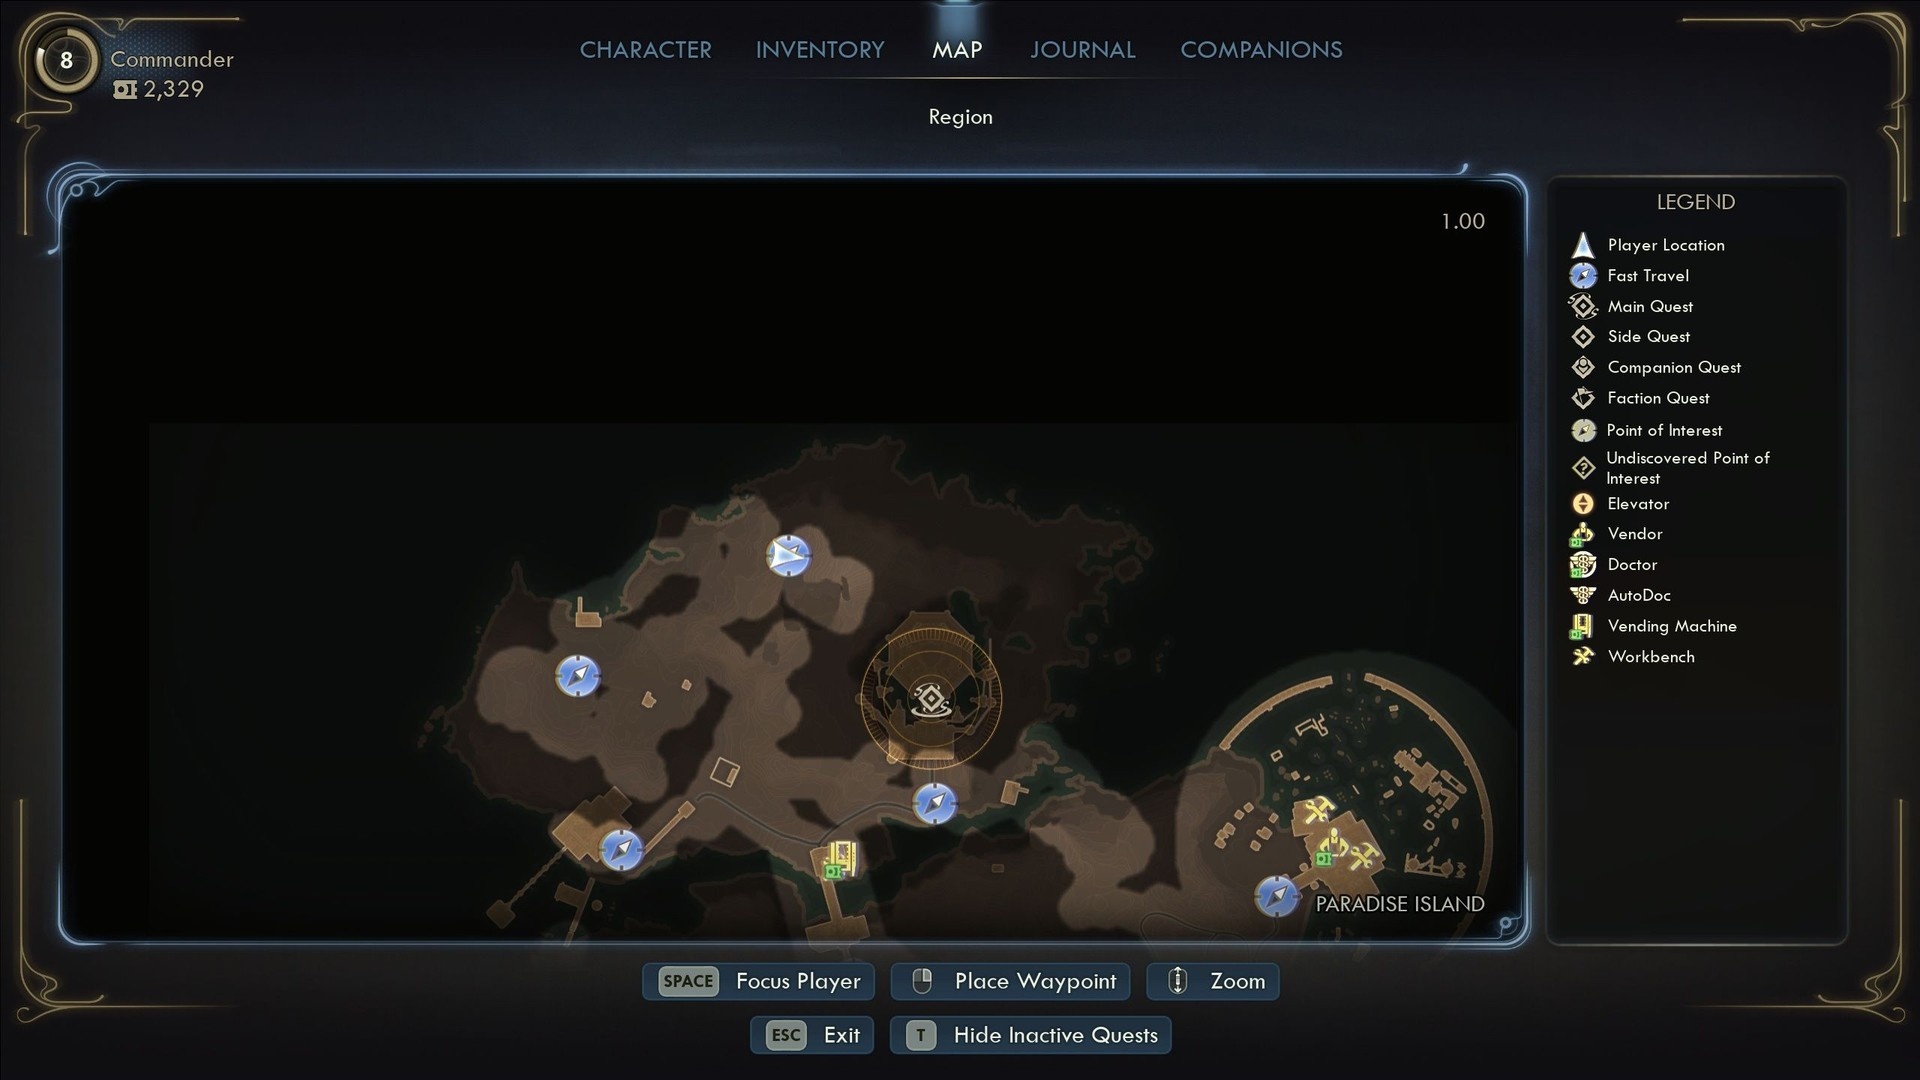
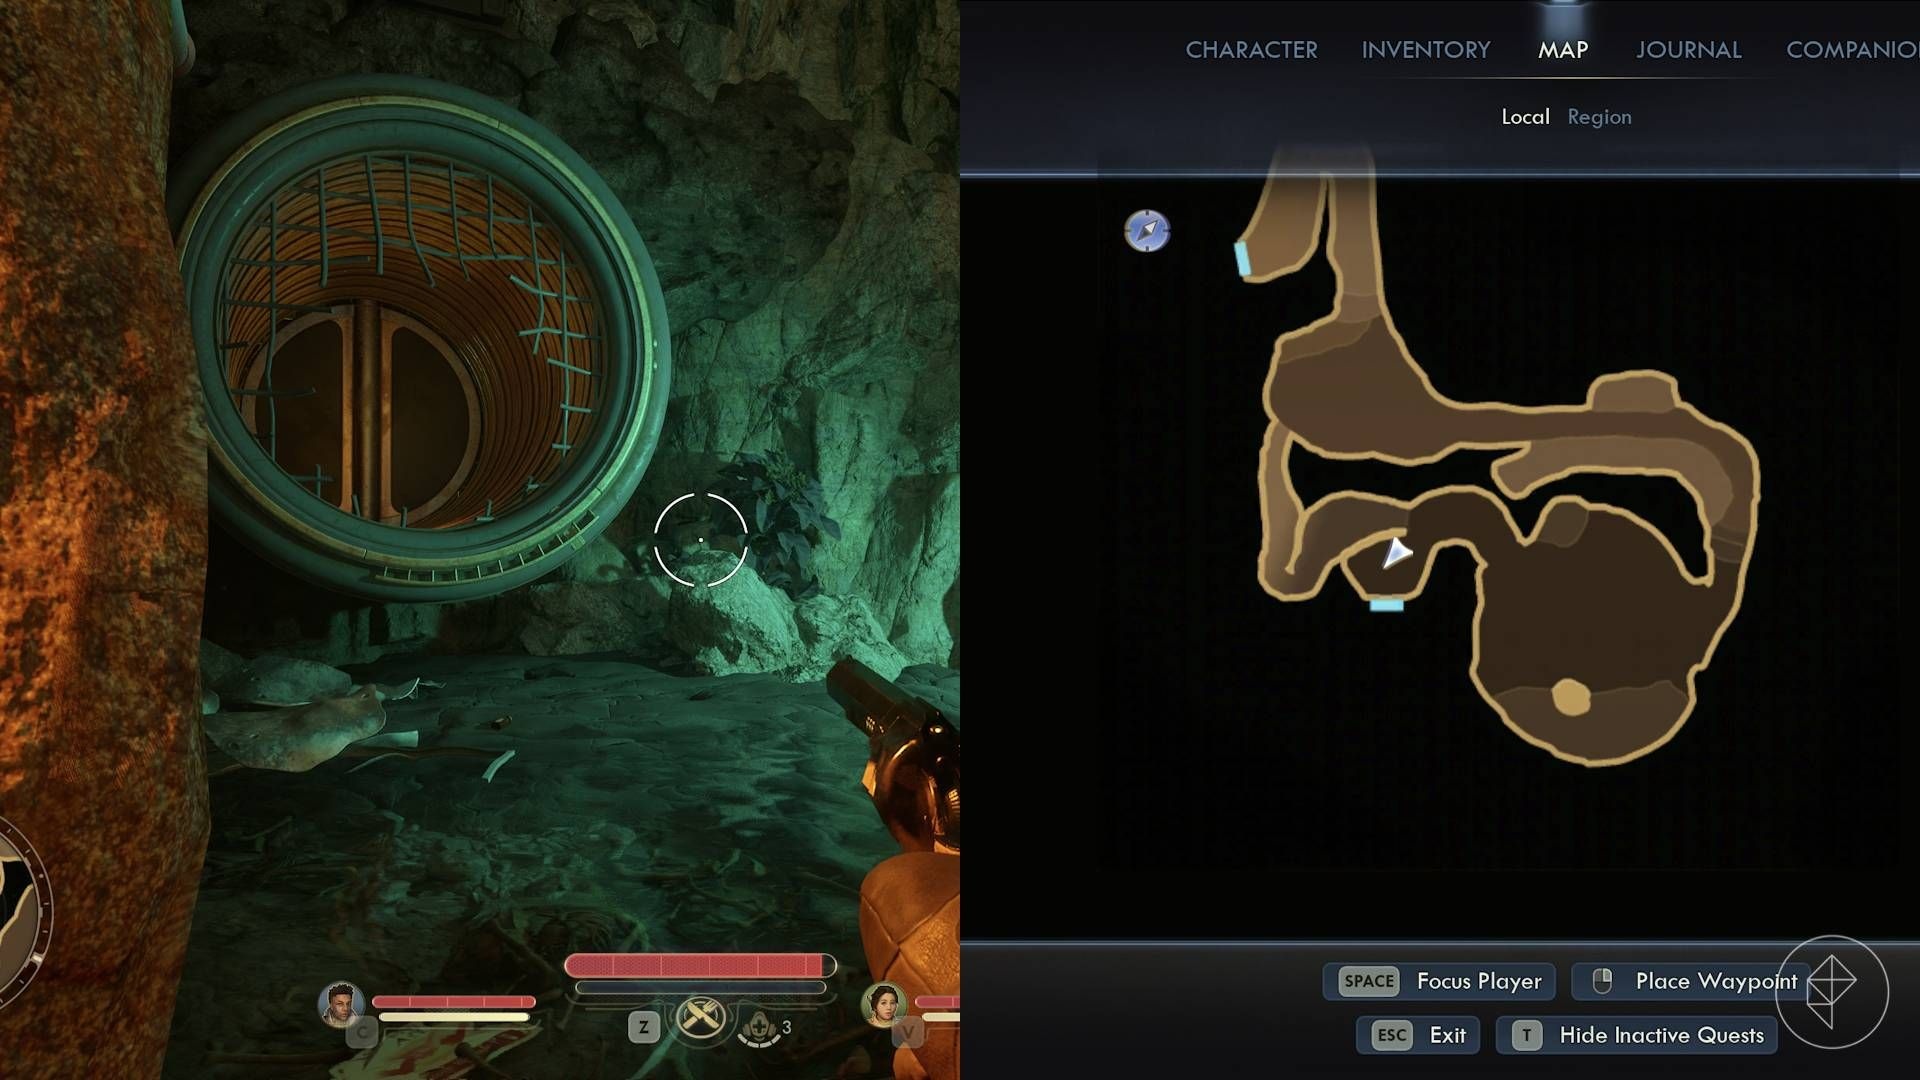
The sewer route (best for loot and stealth)
The sewer entrance is the stealthiest and most rewarding option. You access it via the raptidon den encountered during Inez’s companion quest when you face the Raptidon Matriarch. At the deepest point of the cave there is a large white pipe with a shredded wire cover. Interacting with that pipe transports you into the station sewers.
Inside the sewers you meet a nervous Protectorate soldier. With at least 3 points in Speech you can convince her to flee, and she will drop the Relay Station Armory Keycard. Alternatively, you can kill her and take the card. If you don’t have the card, you can still progress through the station, but access to the west wing and the armory requires extra checks.
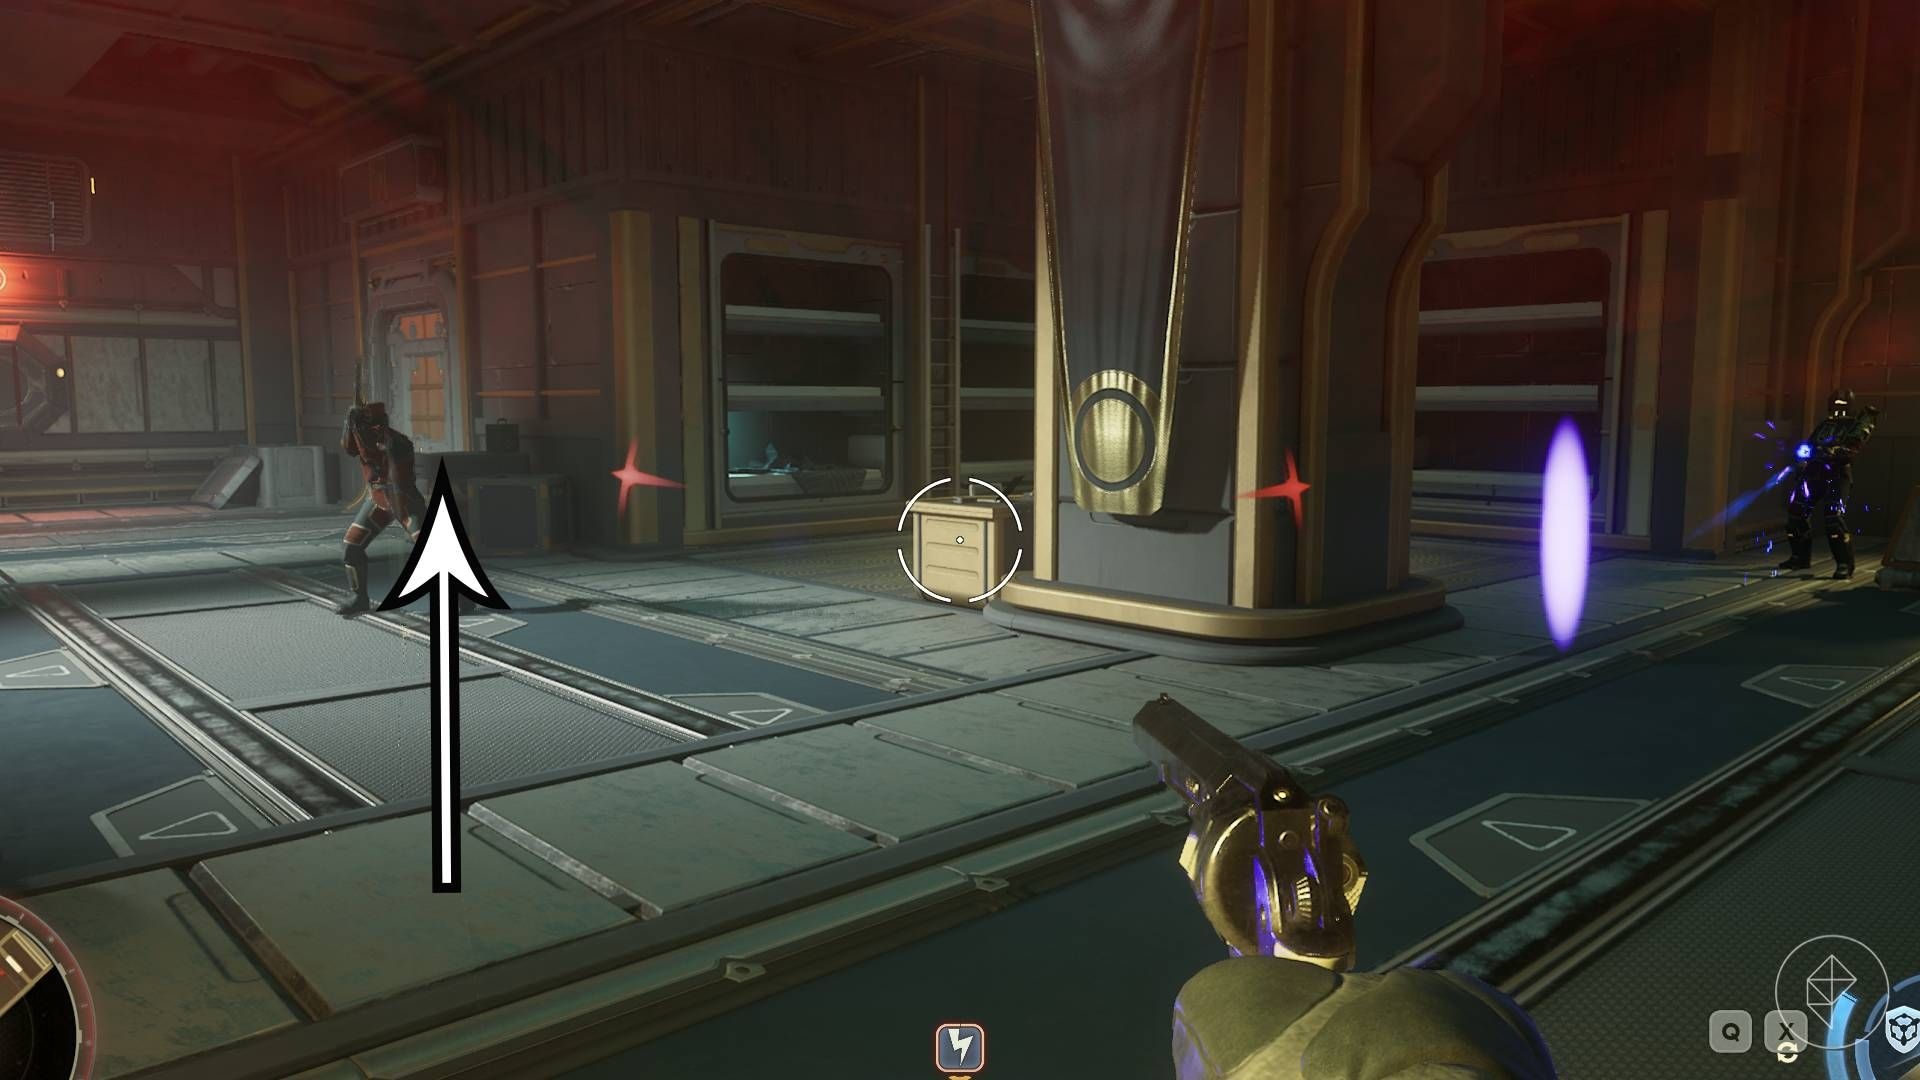
Armory, requirements, and rewards
The armory sits off the main hall and is guarded. To open the armory without the keycard you need 4 points in Lockpicking or Explosives. Otherwise, obtain the Relay Station Armory Keycard from the soldier in the sewers (Speech 3 route) or by looting her corpse.
Inside the armory you can find useful items such as a stun baton, a pistol with exploding rounds, and — importantly — a trauma kit. The trauma kit allows you to revive yourself if you go down and a companion is still alive.
Finally, note that regardless of entry method or faction alignment you will face hostile Protectorate forces inside the station. It appears impossible to pass through the relay station without combat at some point, so plan your loadout and saves accordingly.


