Turn Your Digifarm Into a Powerhouse — Crash Course Skills & Best Training Sets in Digimon Story: Time Stranger
The Digifarm in Digimon Story: Time Stranger is where your Digimon train, change personality, and gain bond — and it matters for evolution. Here’s a clear, friendly guide to how it works and the concrete upgrades you can use to get better results.
The farm in Digimon Story: Time Stranger, explained
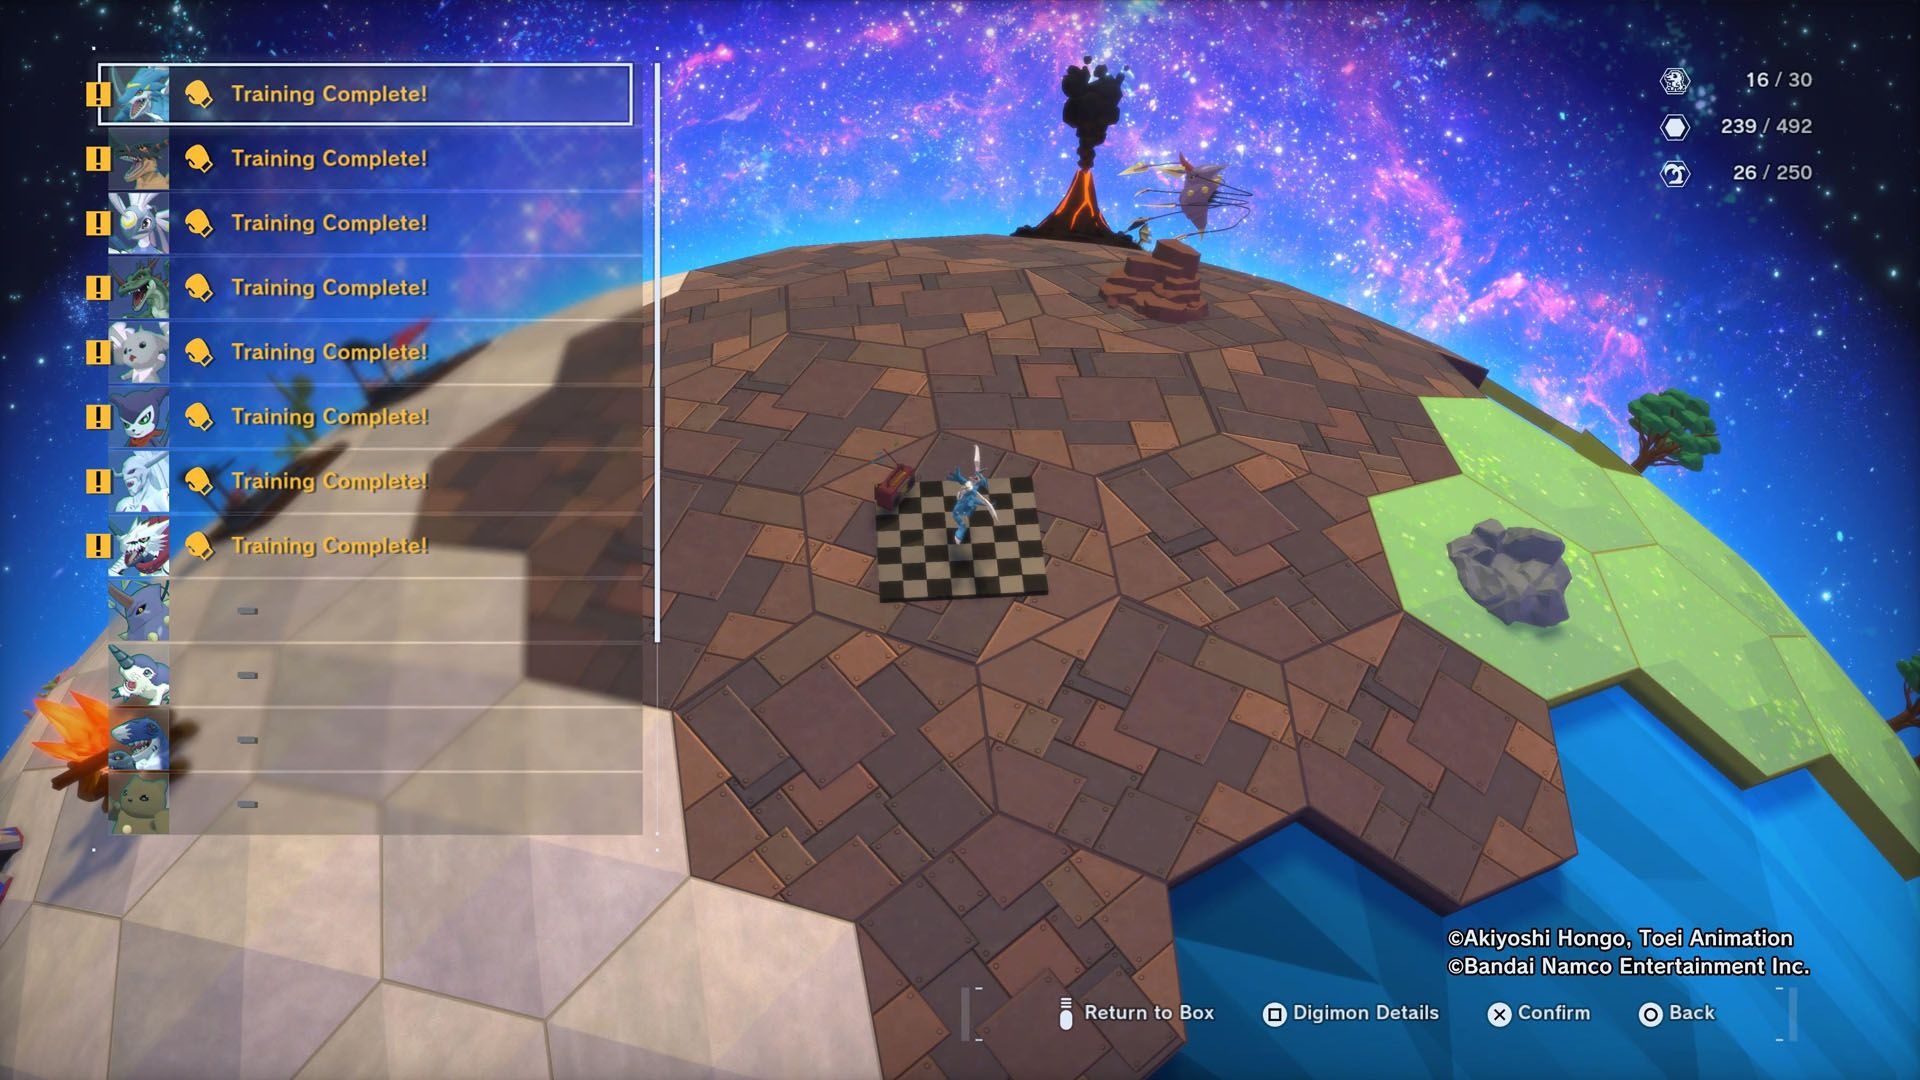
The Digifarm lets you place up to 30 Digimon to earn EXP, train stats, or shift personalities. All Digimon on the farm earn the same EXP as the Digimon in your box, so it’s useful for bulk growth. However, you can only access the farm by entering the In-Between Theater and talking to Mirei Mikagura — it’s not an always-on menu you can open anywhere.
When you enter the farm, you’ll see a list of materials the Digimon have gathered. From there, choose “Interact with Digimon in Farm” to set training, feed them to raise bond, or remove them. To add a Digimon, select “Move Digimon.” You can place islands and decor on the farm, but those decorations do not change training effectiveness.
Training basics
Training uses Training Sets that target specific stats or personality shifts. There are three tiers: A, B, and C. Their durations are 30, 60, and 90 minutes respectively, and the timers use real-world time that only runs while you are playing (on PS5 the timer stops in rest mode).
How to improve your farm in Digimon Story: Time Stranger
There are a few concrete upgrades that make the Digifarm more productive. First, Agent Skills called “Crash Course” cut training time by 50% for specific personalities. Second, crafting higher-tier Training Sets (B and C) boosts stat or personality gains. Finally, certain NPCs let you craft or buy the materials needed for those sets.
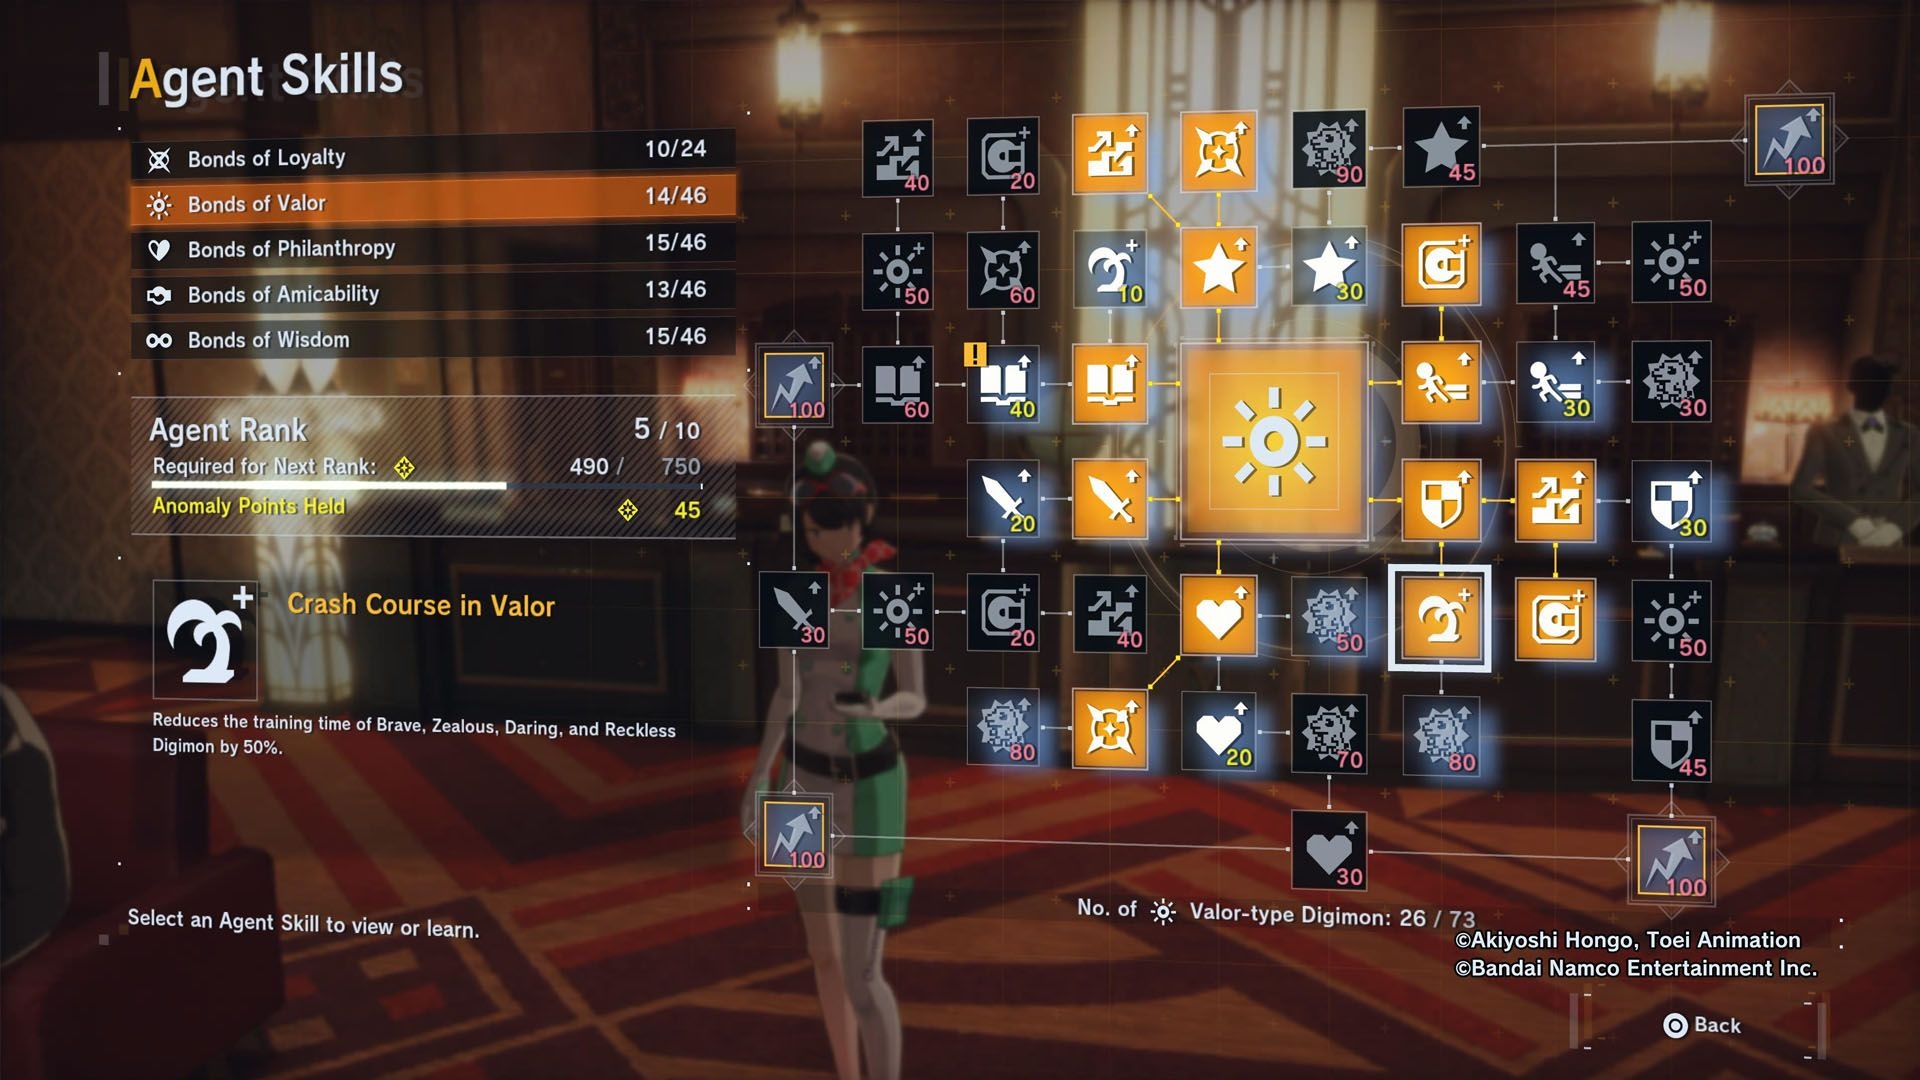
Crash Course Agent Skills
The four Crash Course skills are:
- Crash Course in Valor
- Crash Course in Philanthropy
- Crash Course in Amicability
- Crash Course in Wisdom
Each reduces training time by 50% for Digimon with the corresponding personality. Therefore, equipping all four covers the main personality groups and speeds training across the board.
Crafting Training Sets (A, B, C)
Training Set A is the baseline. Training Set B greatly increases stats and personality, while Training Set C vastly increases stats without changing personality. Use B when you want both stat and personality growth; use C when you want stat boosts but no personality shift.
To craft training sets, speak with Zudomon in Central Town (and later in Rebellion Village). B and C versions became available after completing the side missions “The Blacksmith’s Request” and “The Craftsman’s Partner.” Most materials are sold at the shop inside the In-Between Theater. After the main quest “On My Life,” Wendigomon in Central Town can craft some required materials.
Training sets by stat (what they do, personality effects, materials, and cost)
Below are the in-game Training Sets grouped by the stat they improve. Costs and required materials are exact as listed in the game.
HP
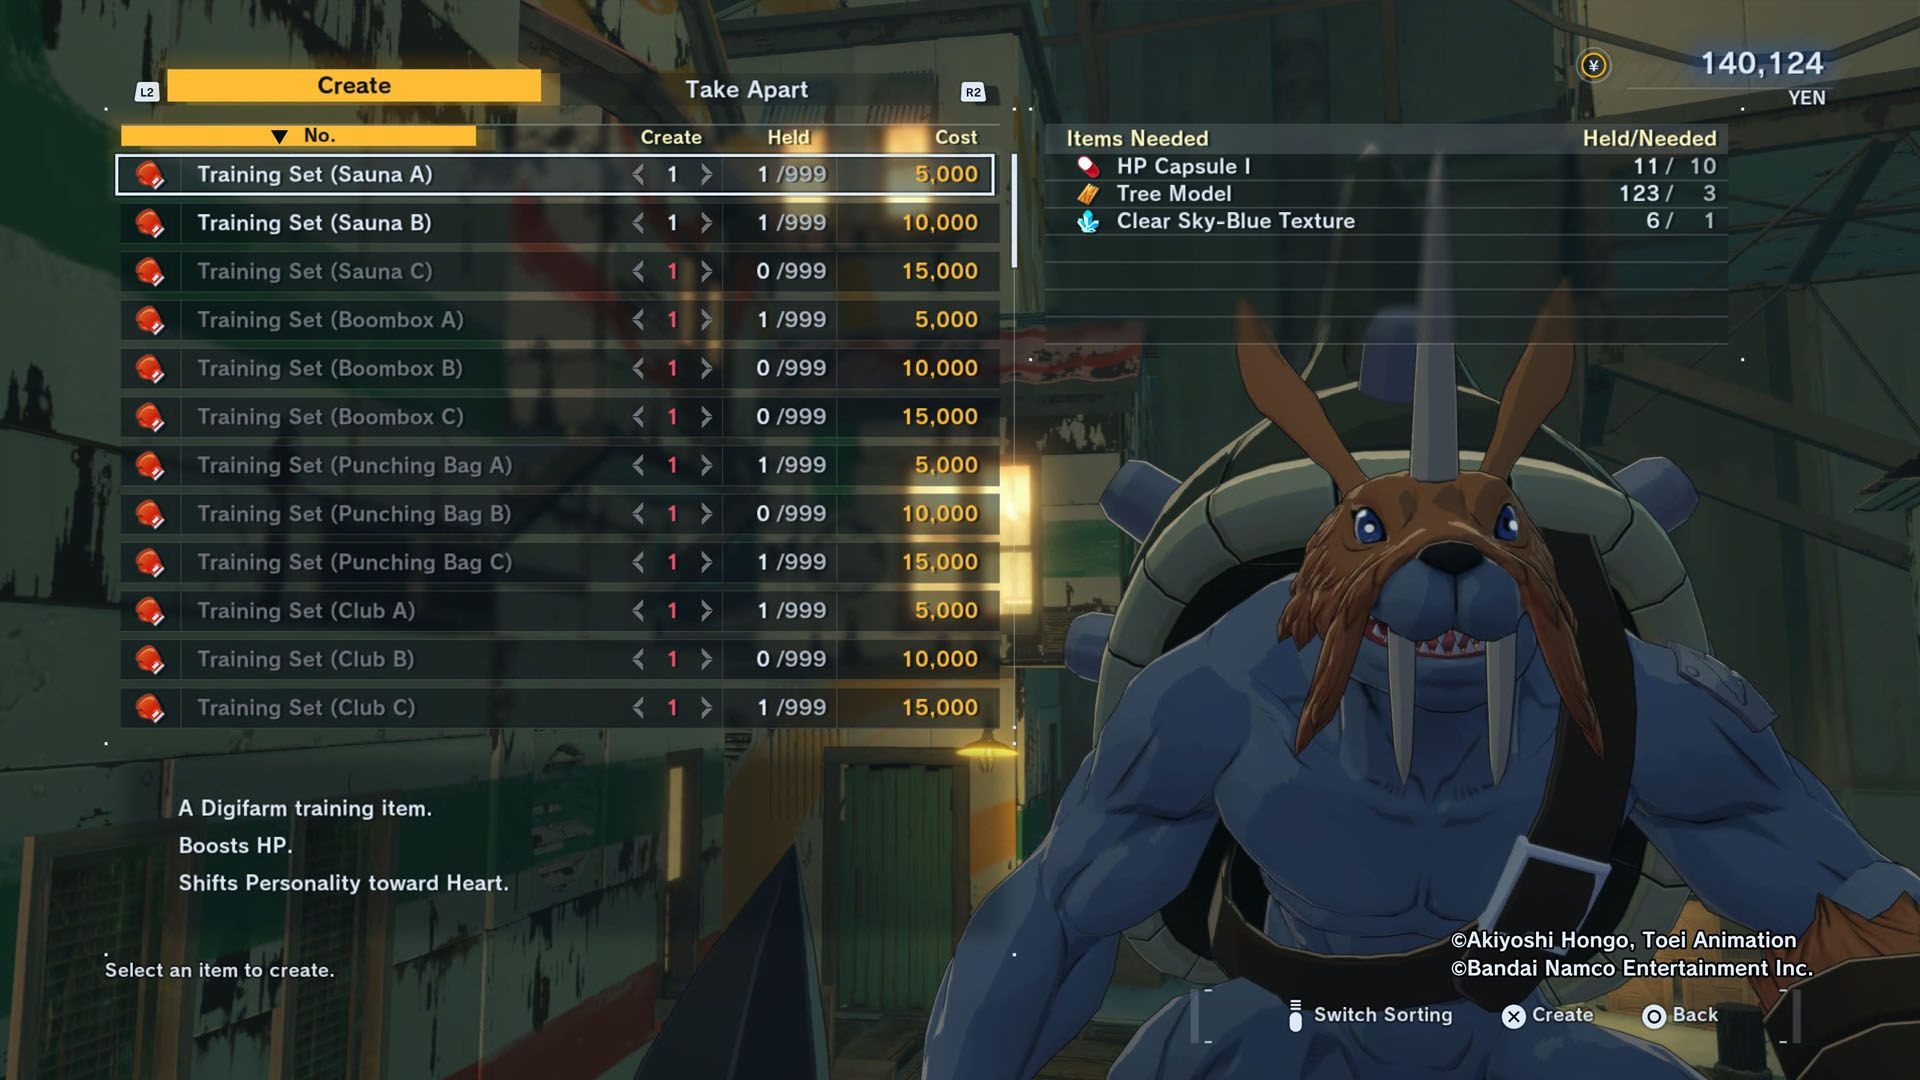
- Sauna A — HP; shifts to Heart. Materials: 10 HP Capsule I, 3 Tree Models, 1 Clear Sky-Blue Texture. Cost: 5,000 Yen.
- Sauna B — HP (Greatly); Heart (Greatly). Materials: 1 Sauna A, 1 Bonefire, 3 Clear Sky-Blue Textures. Cost: 10,000 Yen.
- Sauna C — HP (Vastly); no personality change. Materials: 5 HP Capsule III, 1 HP Attachment II. Cost: 15,000 Yen.
SP
- Boombox A — SP; shifts to Understanding. Materials: 10 SP Capsule I, 3 Fluid Animation Data, 1 Iron Texture. Cost: 5,000 Yen.
- Boombox B — SP (Greatly); Understanding (Greatly). Materials: 1 Boombox A, 1 Generator, 3 Iron Textures. Cost: 10,000 Yen.
- Boombox C — SP (Vastly); no personality change. Materials: 5 SP Capsule III, 1 SP Attachment II. Cost: 15,000 Yen.
ATK
- Punching Bag A — ATK; shifts to Heart and Affection. Materials: 5 ATK boosts, 3 Rock Metal Fragments, 1 Arched Model. Cost: 5,000 Yen.
- Punching Bag B — ATK (Greatly); Heart and Affection (Greatly). Materials: 1 Punching Bag A, 1 Snowman, 3 Arched Models. Cost: 10,000 Yen.
- Punching Bag C — ATK (Vastly); no personality change. Materials: 5 ATK boosts, 1 ATK Attachment II. Cost: 15,000 Yen.
DEF
- Club A — DEF; shifts to Heart and Companionship. Materials: 5 DEF boosts, 3 Tree Model, 1 Blackish Texture. Cost: 5,000 Yen.
- Club B — DEF (Greatly); Heart and Companionship (Greatly). Materials: 1 Club A, 1 Robot, 3 Leaf Models. Cost: 10,000 Yen.
- Club C — DEF (Vastly); no personality change. Materials: 5 DEF boosts, 1 DEF Attachment II. Cost: 15,000 Yen.
INT
- Classroom A — INT; shifts to Understanding and Companionship. Materials: 5 INT boosts, 3 Gray Textures, 1 Mineral Texture. Cost: 5,000 Yen.
- Classroom B — INT (Greatly); Understanding and Companionship (Greatly). Materials: 1 Classroom A, 1 Bench, 3 Mineral Textures. Cost: 10,000 Yen.
- Classroom C — INT (Vastly); no personality change. Materials: 5 INT boosts, 1 INT Attachment II. Cost: 15,000 Yen.
SPI
- Tearoom A — SPI; shifts to Understanding and Affection. Materials: 5 SPI boosts, 3 Fluid Animation Data, 1 Leaf Model. Cost: 5,000 Yen.
- Tearoom B — SPI (Greatly); Understanding and Affection (Greatly). Materials: 1 Tearoom A, 1 Reservoir, 3 Blackish Textures. Cost: 10,000 Yen.
- Tearoom C — SPI (Vastly); no personality change. Materials: 5 SPI boost, 1 SPI Attachment II. Cost: 15,000 Yen.
SPD
- Treadmill A — SPD; shifts to Heart and Companionship. Materials: 5 SPD boosts, 3 Rusty Iron Textures, 1 Mineral Texture. Cost: 5,000 Yen.
- Treadmill B — SPD (Greatly); Heart and Companionship (Greatly). Materials: 1 Treadmill A, 1 Merry-Go-Round, 3 Iron Textures. Cost: 10,000 Yen.
- Treadmill C — SPD (Vastly); no personality change. Materials: 5 SPD boosts, 1 SPD Attachment II. Cost: 15,000 Yen.
In short: access the Digifarm via the In-Between Theater, use Crash Course skills to speed sessions, and craft B/C Training Sets for stronger and more targeted gains. That combination is the practical way to make your farm more effective for Digivolution and stat building.


