Unlock Every Banandium Gem in Donkey Kong Bananza’s Forbidden Layer – Ultimate Guide and Pro Tips
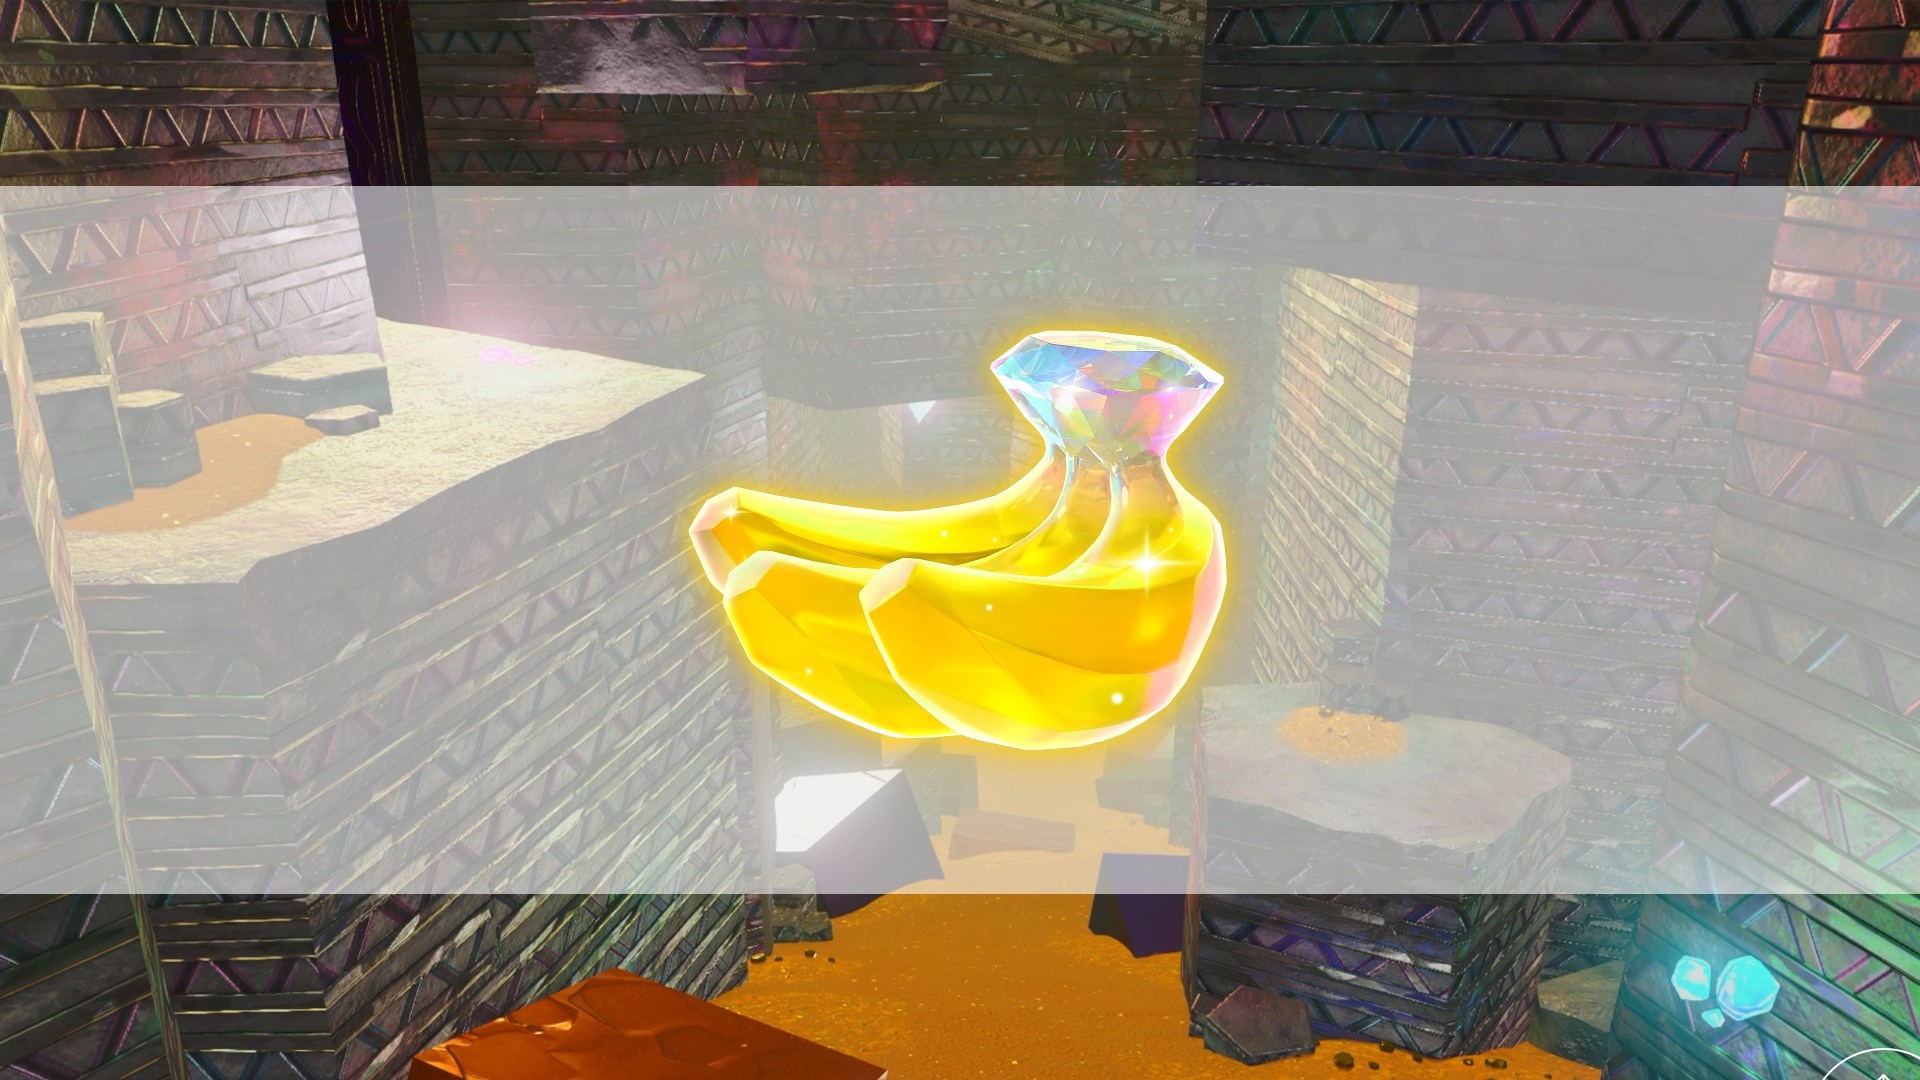
Getting all the Banandium Gems in Donkey Kong Bananza’s Forbidden Layer can feel like a serious treasure hunt, but don’t worry—we’ve got you covered with all the key spots to snag those shiny bananas. The Forbidden Layer is the 15th layer you land on, and it’s packed with floating concrete islands and hidden gems. The trick? A good stash of gold to hop between islands and grab every banana along the way.
- Overview of Forbidden Layer and Banandium Gems
- Detailed locations of 24 Banandium Gems in Sublayer 1500
- Tips on using forms and abilities to reach tricky spots
- How to handle battle challenges and prismatic layers
- Advice on gold spending and alternative routes
Forbidden Layer Basics
The Forbidden Layer is a sprawling area with floating islands that look impossible to cross at first glance. But with plenty of gold, you can create bridges by throwing chunks of sand and stone, or use your character’s unique forms like zebra, snake, and ostrich to glide and shimmy across gaps. Each Banandium Gem is cleverly hidden, so keep your eyes peeled for secret rooms, shuffling floors, and battle challenges.
Where to Find Banandium Gems in Sublayer 1500
Here’s a quick rundown of some of the must-know locations and how to grab each Banandium Gem:
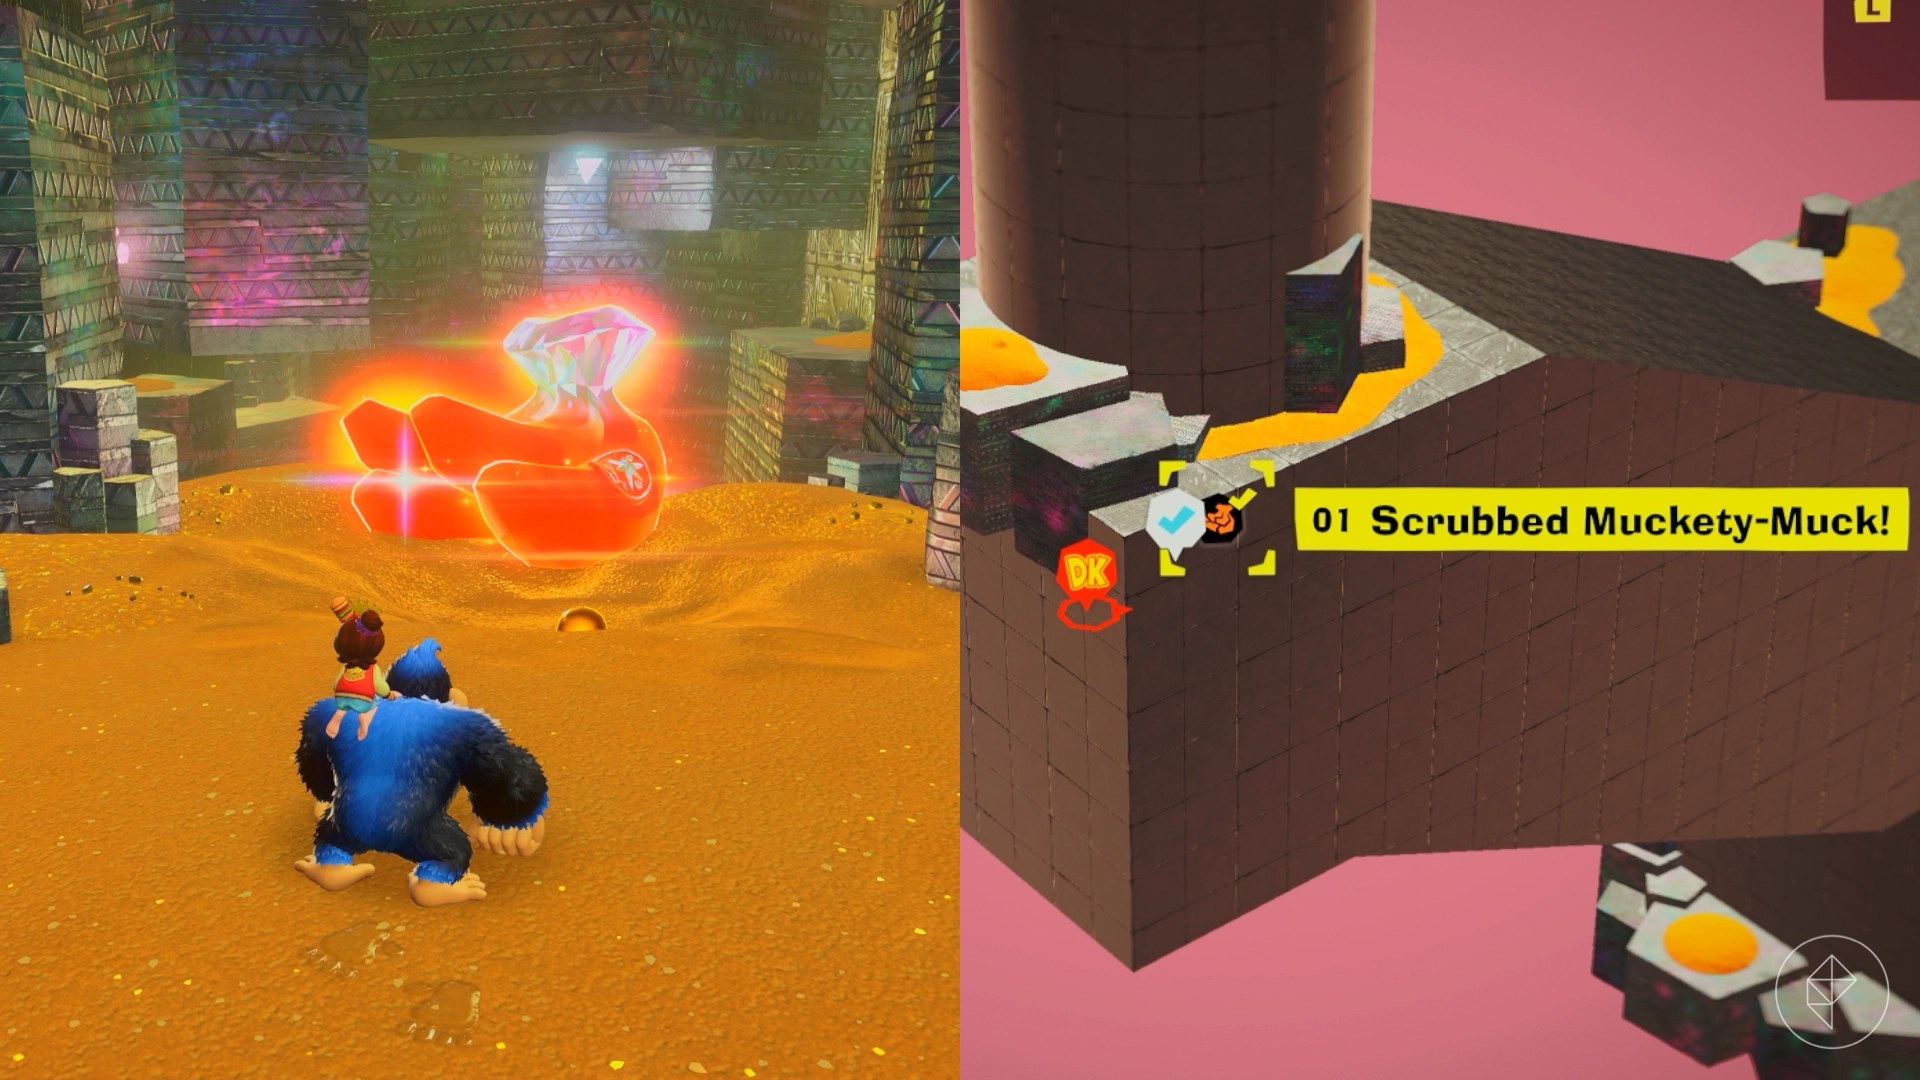
#1: Scrubbed Muckety-Muck!
Right after landing, this banana is staring you in the face. Easy first catch.
#2: Secret in the Shaft
In the electric floor shuffling room, climb up instead of dropping down. Smash the rocky ceiling patch to reveal a hidden room with a banana inside.

#4: Swift Sideways Shuffle
Before exiting, spot a changing wall across a gap. You can cross by transforming into a zebra to shimmy across or use the ostrich form’s glide after a snake form charge jump.
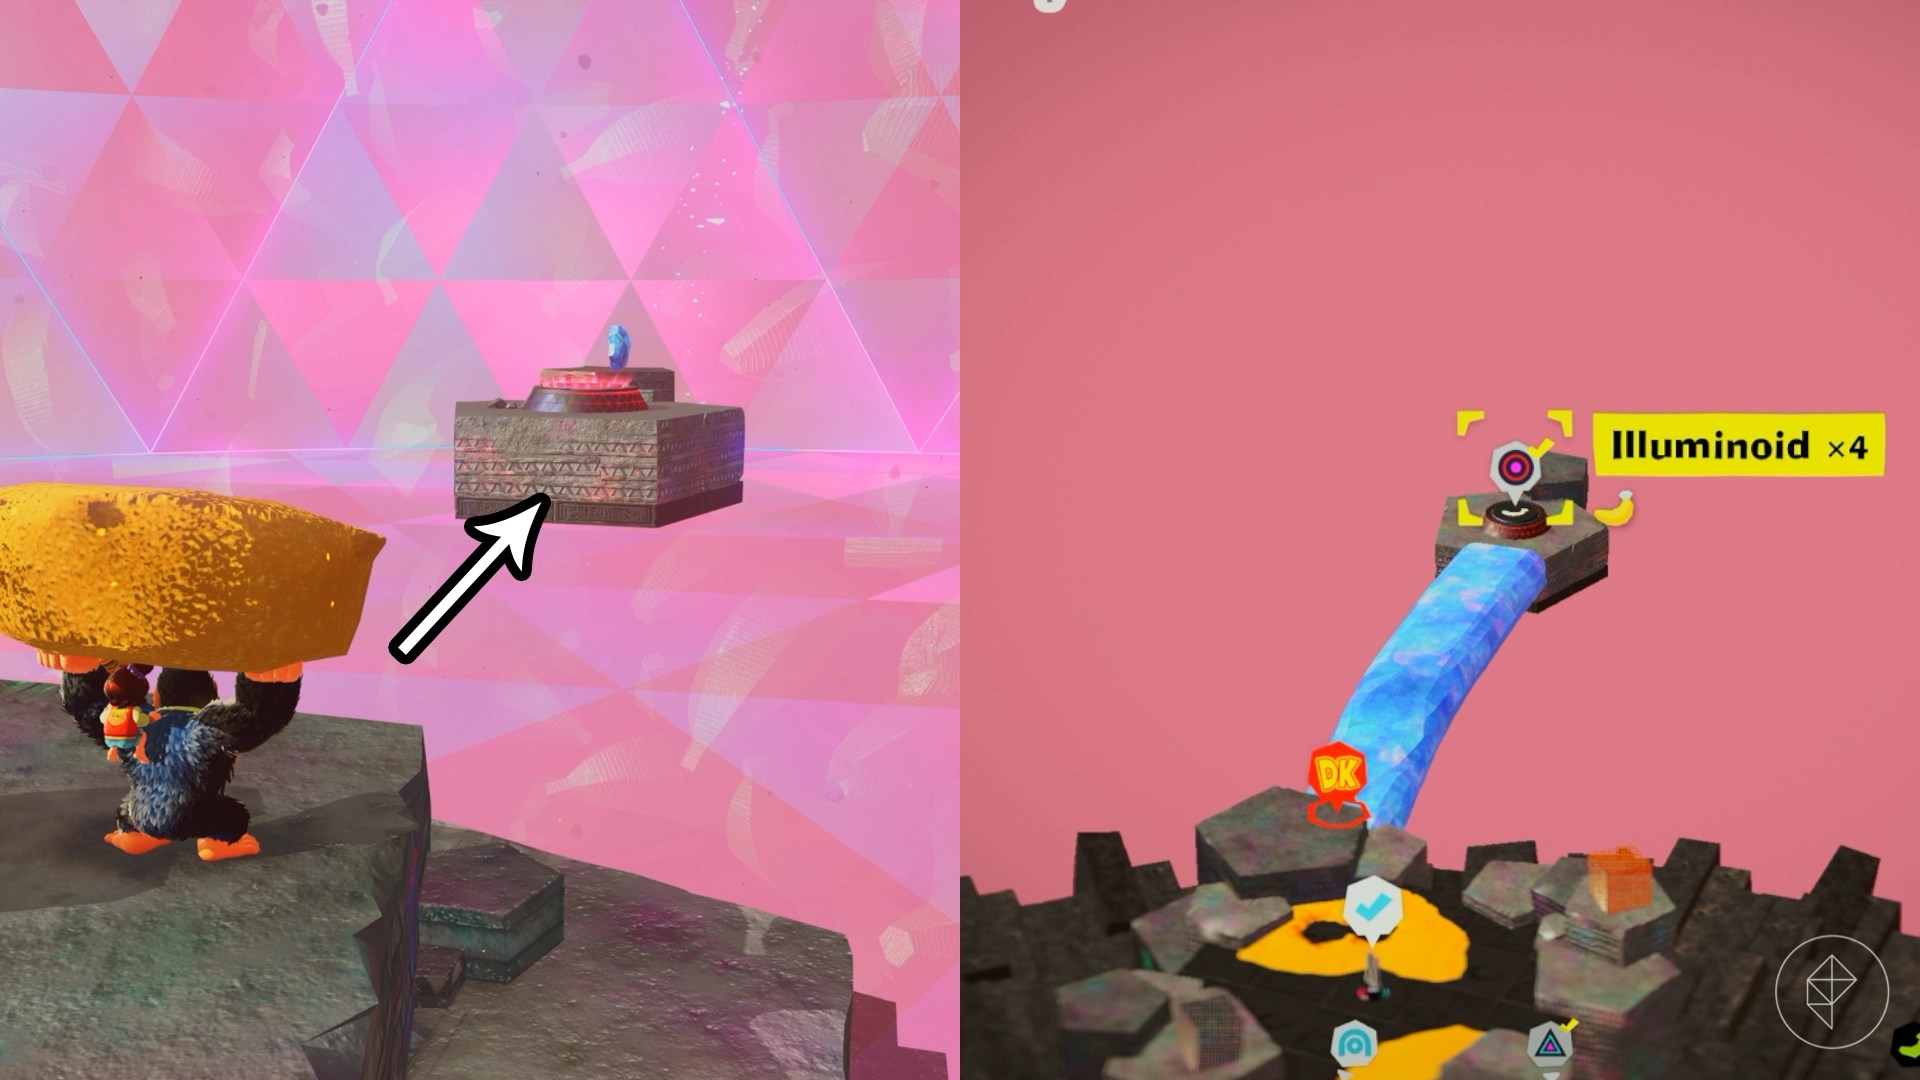
#6: Battle: Nighty Night, Nemesis
Pay 2,000 gold to the Securitone to create a prismatic bridge to a floating island. Defeat four illuminoids by blocking out the sun with stone chunks to make crystal bridges and take them down.
#9: Under, Up, and Inside
After paying 5,000 gold for a prismatic layer, throw chunks to a rotating island with a Fractone. Use snake form charge jumps through barriers and shuffling gold blocks to get the banana.
{1500-9_DKB_20250726_020114.webp}
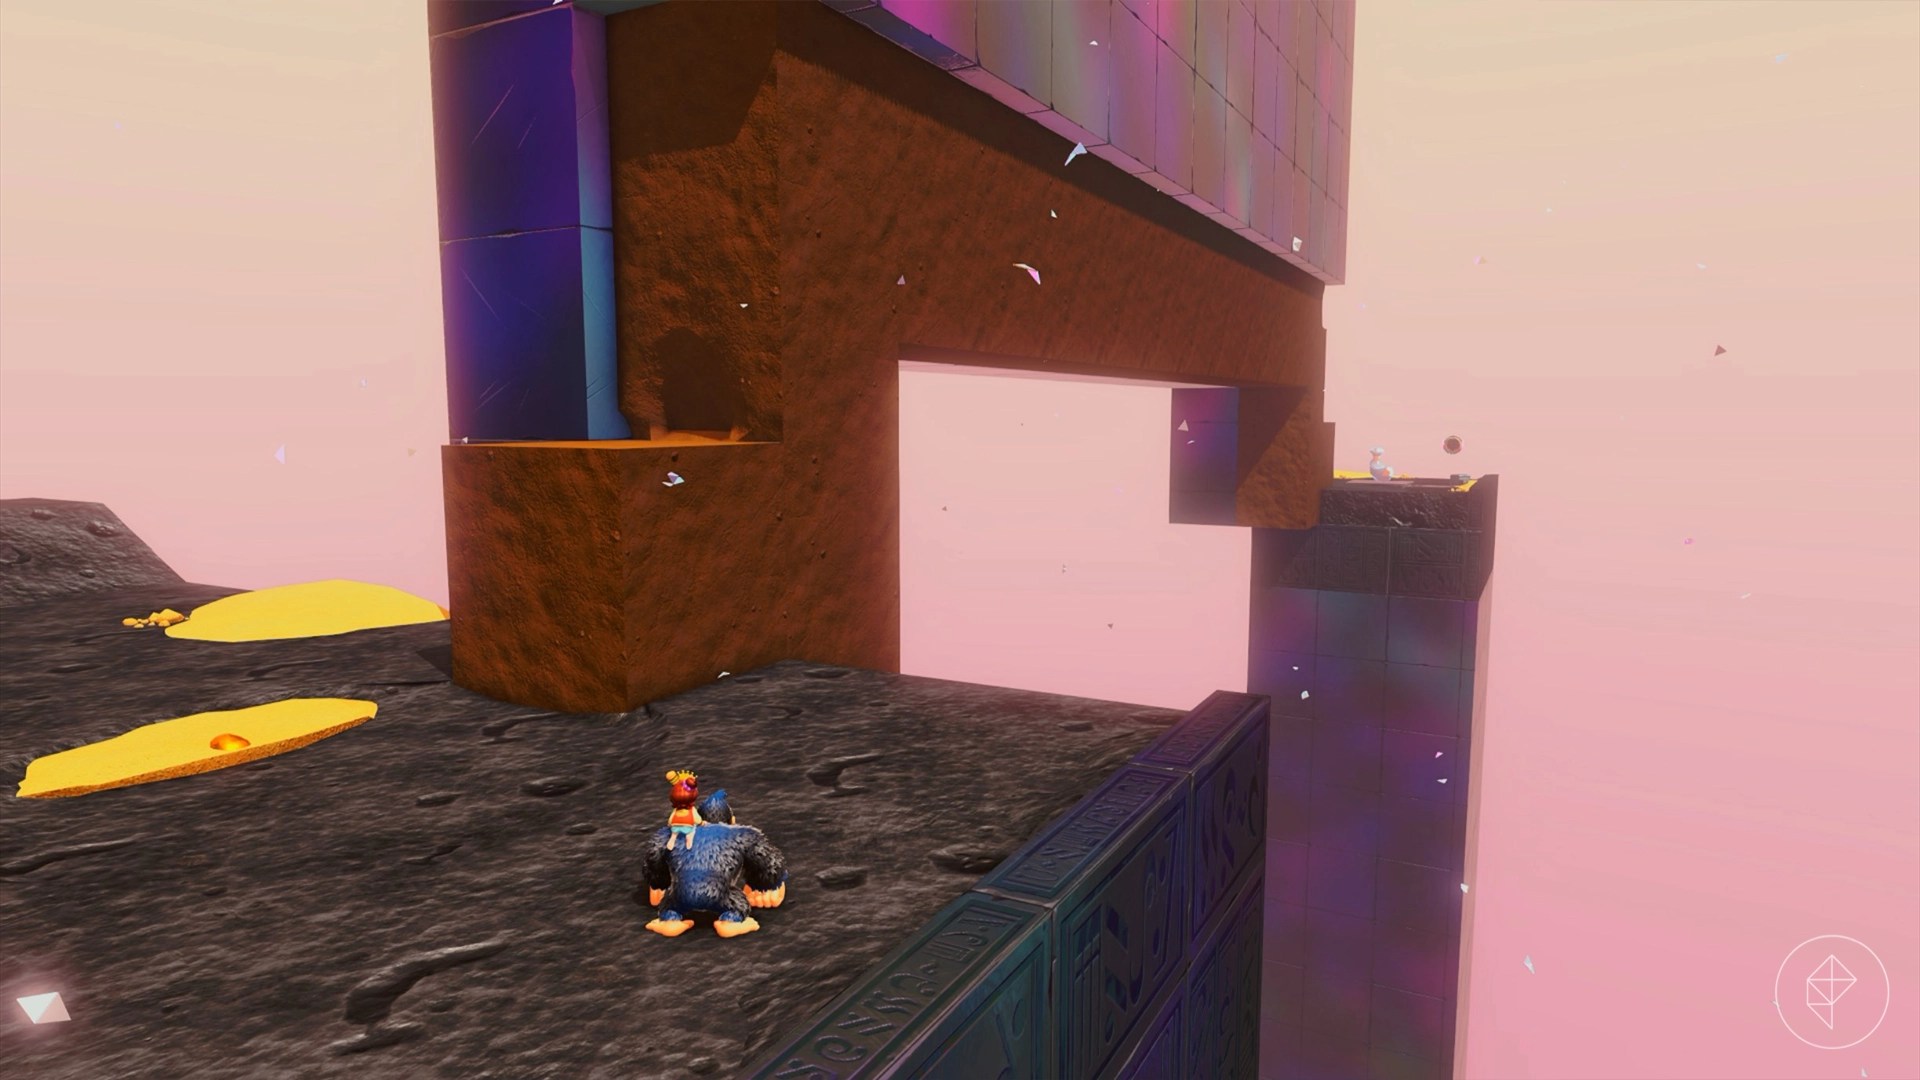
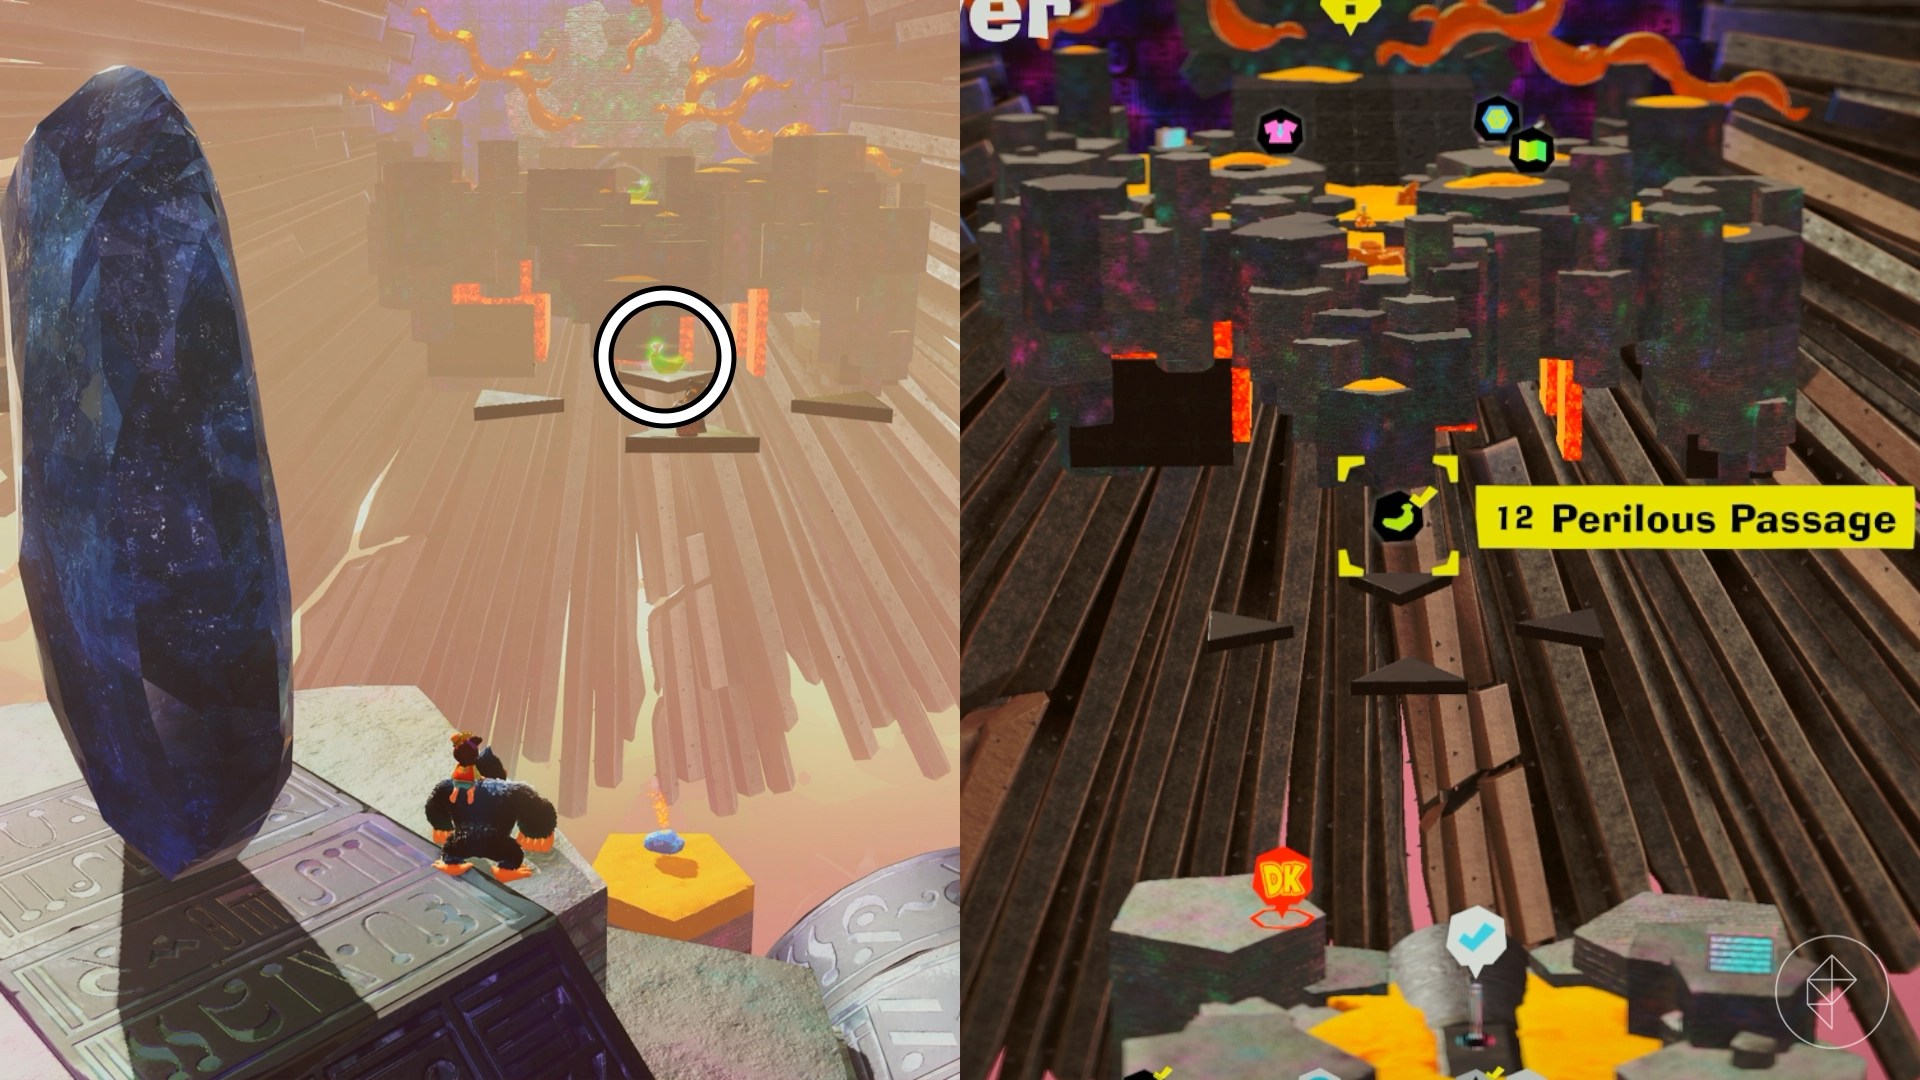
#12: Perilous Passage
Want to save gold? Instead of paying 9,999 gold to bridge over, use the snake and ostrich forms combo: charge jump, double jump, then glide. Be ready to get stranded on the platform, though.
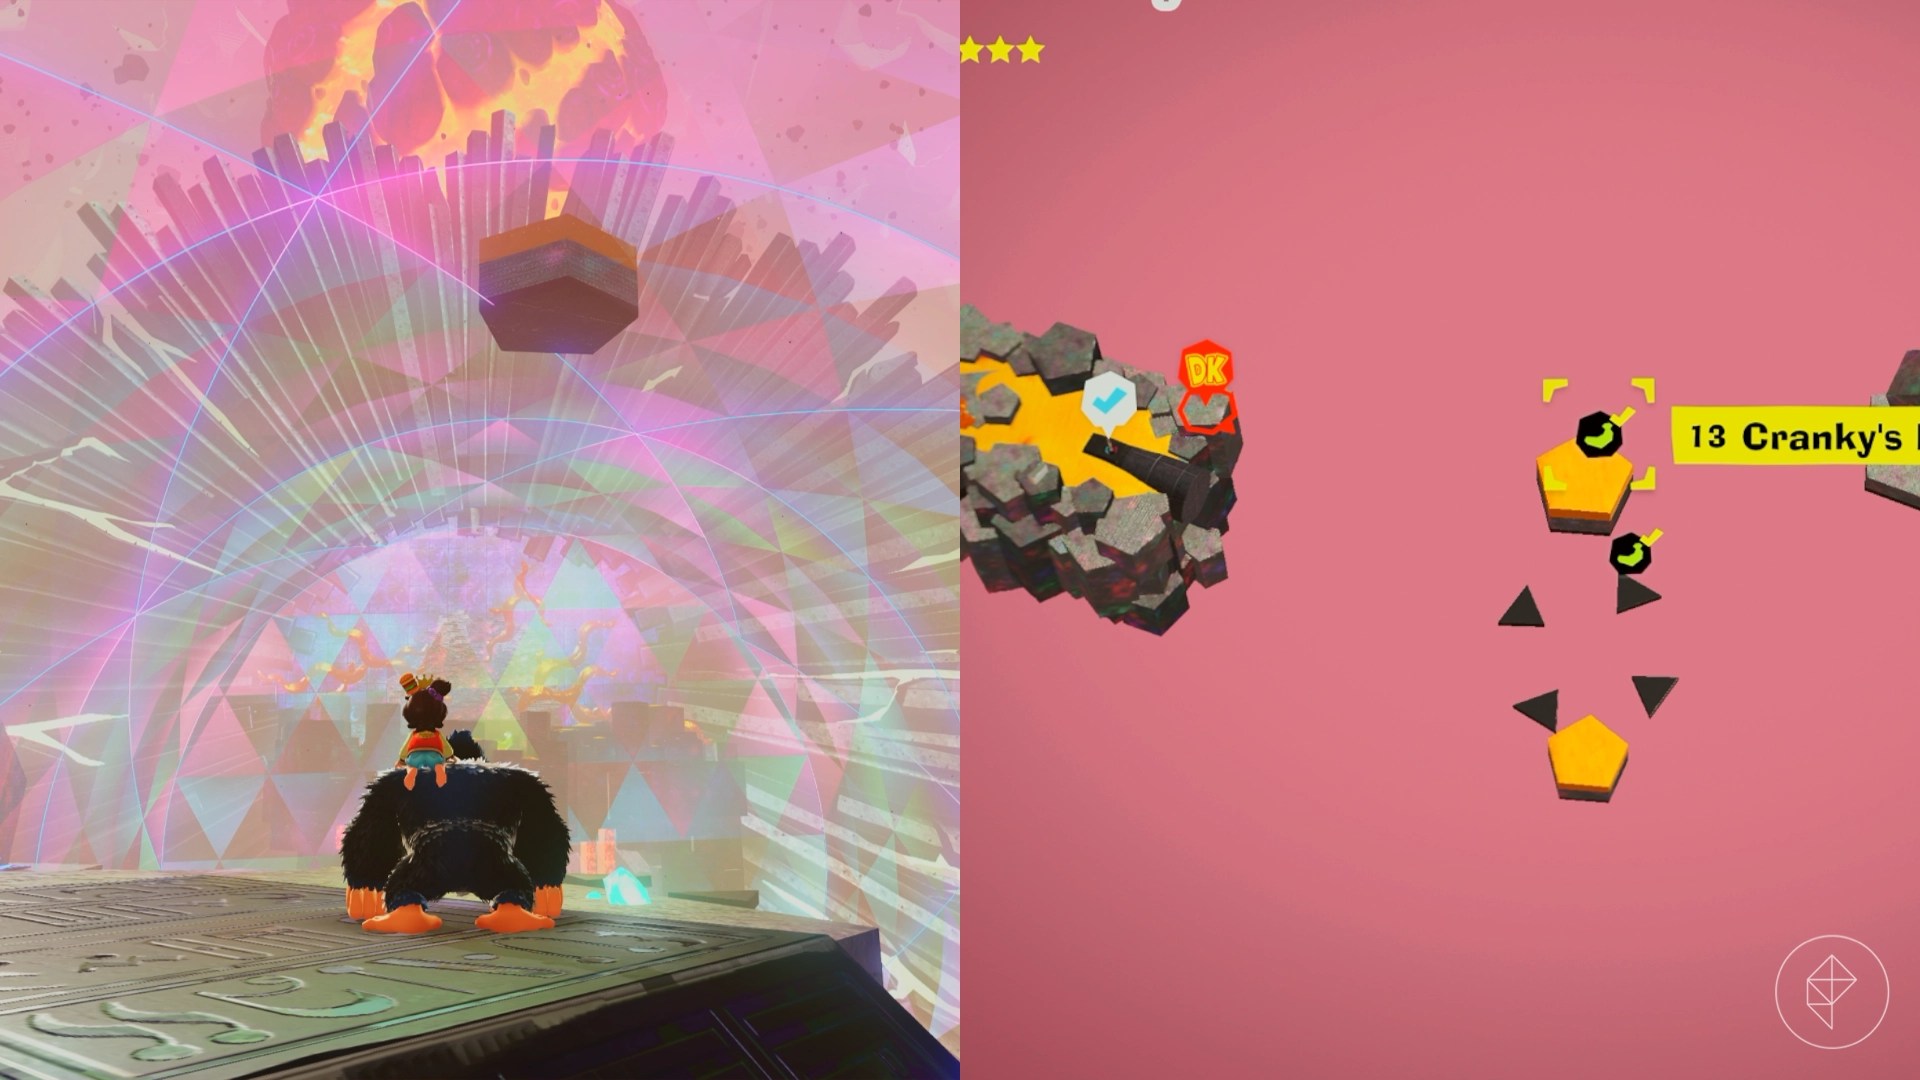
#13: Cranky’s Forbidden Rant
After paying the hefty 9,999 gold fee, cross a rotating prismatic layer to find Cranky Kong and Rambi. Listen to Cranky’s rant to collect this gem.
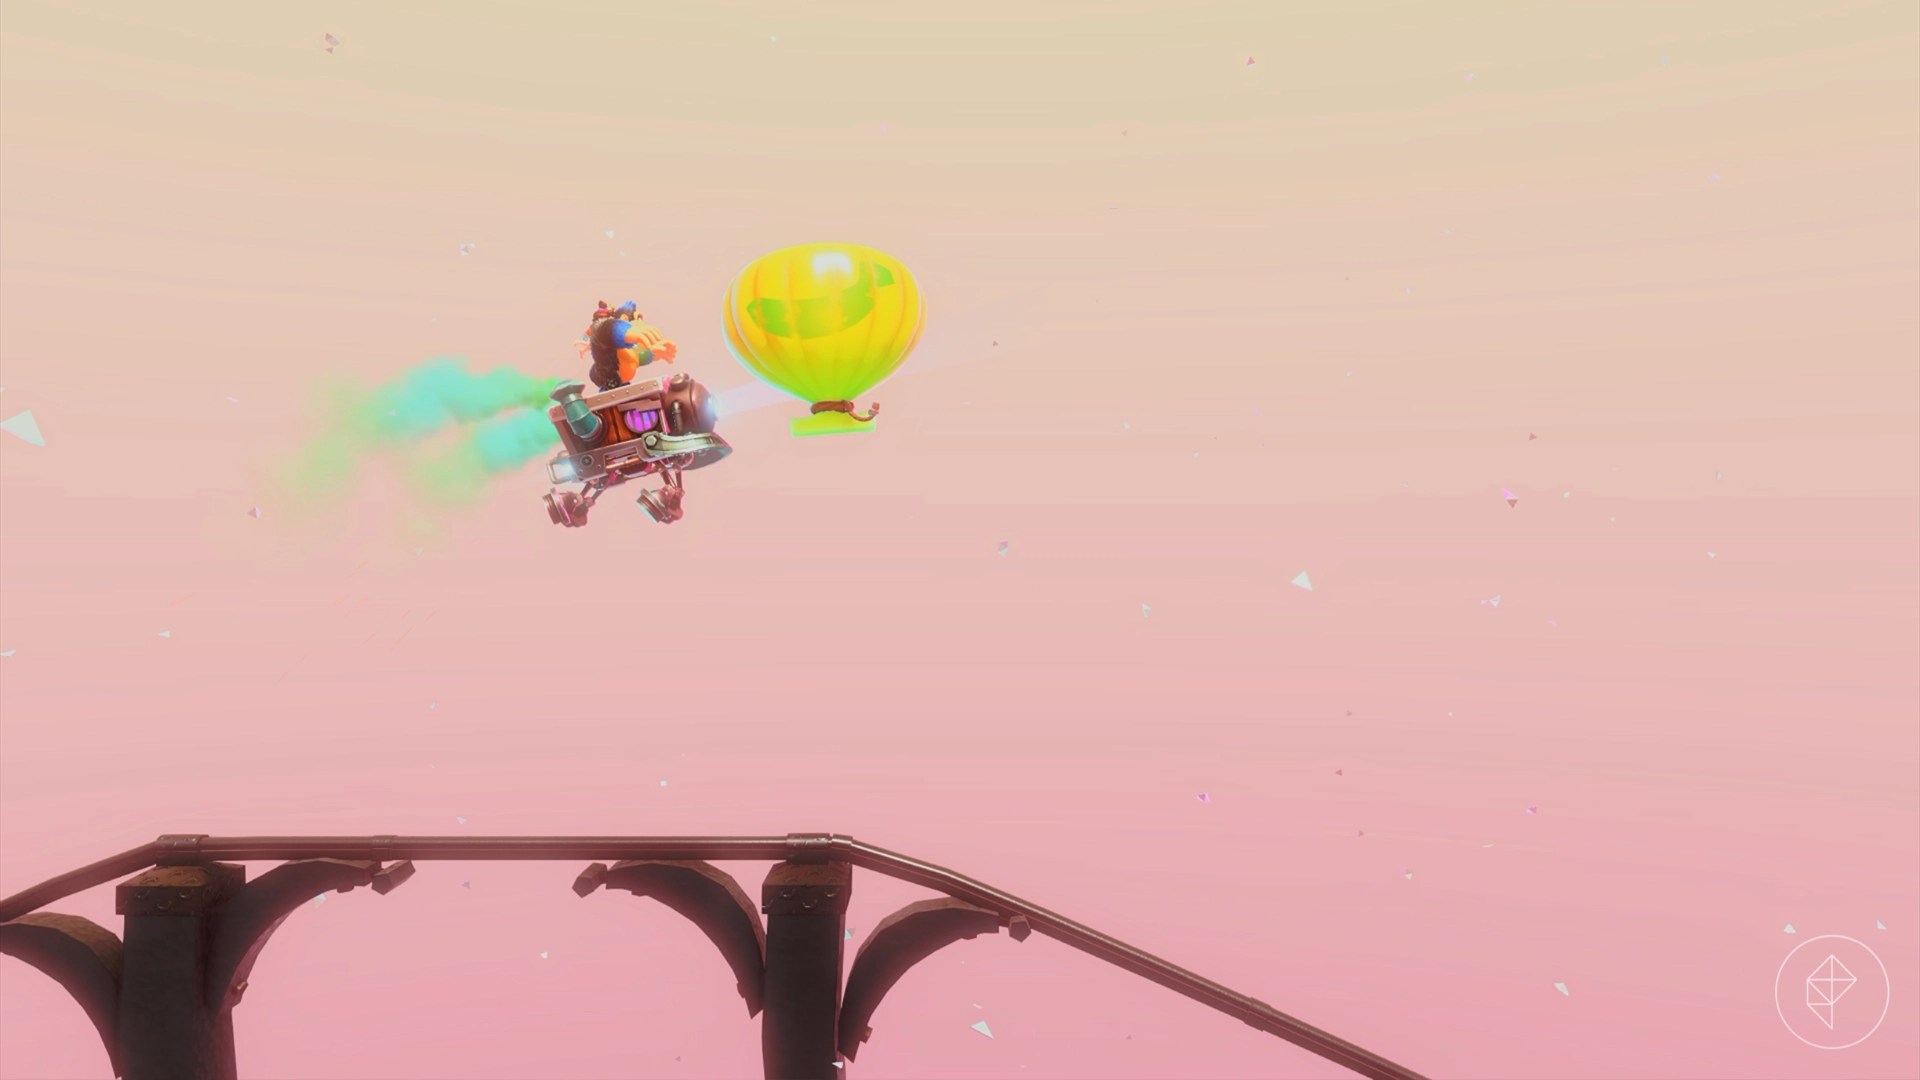
#15 & #16: Lost in the Shuffle Challenge Course
These bananas are scattered through the challenge course on a floating island. Pop all five balloons on the mine cart for #15, and reach the end of the course for #16.

#18: Battle: Shuffling Walls
To the left of the Go-No-Further Gate tuning fork, pay 600 gold to clear rubble and enter a battle challenge. Pro tip: chunk jump over slippery walls instead of punching through.

#20: Passage through Lava
Drop into a lava-surrounded hole and pay 1,000 gold for a side-to-side moving prismatic layer. Bridge over with a chunk of Fractone to grab this banana.

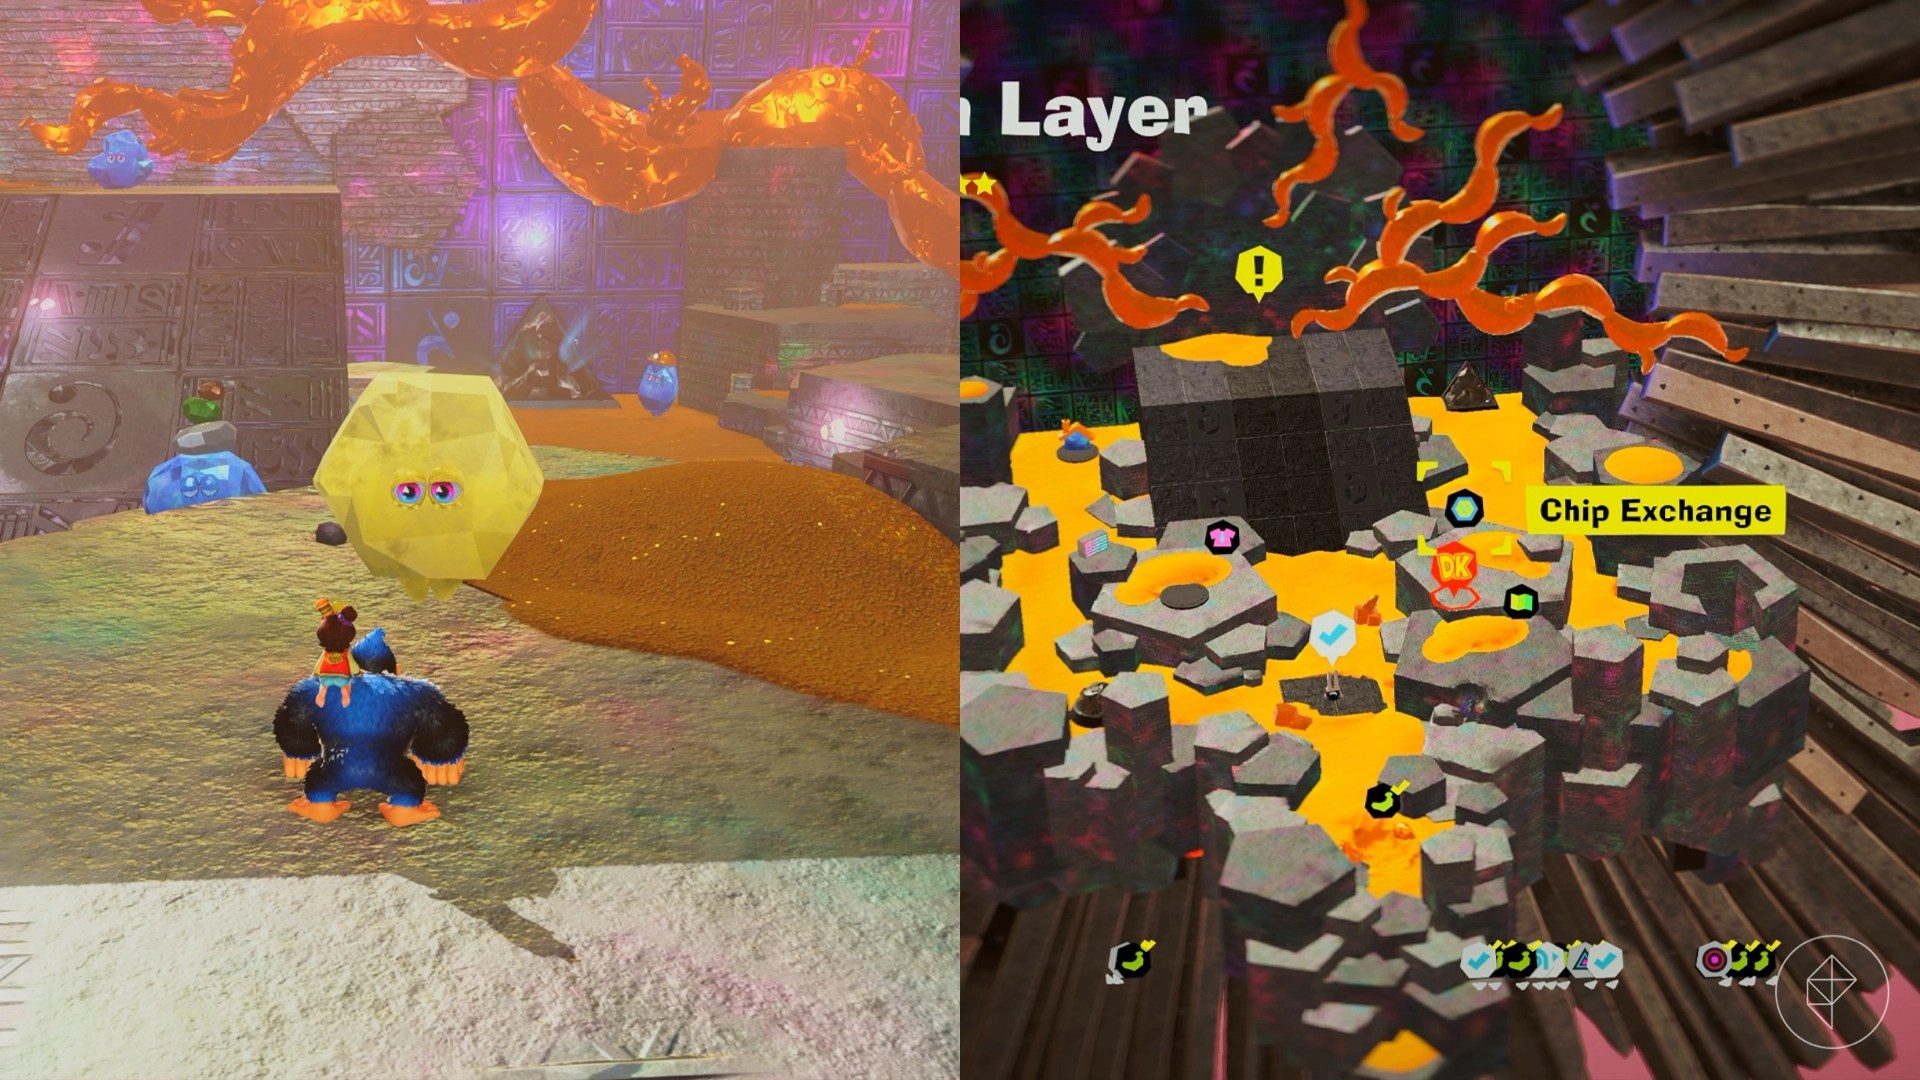
#25: Forbidden Chip Exchange
At the Go-No-Further Gate, trade Banandium Chips and gold at the Chip Exchange to get a banana. A neat way to use your collected resources!
Tips for Success
Make sure you have plenty of gold to create bridges, but if you’re running low, rely on your forms like snake and ostrich to glide and charge jump across gaps. Some Banandium Gems aren’t available on your first visit, so keep progressing through the story and revisit the Forbidden Layer later.
If you’re monkeying around and want more help, check out guides on Banandium Gems in other layers like Radiance, Groove, and Feast Layers. Plus, there are tips on using amiibos and mastering Ancient Bananza Powers and the skill tree to boost your adventure.


